Making your own butter is one of the easiest basics ever, and there are many reasons to give it a try. Maybe you just want to learn/show your kids how butter is made, maybe you ran out of butter, but have some whipping cream at home and don’t want to run to the store again, maybe you are really after the fresh buttermilk, and the butter is just a byproduct for you, or maybe you just want to try something new. Whatever the reason, you are in for a treat. Making butter is easy, quick, and you can adjust the process to change the flavor according to your personal preference. You can make sweet cream butter, cultured butter, salted or unsalted, use pasteurized cream or raw cream… there is a surprisingly long list of options. In any case, homemade butter will have a higher milk fat content than store-bought butter – which is a good thing, trust me.
Let’s take a quick look at different types of butter first.
Sweet cream butter is butter in its purest form. It is made from raw or pasteurized uncultured cream, which is churned or whipped until the fat molecules clump together and form butter.
Cultured butter is made from ripened cream that has either soured on its own or has been inoculated with bacteria (like a yogurt culture) and fermented. It has a distinctive tangy flavor and a longer shelf-life than sweet cream butter. If you live in Europe, this is probably the butter you are most familiar with. The addition of bacteria cultures is also said to have a positive effect on gut health (just like yogurt).
The milk fat or butterfat content of store-bought butter can vary significantly. In the US, butter needs to have a minimum butterfat content of 80%. A lot of manufacturers don’t include the actual butterfat content on the packaging, making it somewhat difficult for the consumer. A lower butterfat content means lower production costs, because the butter can be diluted (watered-down) slightly. In Europe, the minimum requirement for a product to be considered butter is 82% butterfat (with a couple of exceptions). Some butters have a milk fat content of up to 85%. But does 2-3% really make such a big difference? Absolutely! The fat content changes the flavor, appearance, as well as the texture of the butter, meaning high-fat butters will be more flavorful, more yellow in appearance, and creamier than butters with the minimum fat content of 80%. This can also significantly change the results you get when baking with different types of butter. In the United States, high-fat butter is usually quite a bit more expensive than regular 80%-fat-butter (and is often imported), so if you want to indulge in the yellowy creamy goodness that is high-fat butter, you might want to consider making your own.
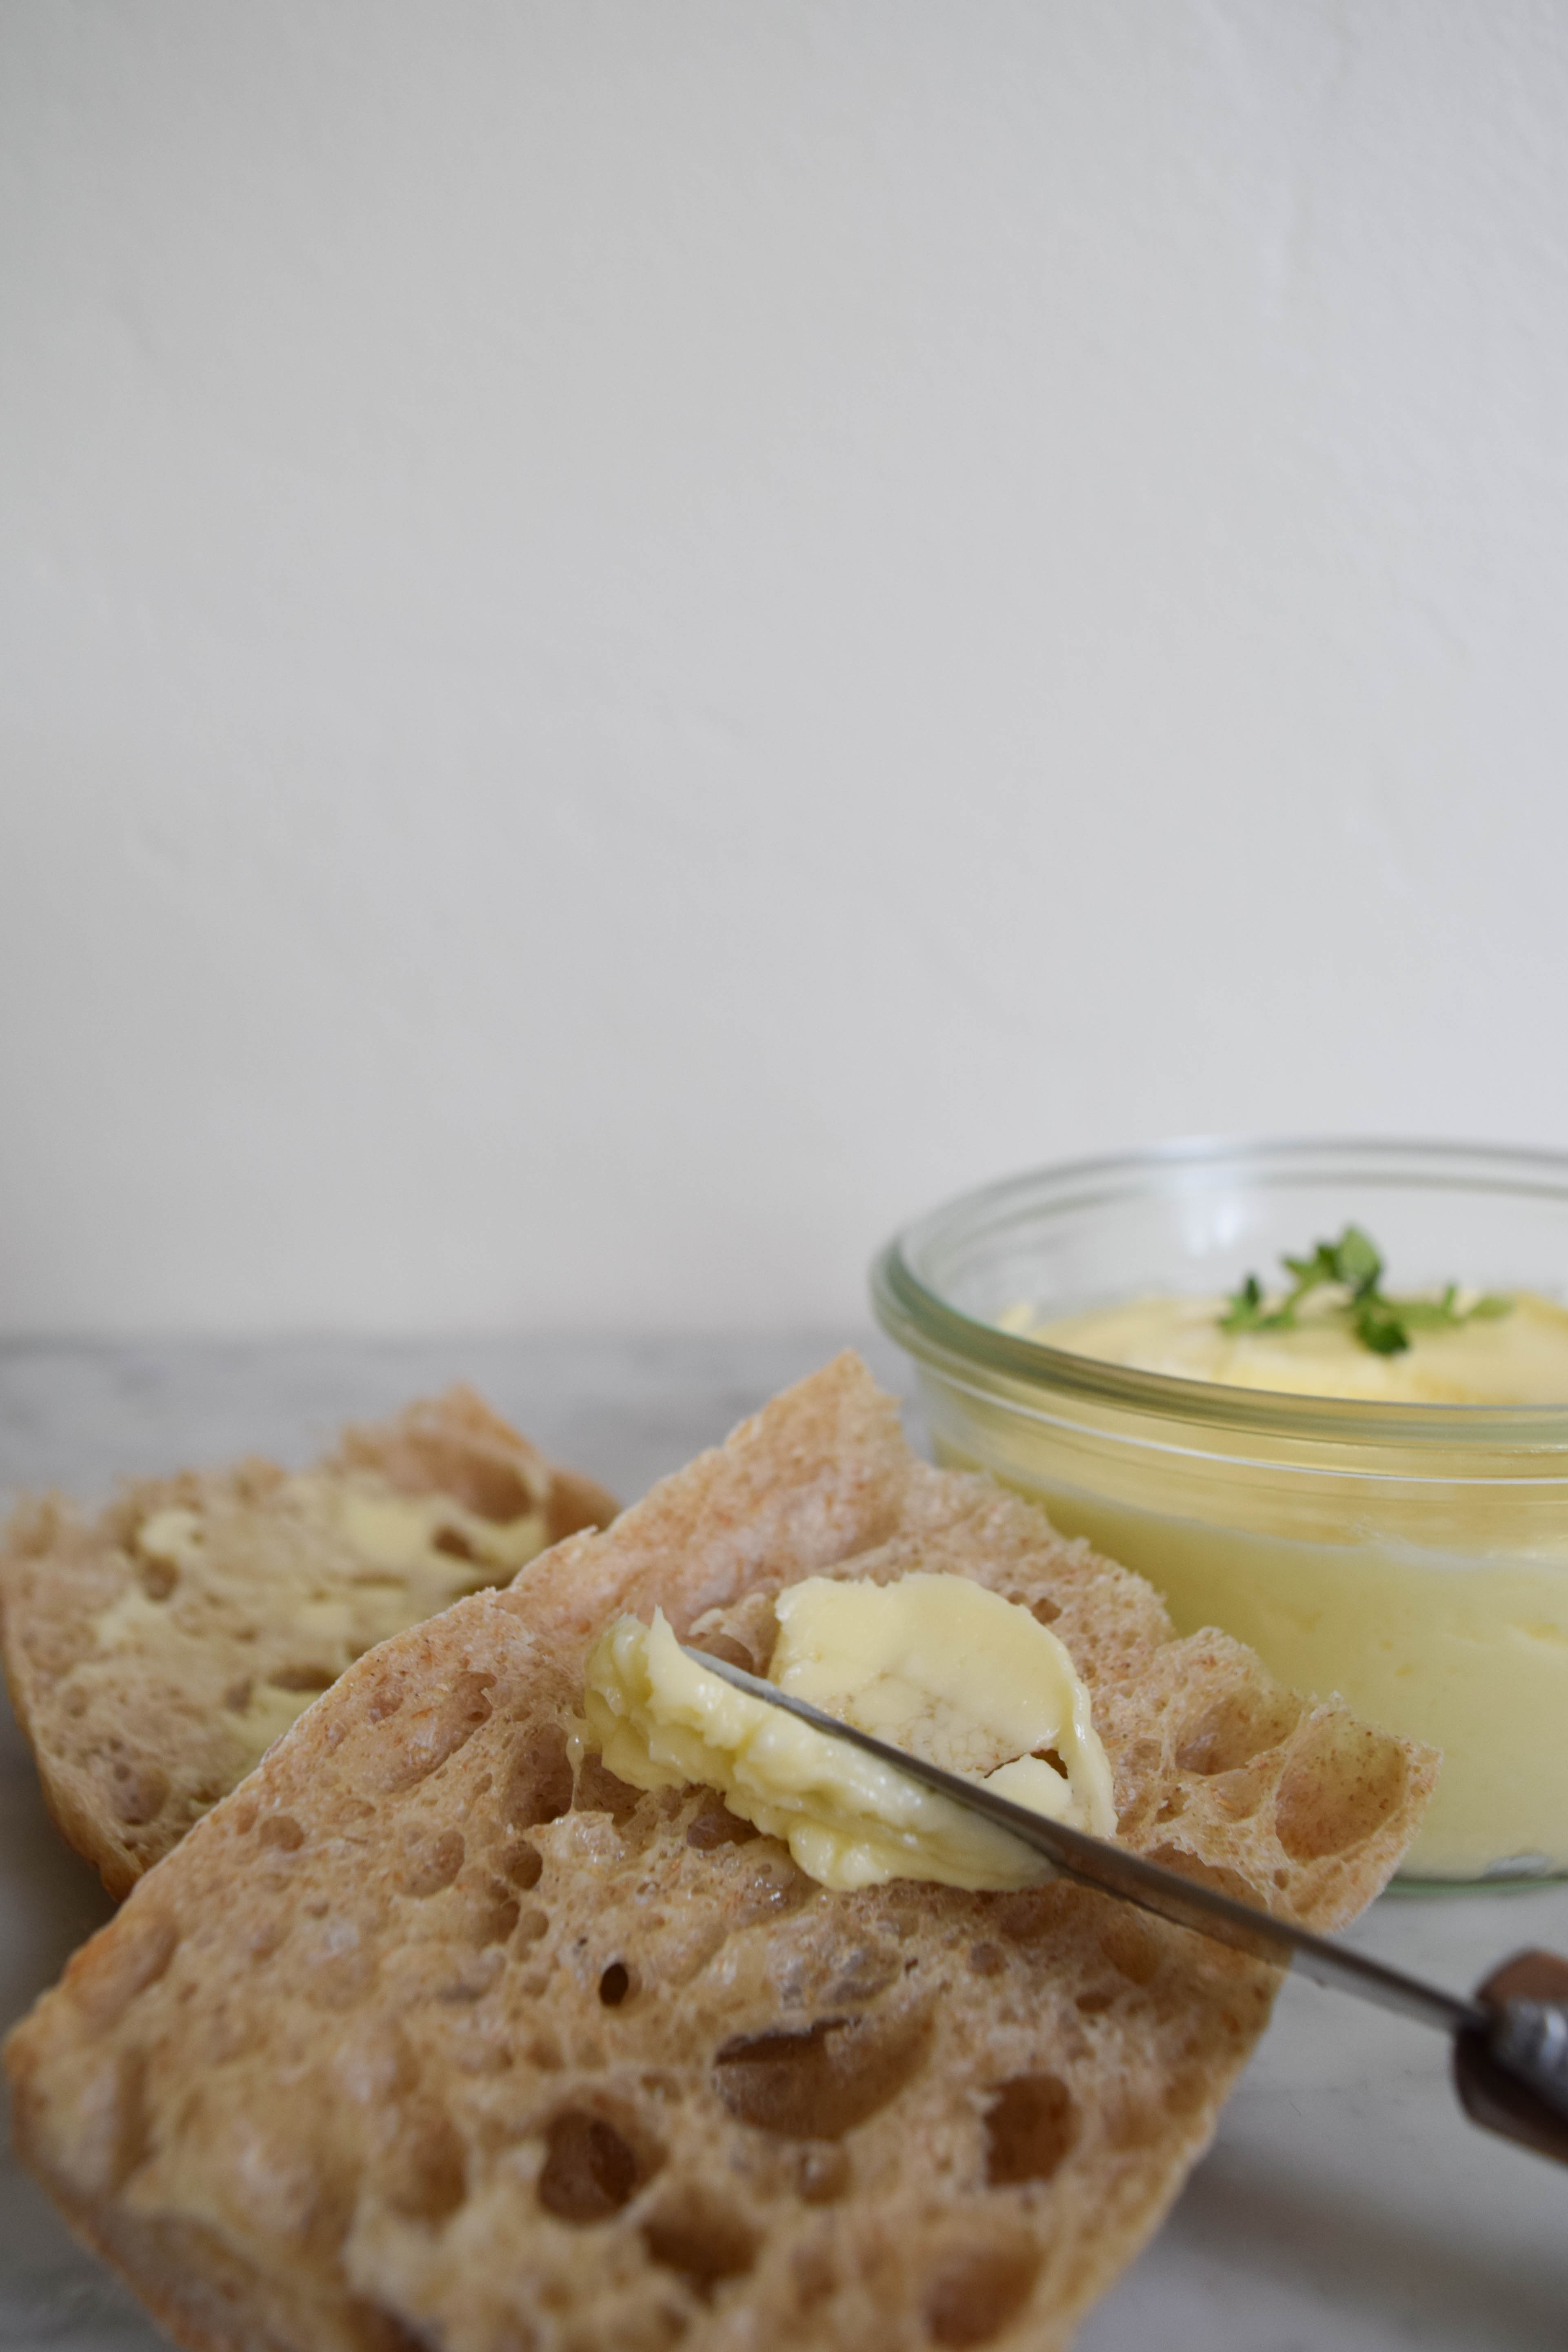
To be honest, I don’t have time to make all the butter I use myself. In fact, I am quite precious about the homemade stuff, and use it only as a spread for sandwiches and breakfast pastries, or to make compound butters.
Below is a combined recipe for cultured and sweet cream butter, so you can chose which one suits you better. Steps and ingredients for cultured butter only are listed in square brackets. If you want to use the butter right away, you can skip the washing step, but I highly recommend it, because it improves the butter’s shelf-life significantly.
Here is what you’ll need (makes about 5.5 oz.(160 g) of butter):
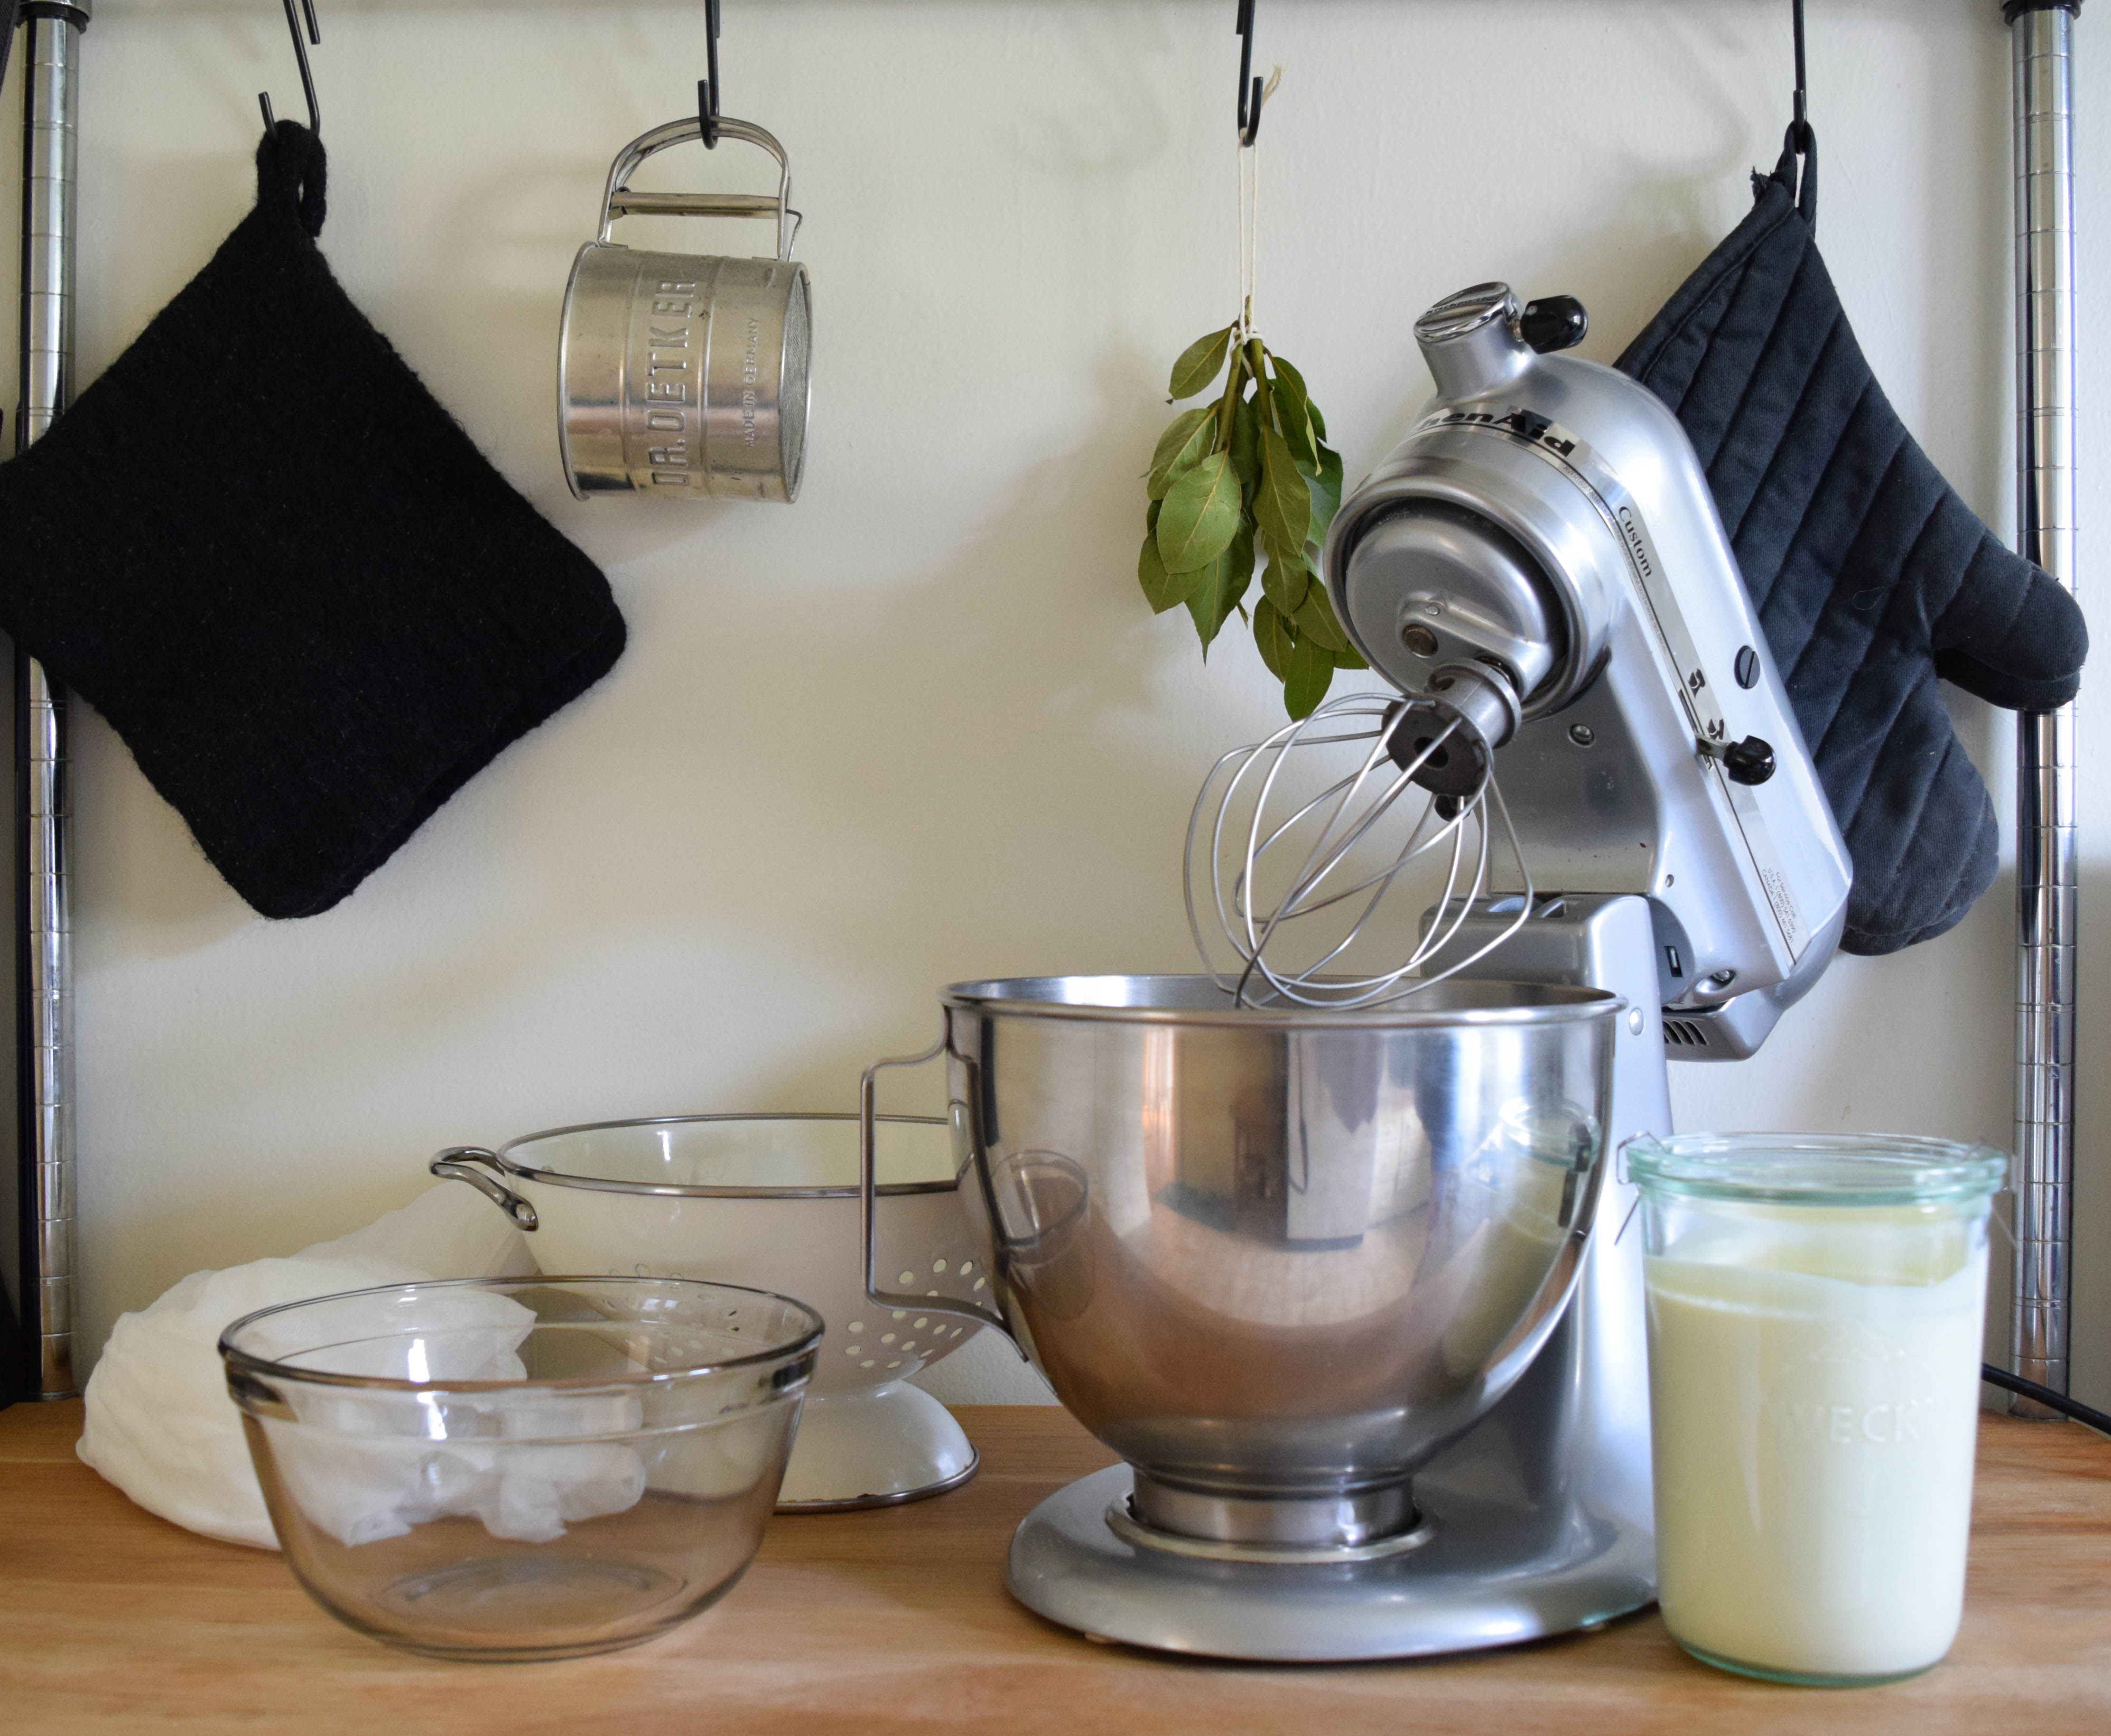
Equipment:
- stand or handheld mixer or food processor
- large bowl
- strainer and cheesecloth (optional)
- paper towels

Ingredients:
- 2 cups (470 ml) of heavy cream (raw cream, if you can find it; do not use ultra-pasteurized cream)
- [1/4 cup (60 g) of plain whole milk yogurt]
- salt to taste
- ice cubes or very cold water
- [For cultured butter, add cream and yogurt to a bowl and whisk until well combined. Cover the bowl with a clean kitchen towel and let it ferment at room temperature for 12 hours (very mild) to 36 hours (very tangy). The cream should thicken a little bit. Replace the kitchen towel with plastic wrap and transfer the bowl to the refrigerator. Let it sit for 1 to 2 hours to stop the fermentation process.]
- When you are ready to make the butter, make sure you have some ice cubes or a pitcher of very cold water ready. Pour the cream in the bowl of your stand mixer. Whip the cream, starting on low to avoid splashing and gradually increasing the speed to high.

- After 3-5 minutes, the fat will start to separate from the buttermilk:

- Decrease the speed to low to avoid splashing and continue whipping until the butter forms large clumps:

- Line the strainer with cheesecloth and place it over a bowl. Pour the butter and buttermilk into the strainer to separate them. Gather the corners of the cheesecloth and lightly squeeze the butterball to remove excess buttermilk. Fill the buttermilk into a jar with a tight fitting lid and place it in the fridge for later use.

- Transfer the butter to a large bowl. Now it is time to wash the butter to remove the remaining pockets of buttermilk that have formed in the fat. Add ice cold water to the bowl. Using the heel of your hand or a spatula, gently wash the butter by pressing down on it and folding it in on itself to squeeze out the buttermilk.

After 3 to 4 turns, dump the milky liquid and replace it with fresh cold water.

Repeat this step 4 to 5 times until the water stays clear. - Transfer the butter ball to a paper towel and lightly pat it dry. Add salt to taste and mix until well combined.

- Wrap the butter tightly in parchment paper or place it into a container with a tight fitting lid (I use a Weck jar).
Enjoy!
Don’t know what to do with the buttermilk? How about some delicious banana pancakes?