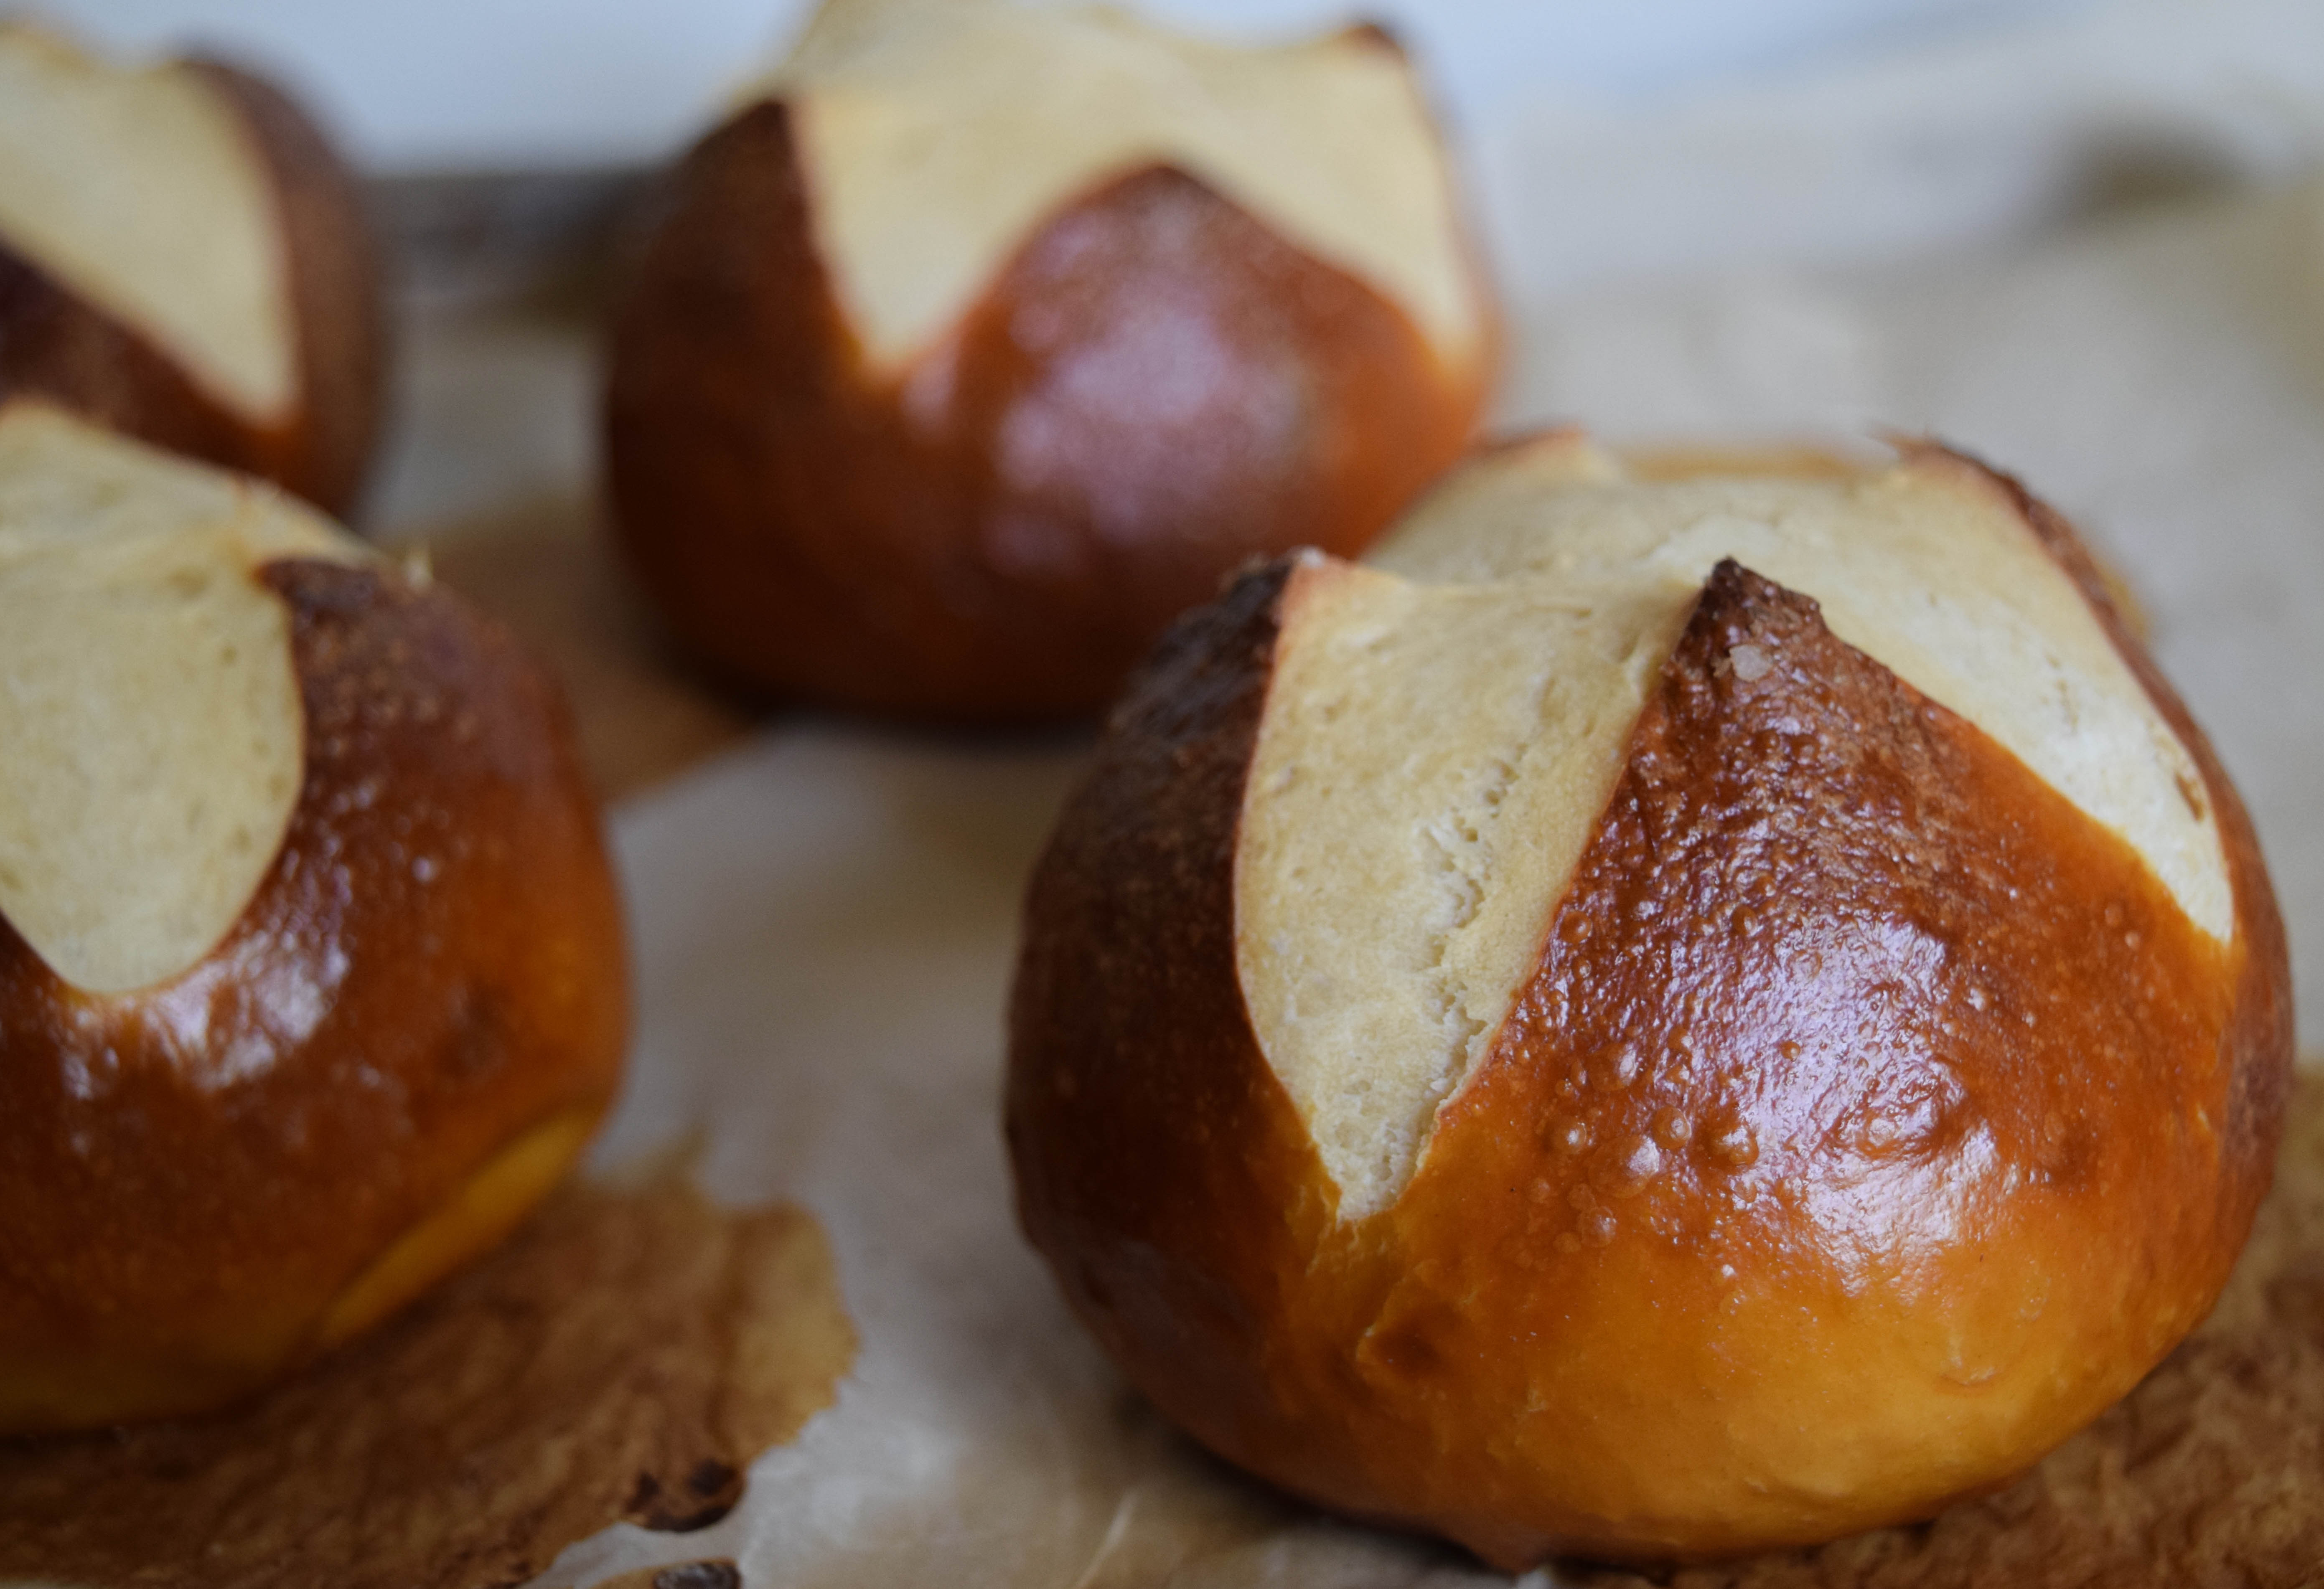
Really good pretzel buns can be hard to find, at least when you live in the States. They are not exactly a staple in every bakery, which is surprising, because I firmly believe that they make the best burger buns ever.
When I first decided to try making my own pretzel buns, I did a lot of research on the subject. Making a soft, flavorful yeast bun is not very difficult, but how do you recreate that dark distinctive crust?
To answer this question, we need to look at a very common chemical phenomenon that most people encounter in the kitchen on a daily basis: the Maillard reaction.
Simply put, the Maillard reaction is a chemical reaction between amino acids and sugars. It causes the browning of certain foods when they are cooked, grilled, or baked, and changes their aroma. Grilled meats, toast, and many other foods get their desired flavor from this chemical reaction. You need to reach certain temperatures to achieve a Maillard reaction, but there are ways to speed up the process. For example, you can:
- increase the temperature
- remove water
- add protein or a reducing sugar
- increase the pH
If you are no stranger to baking and cooking, you have probably used at least two of these methods without even thinking about it. Increasing the temperature seems like a no-brainer, but I am sure you have also brushed pastries or other baked goods with milk, cream, or eggs. Why do pastries that have been brushed with an egg wash get such a lovely golden brown crust? Because you added protein and sped up the Maillard reaction.
The secret to perfect pretzels lies in option number four: increasing the pH. The chemical lye, also known as sodium hydroxide, has an impressively high pH of about 14. There is just one thing: lye is poisonous and can be very dangerous. Do you remember that scene from Fight Club with the chemical burn on the back of his hand? Yes, that’s lye. So why would you use something this dangerous to make food?
It turns out that there have been several different attempts to recreate the classic pretzel flavor with household staples. Some people swear by brushing the buns with egg whites (adding protein), some dip them in a solution of water and baking soda (increasing the pH slightly), and others even concentrate baking soda in the oven to increase its pH even further before using it for a baking soda solution. But the truth is: if you want perfect pretzel flavor, there is simply no way around using lye. Everything else is just going to be second best.
Now let’s talk lye for a minute.
The most important thing to remember is that you need to use food grade lye (as opposed to the lye that is used for soap-making or to open clogged drains). You can find it on Amazon quite inexpensively.
If you have any two- or four-legged little ones in your household, please make sure to keep the lye away from them at all times. It might also be a good idea to ban children and pets from the kitchen altogether while you are working with sodium hydroxide. I always make sure that there are no distractions from the moment I mix the solution to after I have cleaned up everything that came into contact with the lye.
While the whole process is not as scary as it may sound at first, it is very important to always keep in mind that you are working with a potentially dangerous chemical. No matter how much experience you have in handling it, always follow these basic rules:
- Wear gloves, safety goggles (or glasses), and closed shoes when working with lye. Some sources also recommend long sleeves, but I prefer to combine short sleeves with longer rubber gloves that cover most of my forearms. Here is why: f you get lye solution on your skin, you can quickly wash it off with vinegar and/or water. If lye solution gets on your clothing, it will be absorbed by the fabric, so you will not be able to wipe it off and remove it from your skin as quickly. In addition, there is a risk that you could transfer the lye to other parts of your body while trying to take off the piece of clothing that came in contact with the lye.
- Keep a bottle of vinegar close by. Vinegar is at the opposite end of the pH spectrum, meaning it can neutralize sodium hydroxide.
- Use a plastic or glass container to mix your lye solution. Sodium hydroxide can react with metals, corroding and discoloring them.
- Always use cold water for the solution. Higher temperatures amplify the exothermic reaction and can cause splatter, etc. Also, the reaction will increase the temperature of the water (the reaction is exothermic, meaning it releases energy).
- Add lye to water, NEVER the other way around. Pouring water on lye can cause a violent exothermic reaction, potentially causing the lye to splatter out of the container.
- Add the lye very slowly, stirring constantly and very carefully to avoid splashing.
- Clean up as soon as you are done using the lye.
Now that you are sufficiently scared and are probably thinking “Why on earth would I ever want to do this myself, not to mention in my own home?” – relax. If you are taking the necessary precautions, there is nothing to be nervous about. I can be a bit of an overly cautious nervous Nelly myself, so if I can do it, so can you. And believe me, after you have tasted the resulting pillowy delicious soft pretzel buns, you will agree that they are absolutely worth it. It might also be interesting to mention that the cooking process deactivates the lye, which is why pretzels are perfectly safe to eat once they have been baked.
A short note about the dough: I almost exclusively work with doughs that include a pre-ferment. A pre-ferment is a fermentation starter, i.e., usually a mixture of flour, water, and yeast or sourdough, that you make at least 12 hours before mixing the actual dough. The use of pre-ferments yields a more complex (and better) flavor, and also increases the shelf life of your baked goods. This might sound a bit complicated and daunting, but the only disadvantage is that you need to know what and how much you want to bake about a day in advance. Mixing the actual fermentation starter usually takes only a couple of minutes, so it’s really not much of a hassle at all. To be honest, I used to be too impatient for starters. I always wanted to bake the very same day, and promises like “easy delicious bread in just two hours” sounded very appealing to me. The truth is: making a pre-ferment is always worth it. Super quick breads are never going to have as much flavor, and once you get used to mixing the starter the evening before you bake, you will never go back, I promise.
The dough I use here is slightly adapted from this recipe, which I found on an amazing German blog about all things bread (Plötzblog).
So let’s get started with the best pretzel buns ever…
Here’s what you’ll need (for 6 burger buns):
Equipment:
- long rubber gloves (I use these dishwashing gloves)
- safety goggles (I just wear my regular glasses)
- glass or plastic bowl
- slotted spoon
- (stand) mixer with a dough hook (you can knead the dough by hand, too)
- spray bottle with water
- baking/pizza stone (optional)
For the pre-ferment (make at least 12 hours before mixing the main dough):
- 70 g all purpose flour (I like to use unbleached flour)
- 40 g water
- 1 g dry yeast
For the main dough (time required from mixing the main dough until you have finished buns: about 3-3.5 hours):
- 235 g all purpose flour (plus extra flour for the work surface)
- 130 g water
- 7 g dry yeast
- 1 large tablespoon barley malt syrup
- 15 g butter
- 6 g salt
- coarse salt for sprinkling on the buns (optional), alternatively you could also use sesame seeds or poppy seeds
For the lye solution:
- 500 g cold water (just over 2 cups)
- 1.5 tablespoons food grade lye
- (white vinegar – think of it as your fire extinguisher to neutralize the lye in case of spills)
- At least 12 hours before you want to make your main dough, mix the ingredients for the pre-ferment in a small bowl, cover with a clean dish towel or paper towel and let it ferment at room temperature.
After 12 hours, it will look something like this:

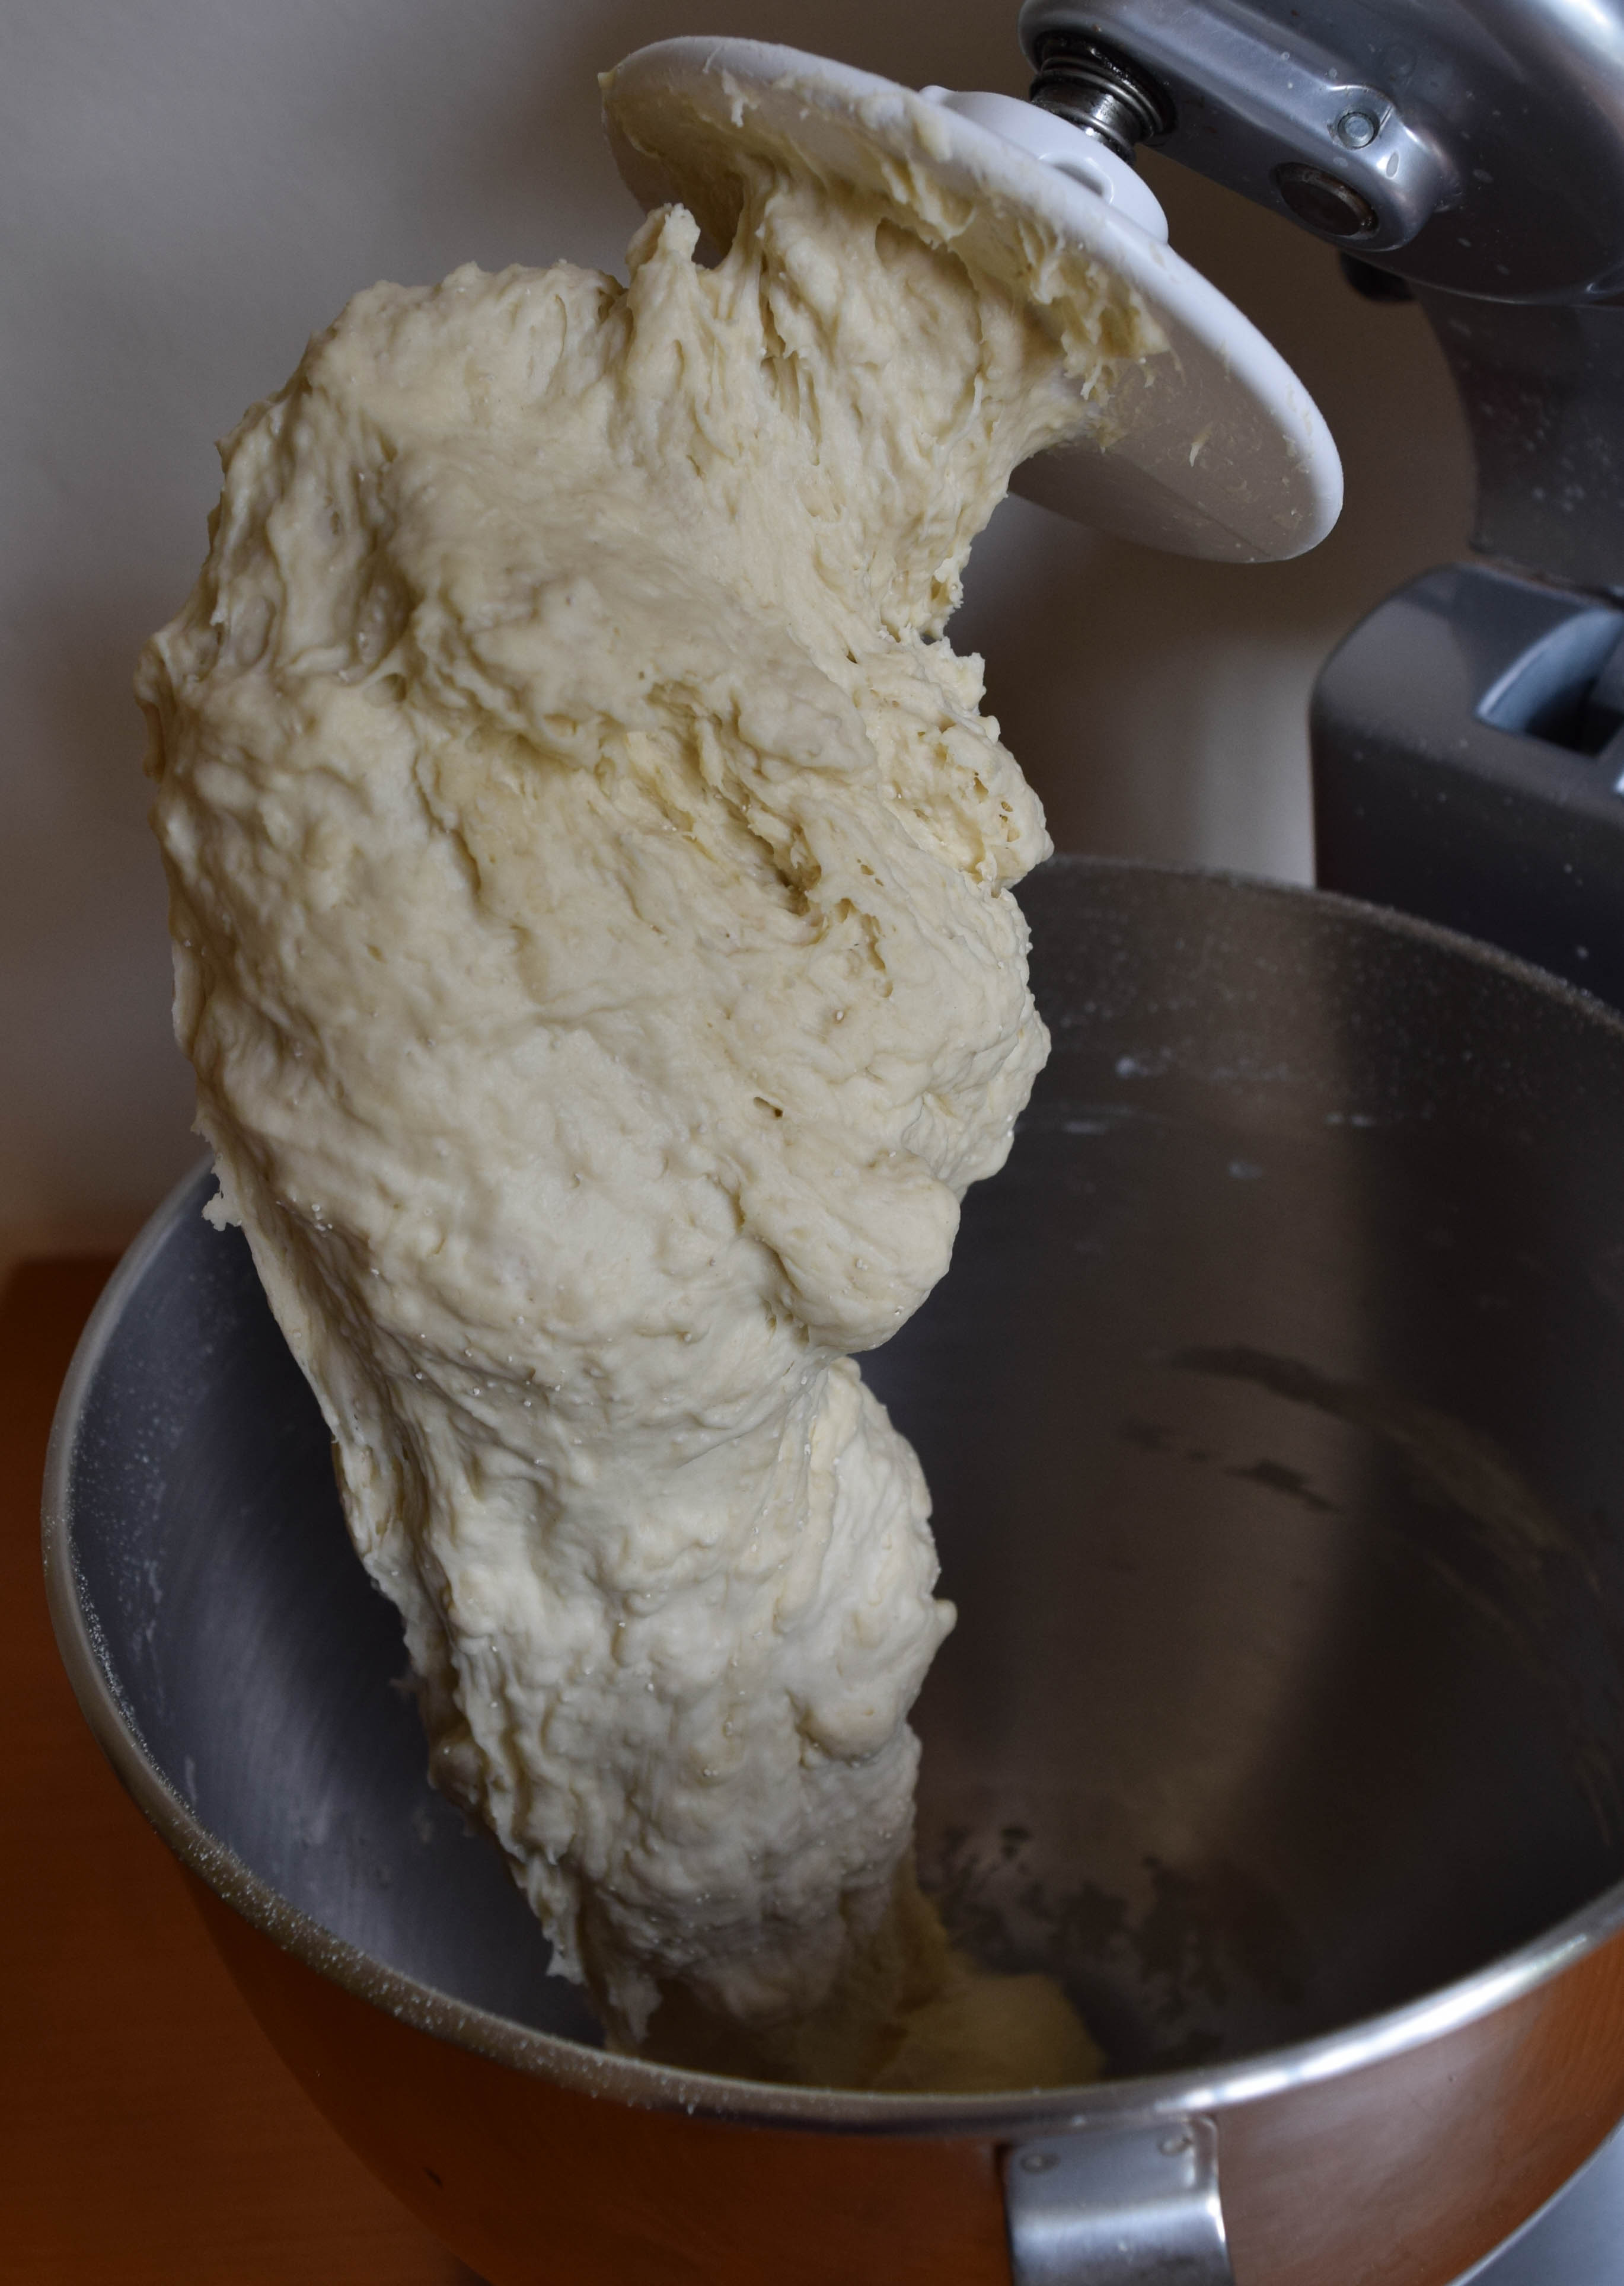
- For the main dough, add the pre-ferment, flour, water, yeast, and barley malt syrup in the bowl of your mixer. Mix on low for about 5 minutes.

- Add the butter and salt and mix on the second speed setting for about 8 minutes. To make sure it gets kneaded evenly, stop the mixer after 4 minutes, slide the dough off the dough hook, turn it over, and continue mixing it. After 8 minutes, the dough will be silky soft and should feel slightly tacky, but not sticky.

- If the dough sticks to your hands too much, sprinkle it with a little bit of flour. Shape the dough into a ball and transfer it to a floured work surface. Let is rest for 5 minutes.

- Using a knife or a bench knife/dough scraper, divide the dough into six equal pieces, each weighing about 80 g. (I made a double batch, so I ended up with 12 buns.)

- Rub some flour between your palms to keep the dough from sticking to your hands. Take one of the pieces and place it in your (left) hand (if you are right-handed). With the other hand, grab one of the corners, pull it up a little bit, fold it towards the middle and press it down. Repeat this folding technique while slowly working your way around the edge. You will end up with a nice round ball of dough that has a taut, smooth surface on the bottom (the side touching the palm of your (left) hand and the seams on the top. The folding process looks something like this:

- Place one of the dough balls on an unfloured are of the work surface with the smooth side facing up. Loosely place your hand over the ball. You want your fingertips and the heel of your hand to touch the work surface, while your palm touches the top of the dough ball without really pressing down on it. Now quickly rotate your hand in small circles. Think of your hand as a cage for the dough that prevents it from flipping over, while forcing it to move in a tight circle.

It sounds a little complicated, but once you get a feel for it, it’s actually very easy. The dough should stick to the work surface a little bit, so your small circular movements will close the seams on the bottom by pulling a little bit of dough over them. If the dough does not stick to the surface at all and just rotates freely with your hand (so you feel no resistance whatsoever), spray a little bit of water on the surface and try again. When you are done, the bottom of the shaped bun should look like this:

- Place the buns on a baking sheet lined with two layers of parchment paper (or a silicone baking mat) and place them in the fridge (do not cover them!) for 2 hours. You want a skin to form on the buns to get that perfect, smooth pretzel crust.

- After about one hour, preheat your oven to 425°F (if you have a baking stone, be sure to preheat it in the oven). One of the biggest mistakes you can make when baking any type of bread is to not preheat your oven well enough. Place a small oven-safe dish with water in the oven.
- Don your gloves and goggles and prepare your lye dipping station. Place a plastic or glass bowl in an empty sink and fill it with about 2 cups of COLD water. Grab the slotted spoon, a sharp knife, and a small bowl with the coarse salt and place them next to you, make sure the white vinegar is within easy reach. Take the baking sheet with the buns out of the refrigerator. Slowly add the lye to the water, stirring slowly and carefully with your slotted spoon to avoid splatter. When the lye is completely dissolved, grab the first bun, place it on the slotted spoon and gently lower it into the lye solution.

Let it float for 10 seconds, carefully turn it over, and wait another 10 seconds before you remove it with the slotted spoon. Let any excess lye drip off and place it back on the baking sheet. (The reason you used two layers of parchment is to protect your baking sheet from the lye – remember, lye can react with metals.) Repeat with the other buns. After they have been dipped in the lye solution, the buns will look slightly more yellow, this is perfectly normal. Using the sharp knife, cut the tops of the buns crosswise. Sprinkle with coarse salt. - Clean up your lye dipping station. You can carefully add more cold water or vinegar to the bowl and pour the diluted/neutralized lye mixture down the drain (it is a drain opener, after all – do not dump it in a drain with a garbage disposal). Do not take off your gloves just yet. Clean all utensils that came in contact with the lye, then wash your gloved hands. When everything has been cleaned, take off your gloves.
- Place the baking sheet in the oven. I use a baking stone and simply slide the parchment paper with the buns onto the preheated stone in the oven. Bake until they have the characteristic dark brown crust, about 12 minutes.
- Transfer the buns to a cooling rack and immediately mist them with water from your spray bottle. This will give the crust an extra sheen.


Enjoy them warm with just a little bit of butter. They are also amazing for burgers or pulled pork sandwiches, because they do not fall apart as fast as sesame burger buns. The buns are best on the day you make them. If you don’t eat them all (haha, as if…), place the leftovers in a paper bag or a bread box. The next day, simply pop them in the oven for a couple of minutes and they will be good as new.
You could also shape them into traditional pretzels or make hot dog buns with the same dough.
Let me know how they turned out!
