
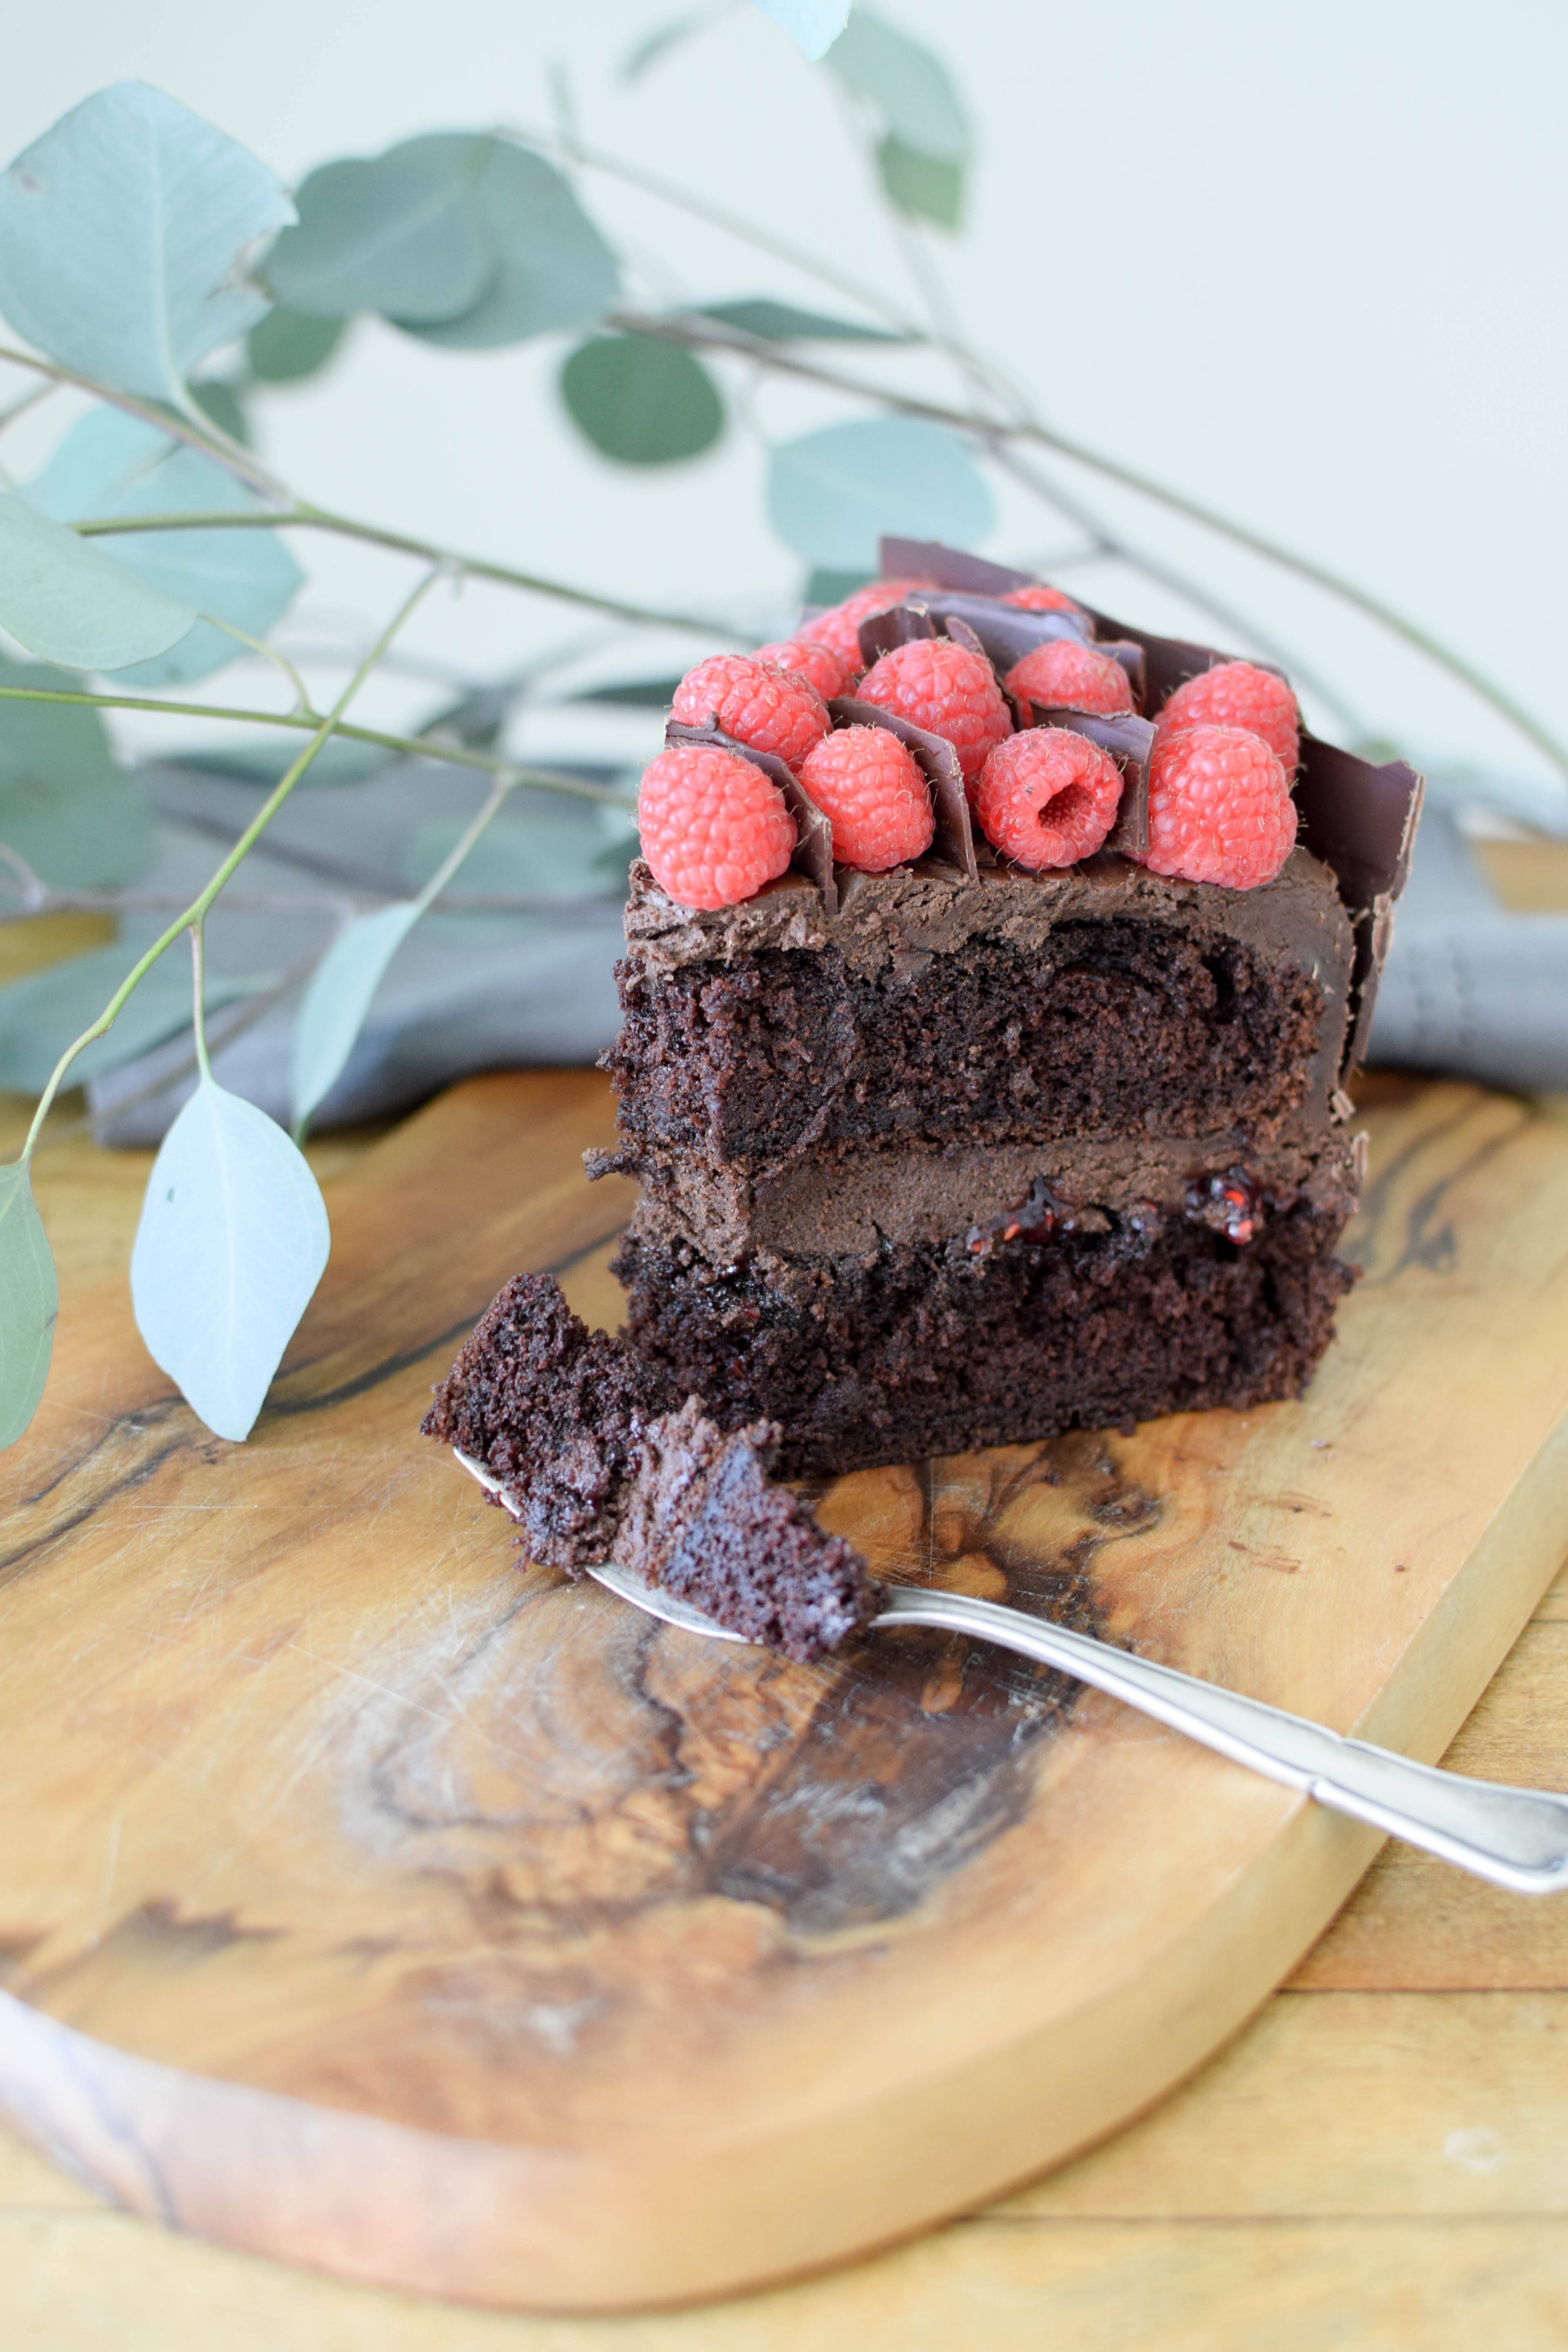
This recipe has long been one of my favorites, and it’s probably the one that has changed the most over time. It used to be a simple (and admittedly slightly dry) sponge cake, layered with a combination of whipped cream and melted chocolate, and has evolved into a decadently moist and fudgy cake with a silky chocolate buttercream frosting. But the one thing I would never change about this cake is it’s design.
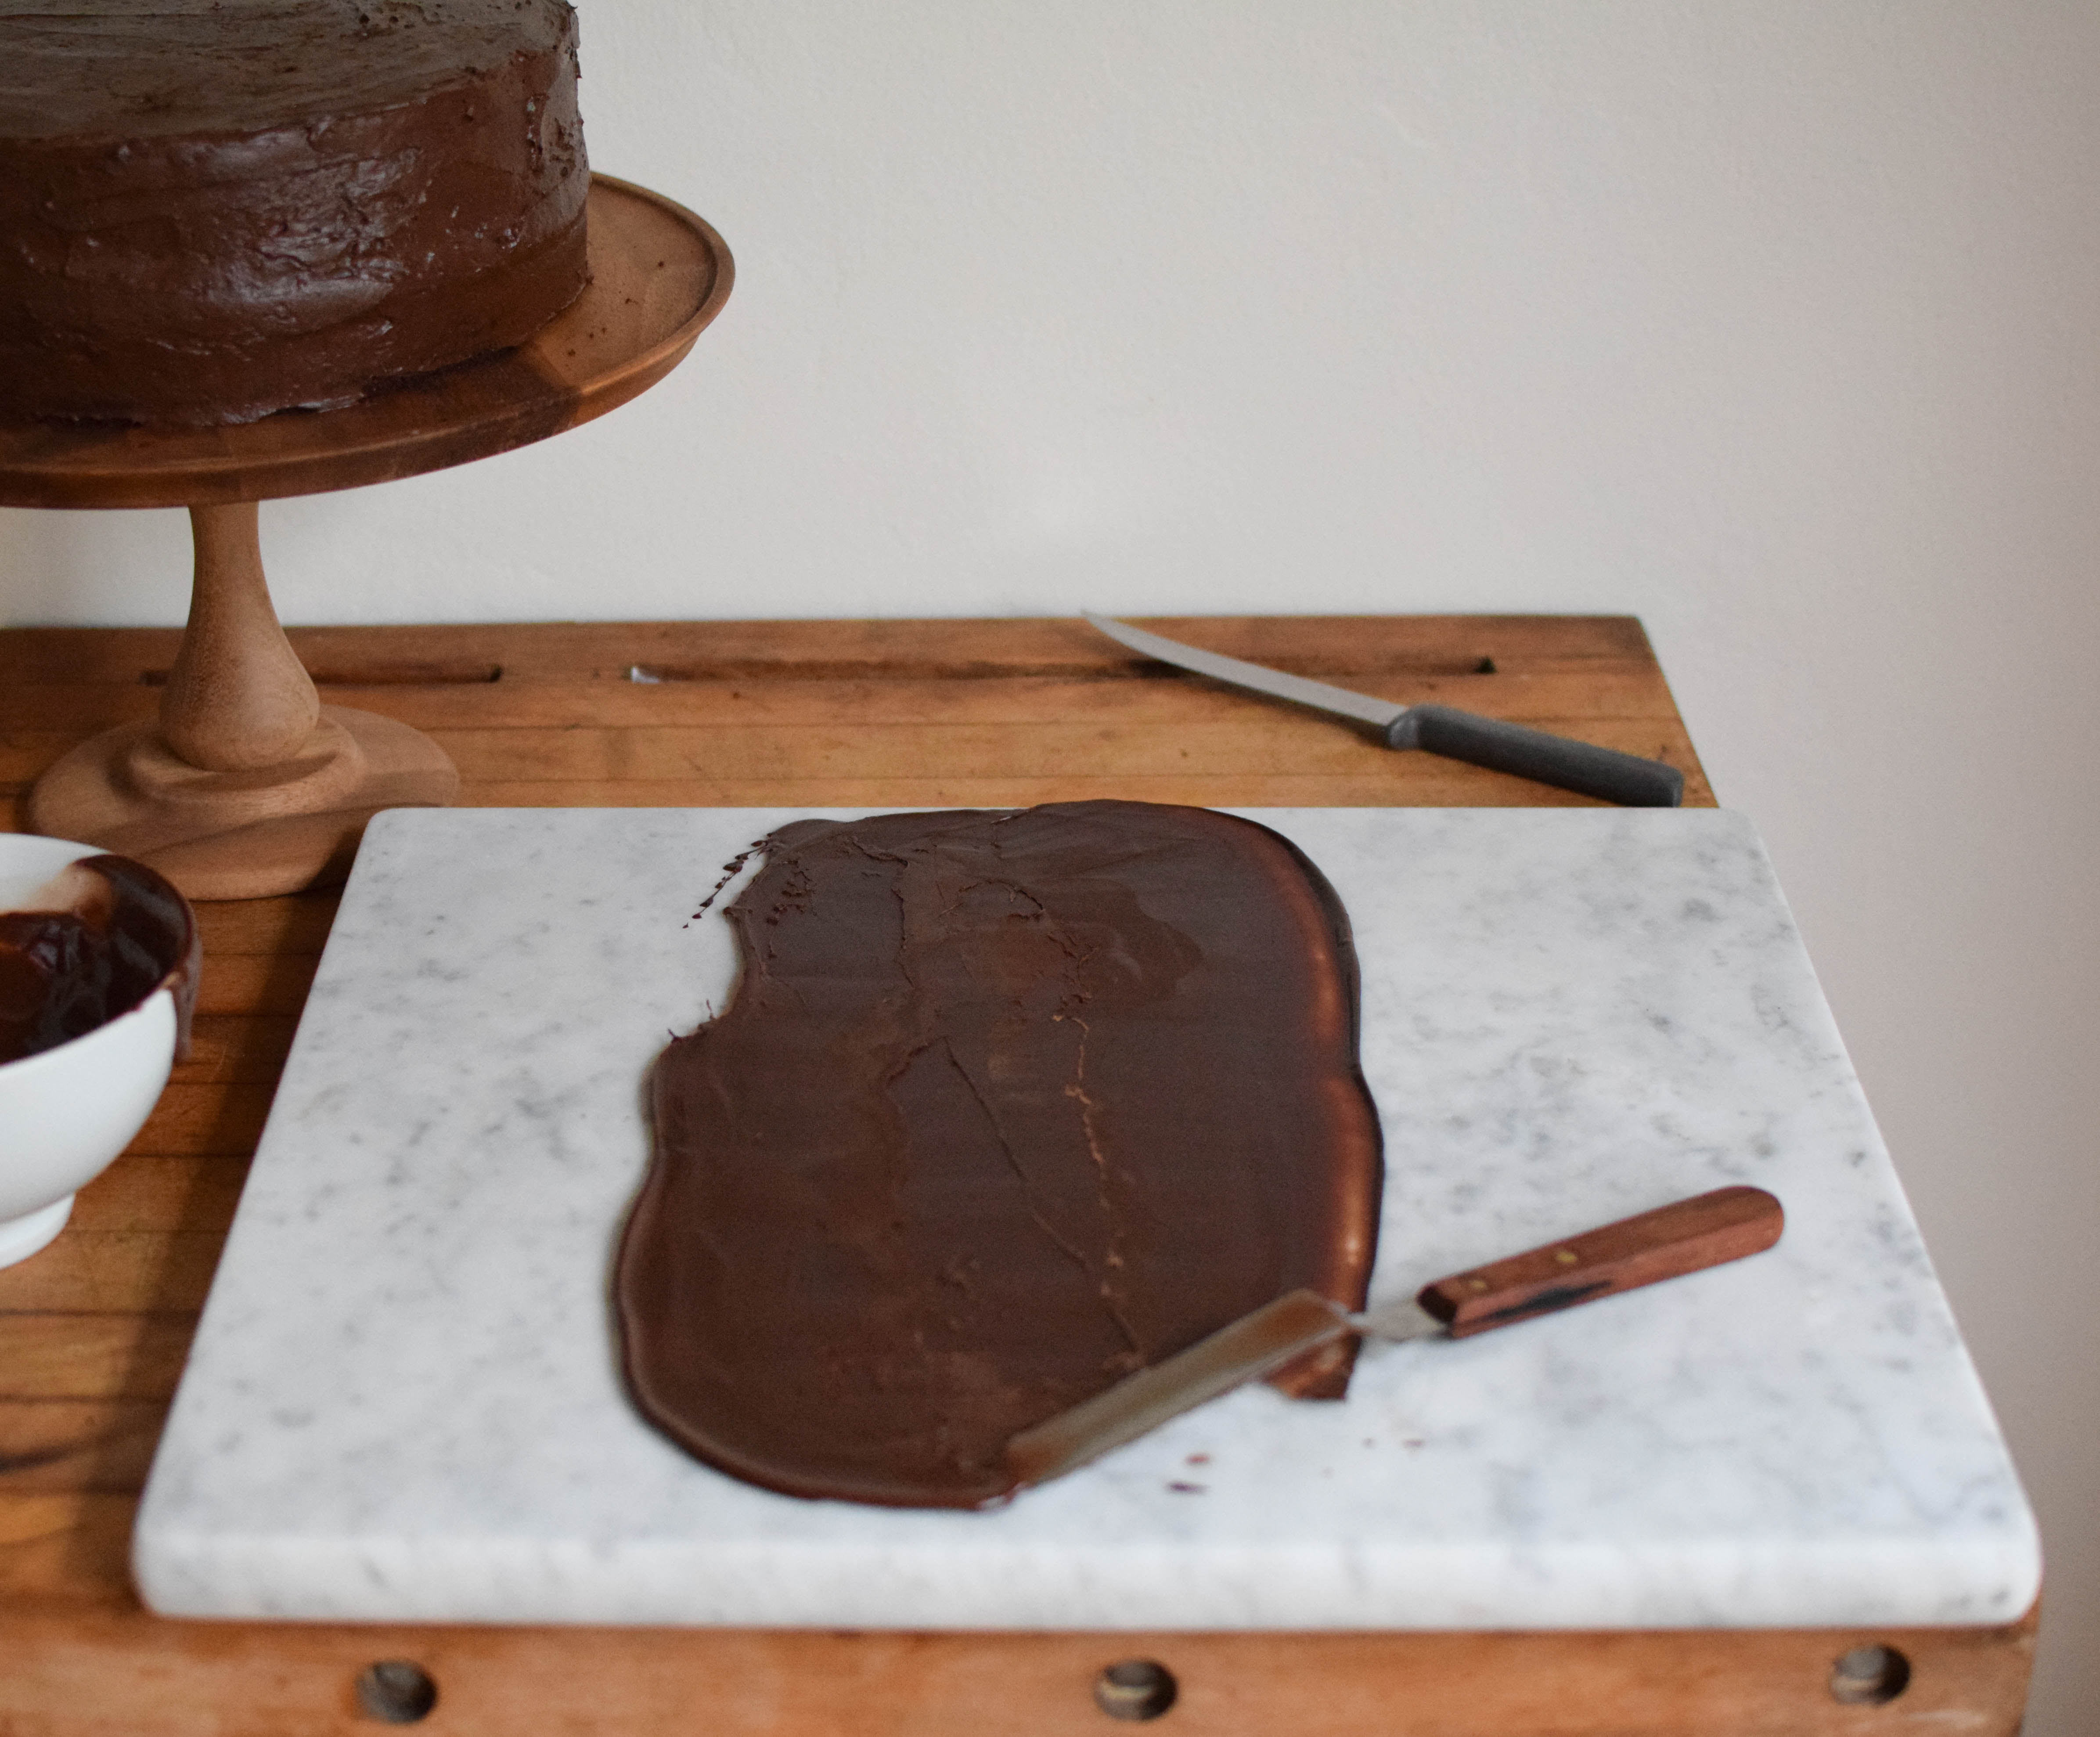
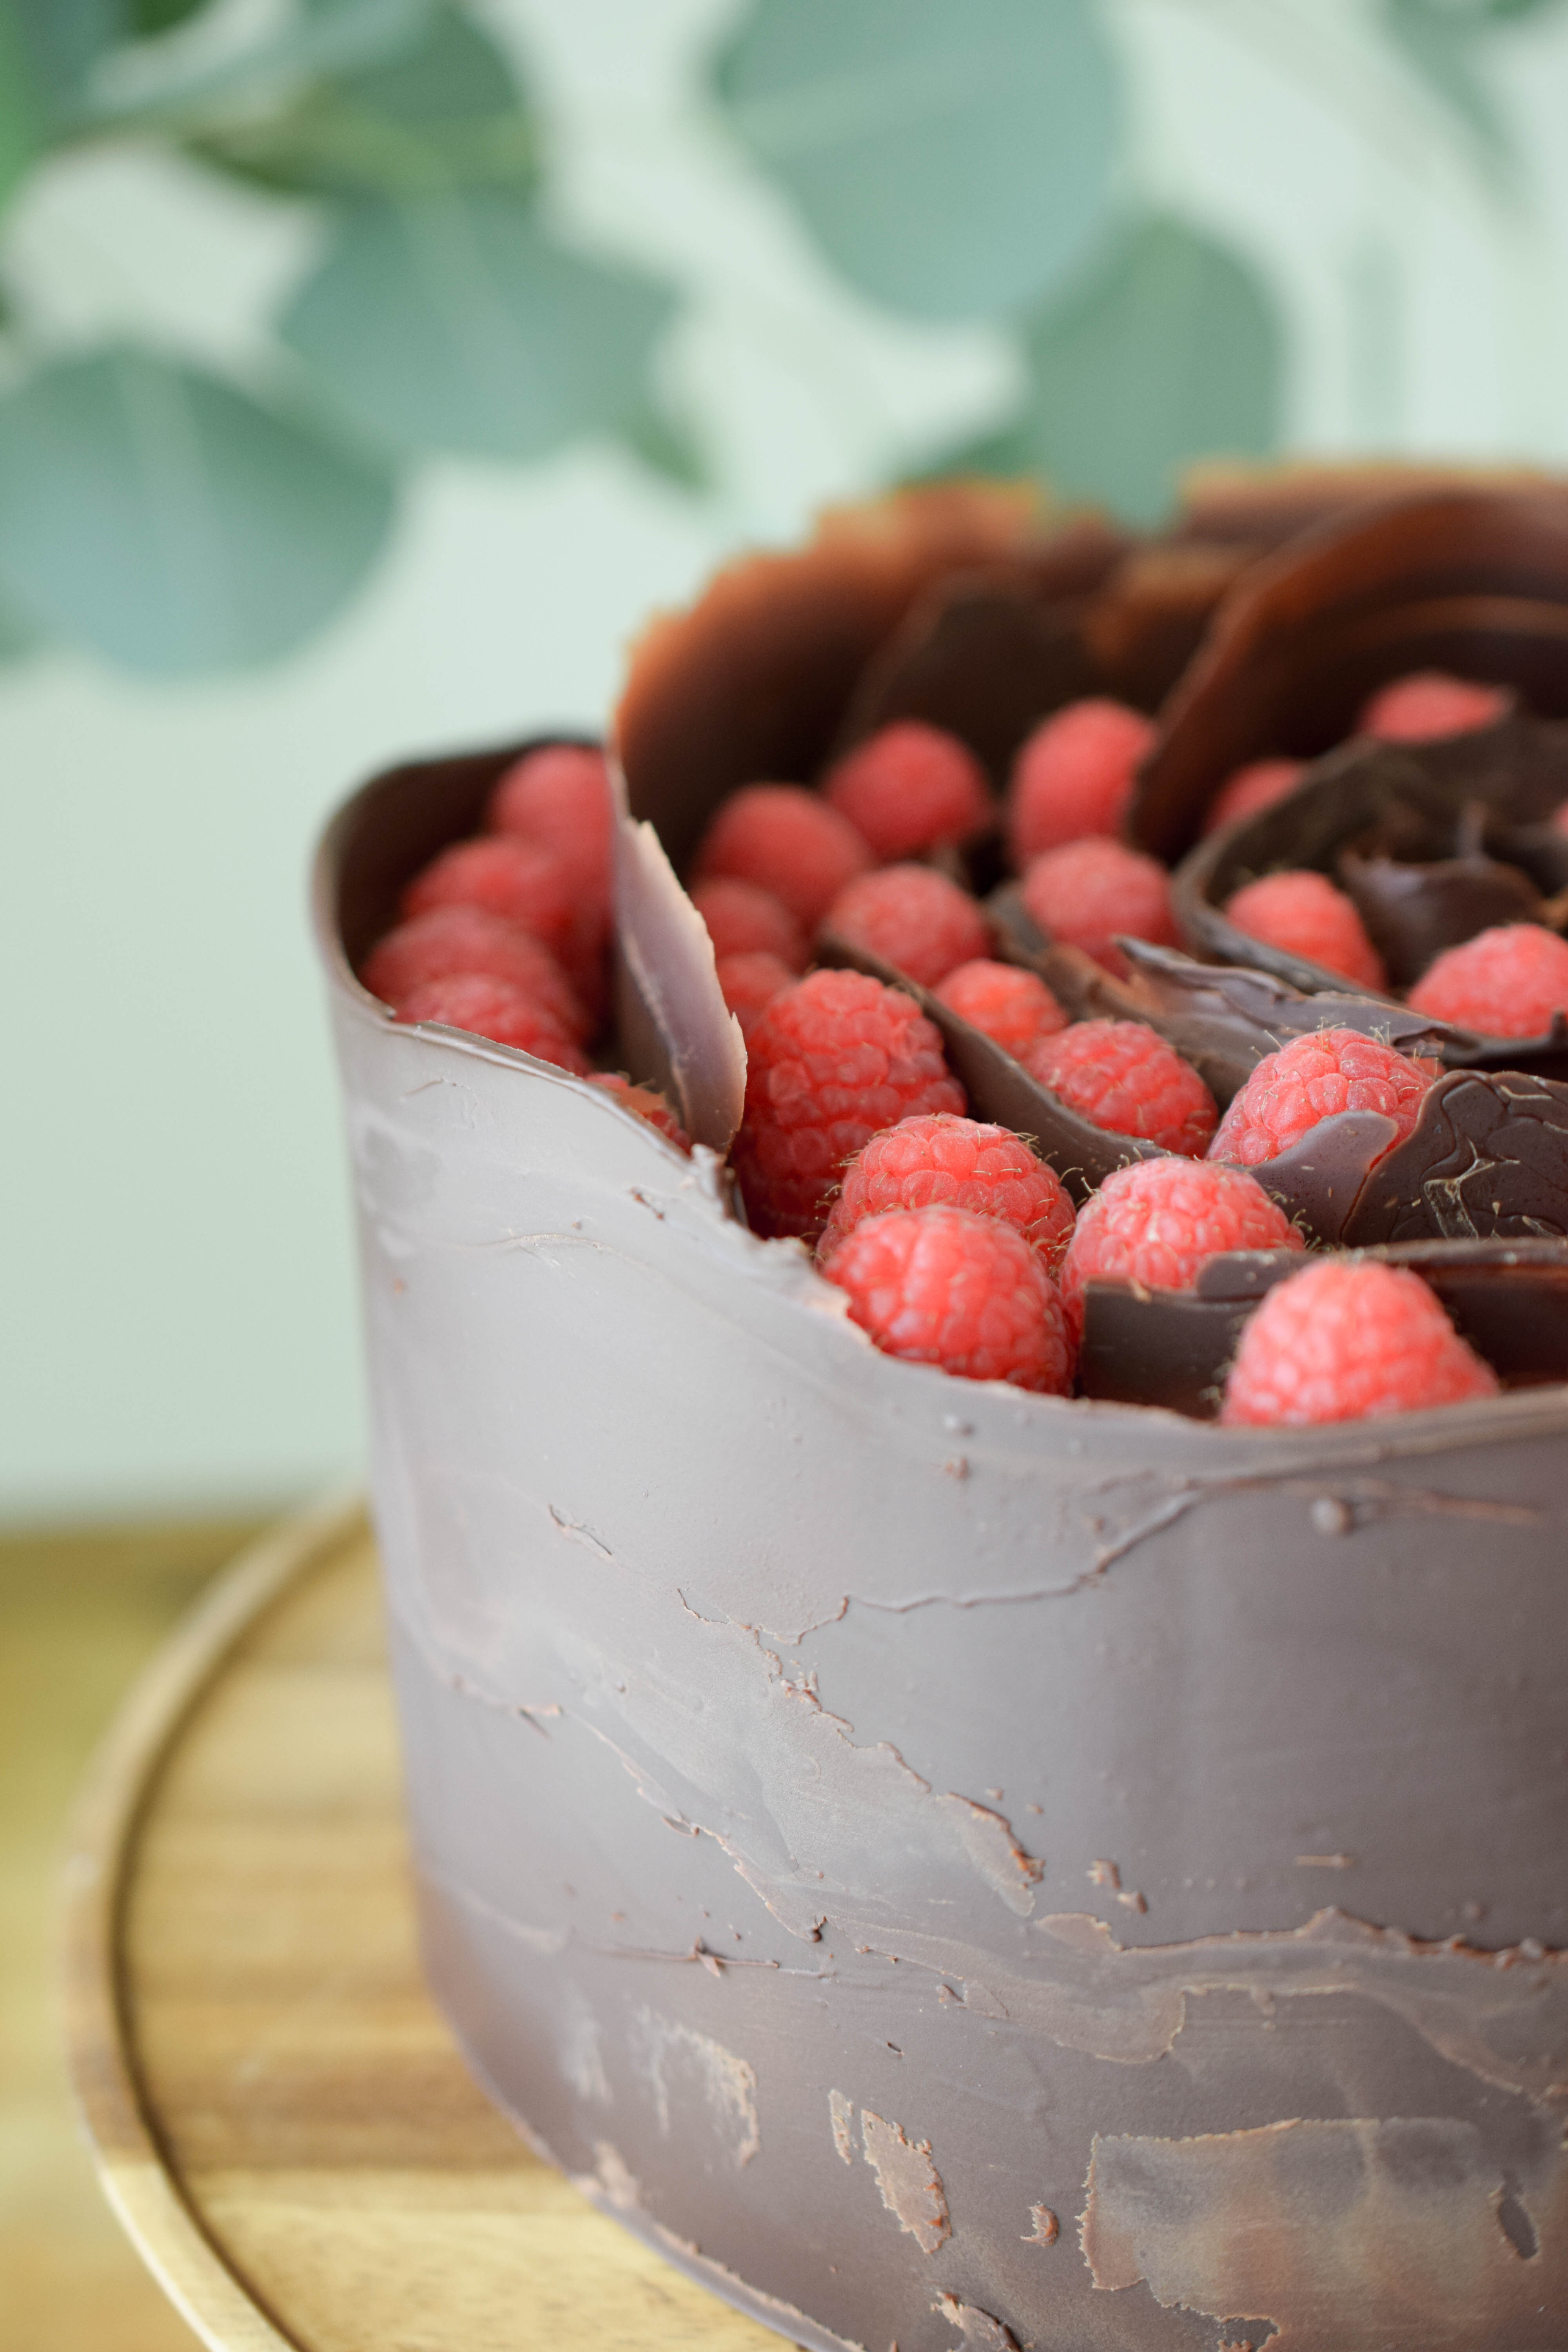
It all started when I learned a little cake decorating trick during a short internship at a bakery in France: Spread melted chocolate on an ice cold marble slab and it will harden almost instantly. If you work quickly and add a little bit of vegetable oil to the melted chocolate beforehand, it will stay flexible enough to be wrapped around a cake. It’s so simple, yet absolutely genius!
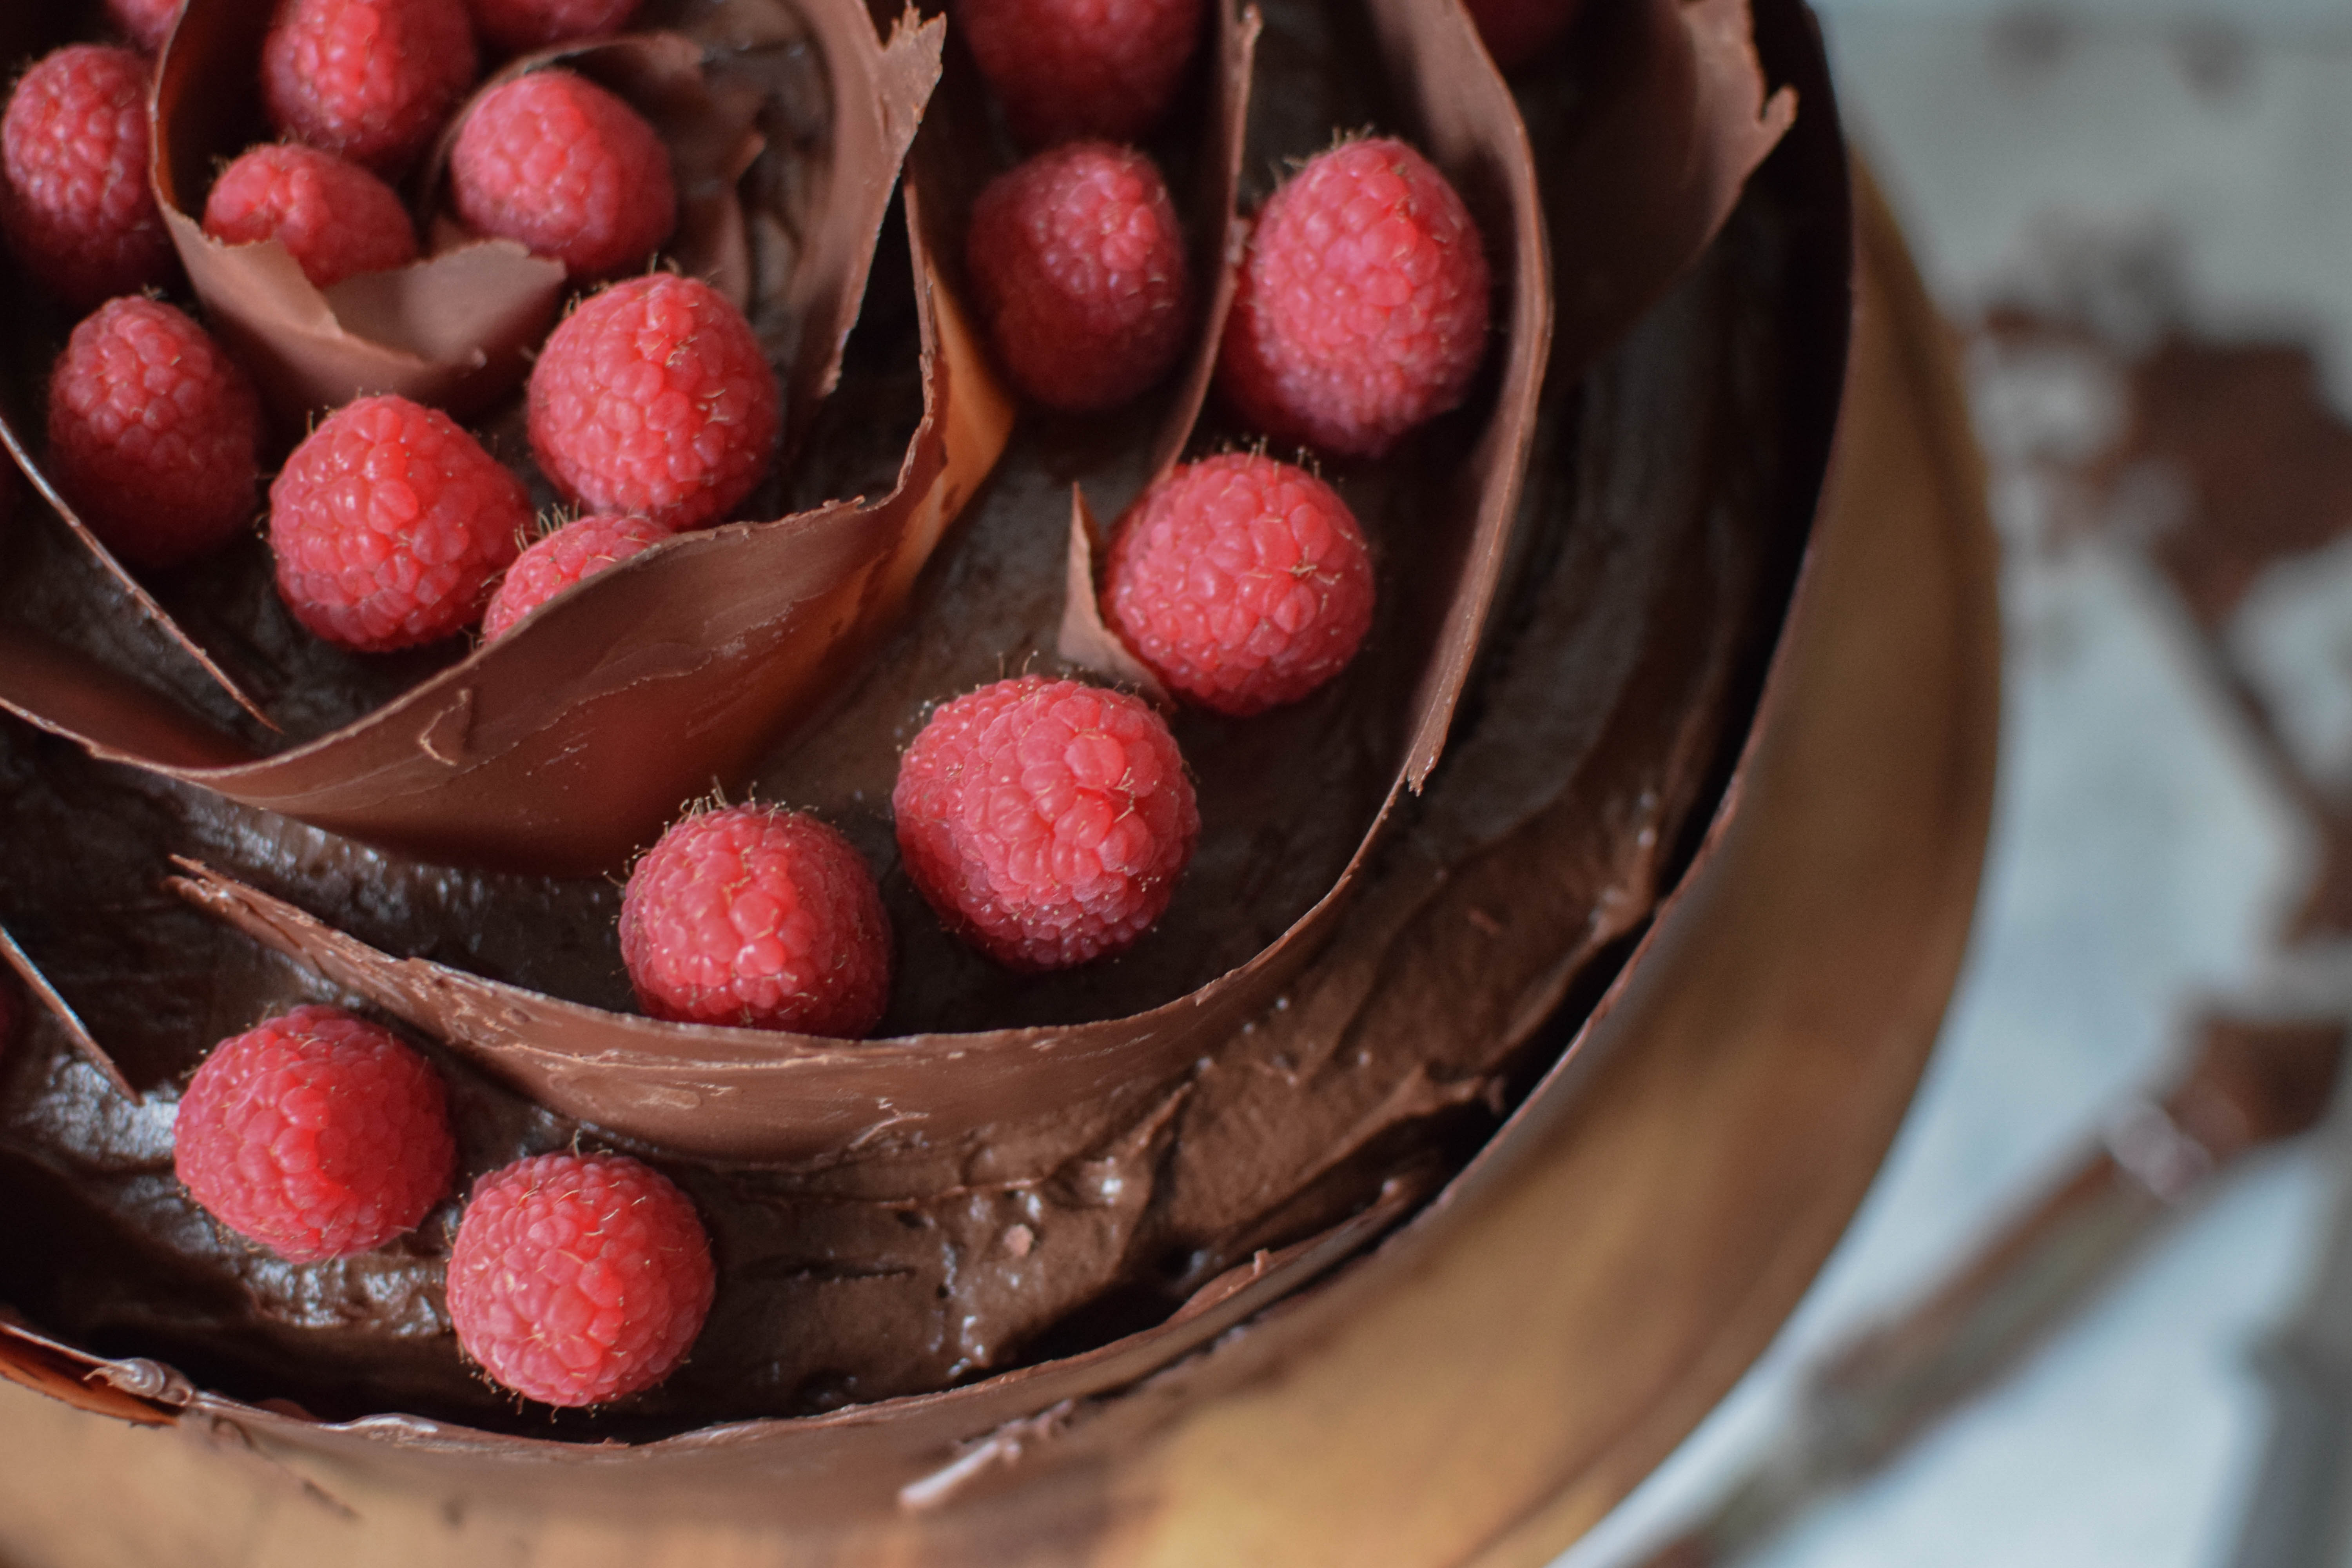
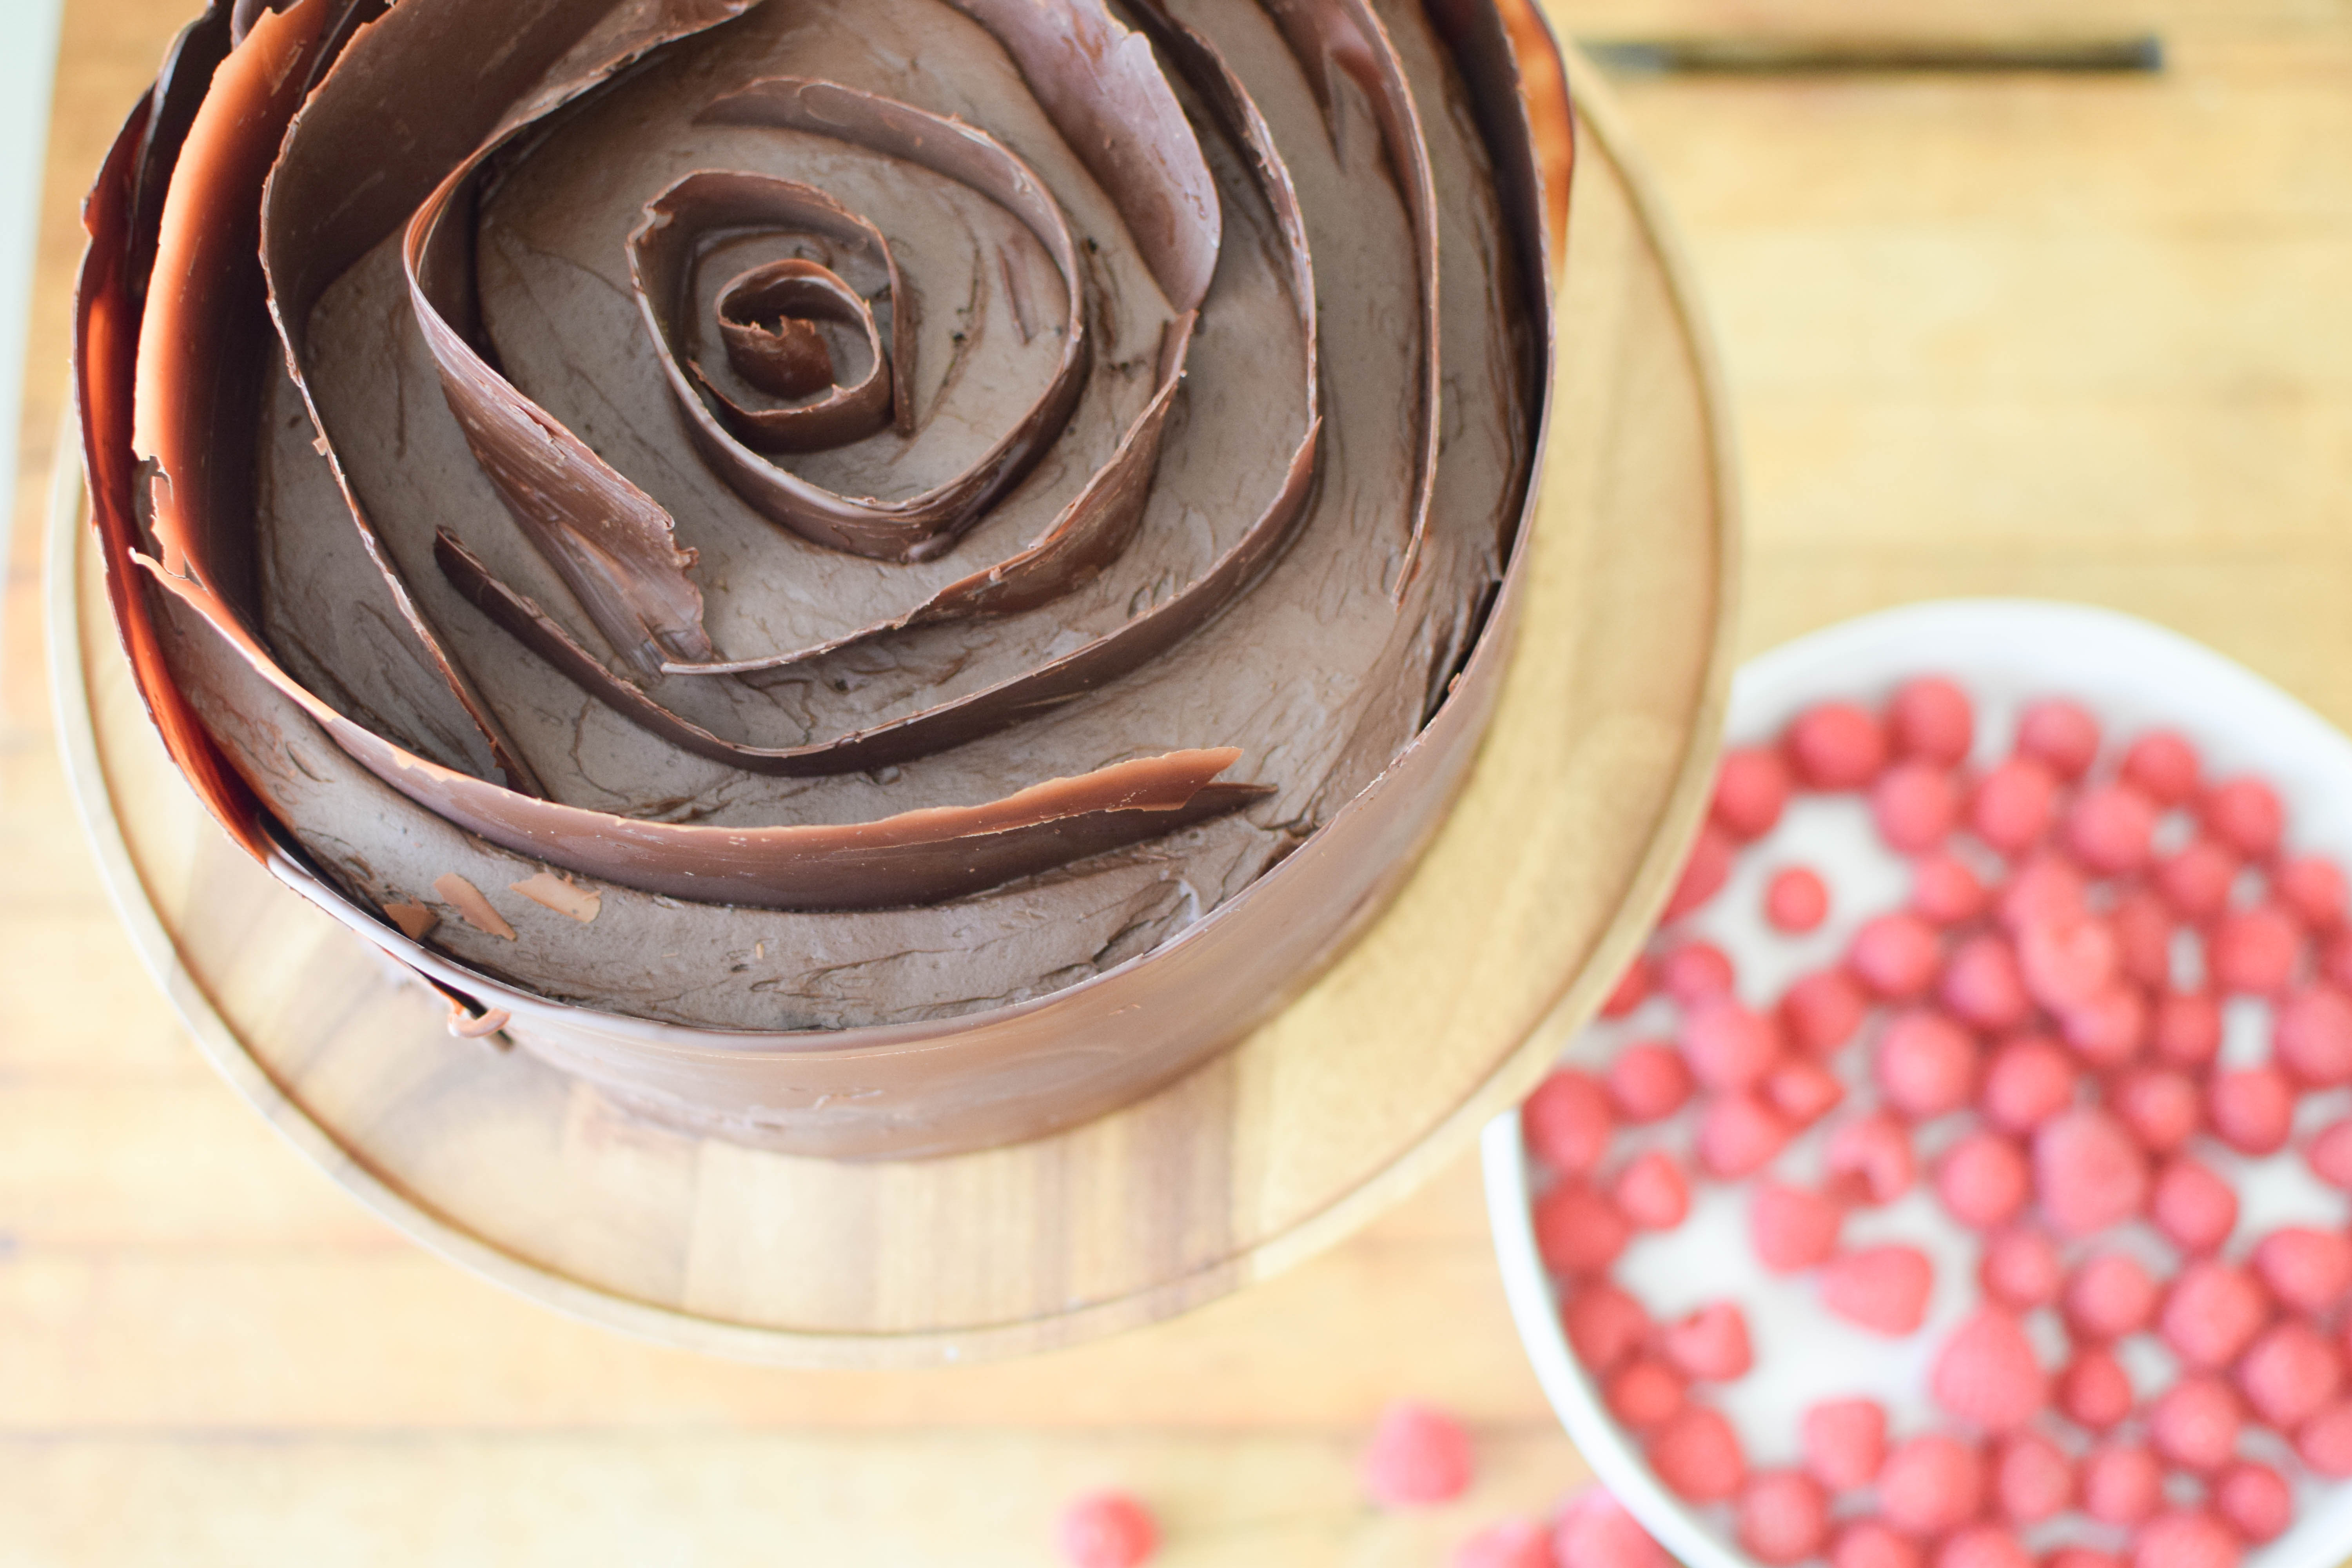
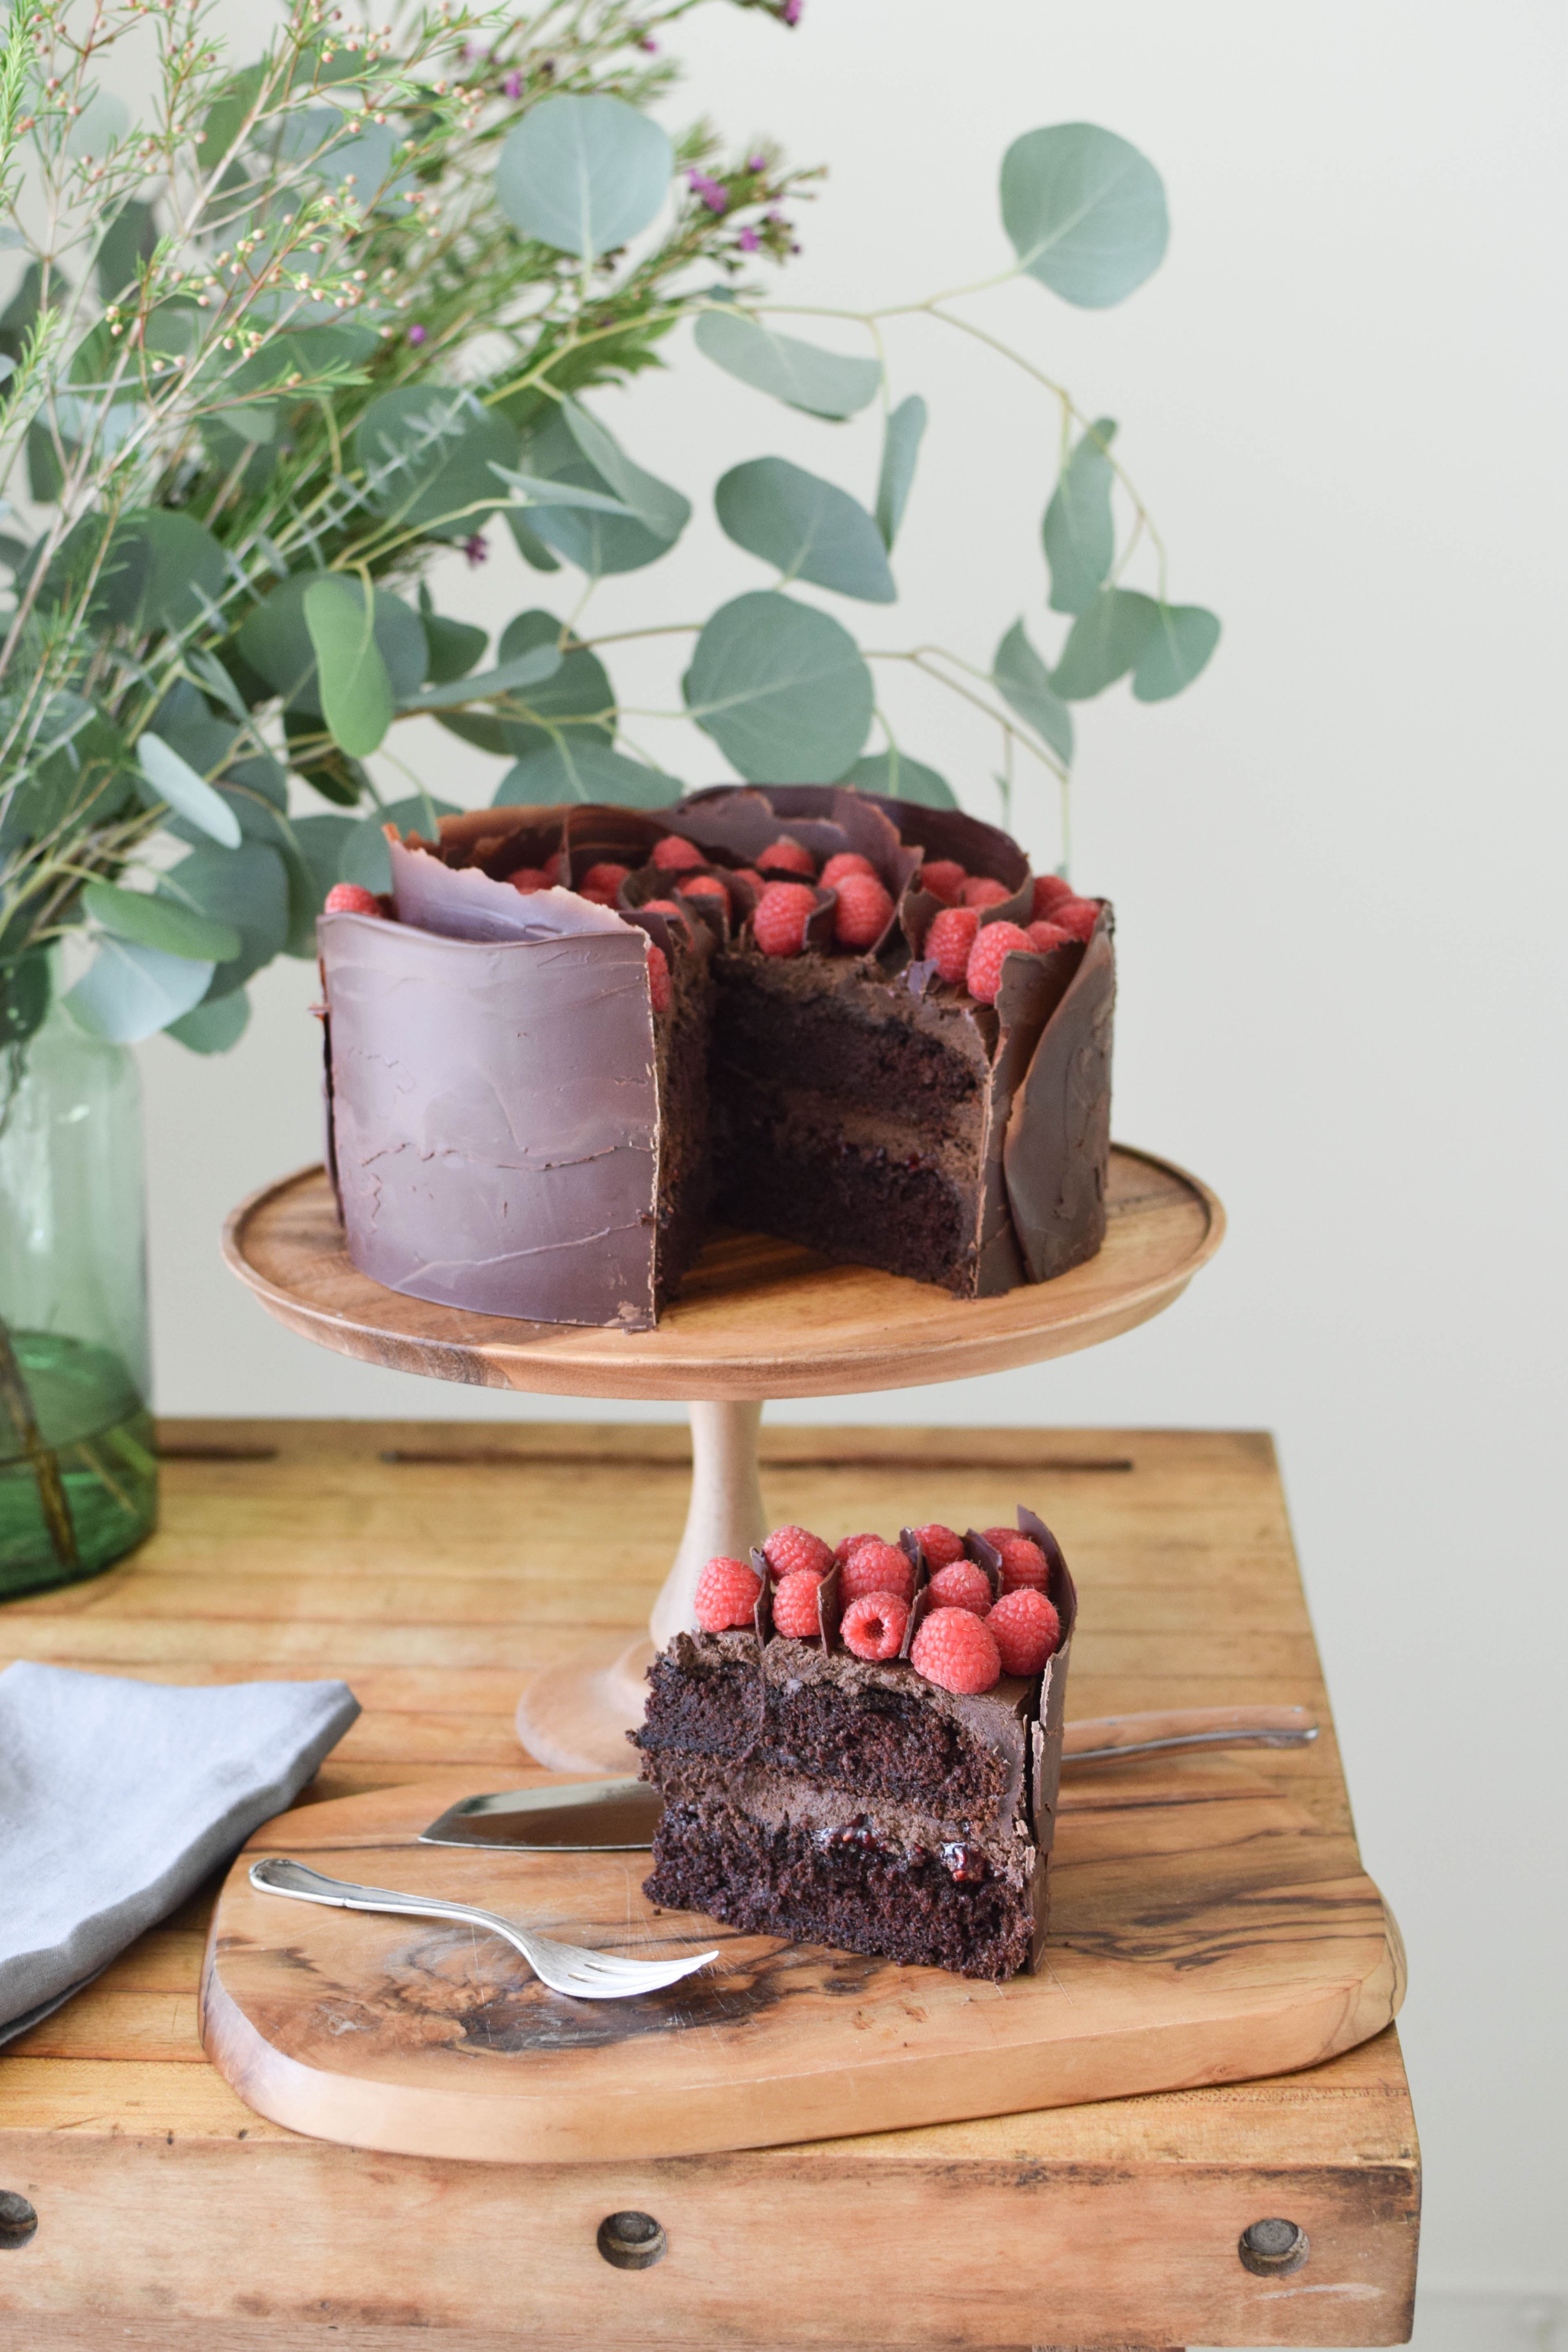
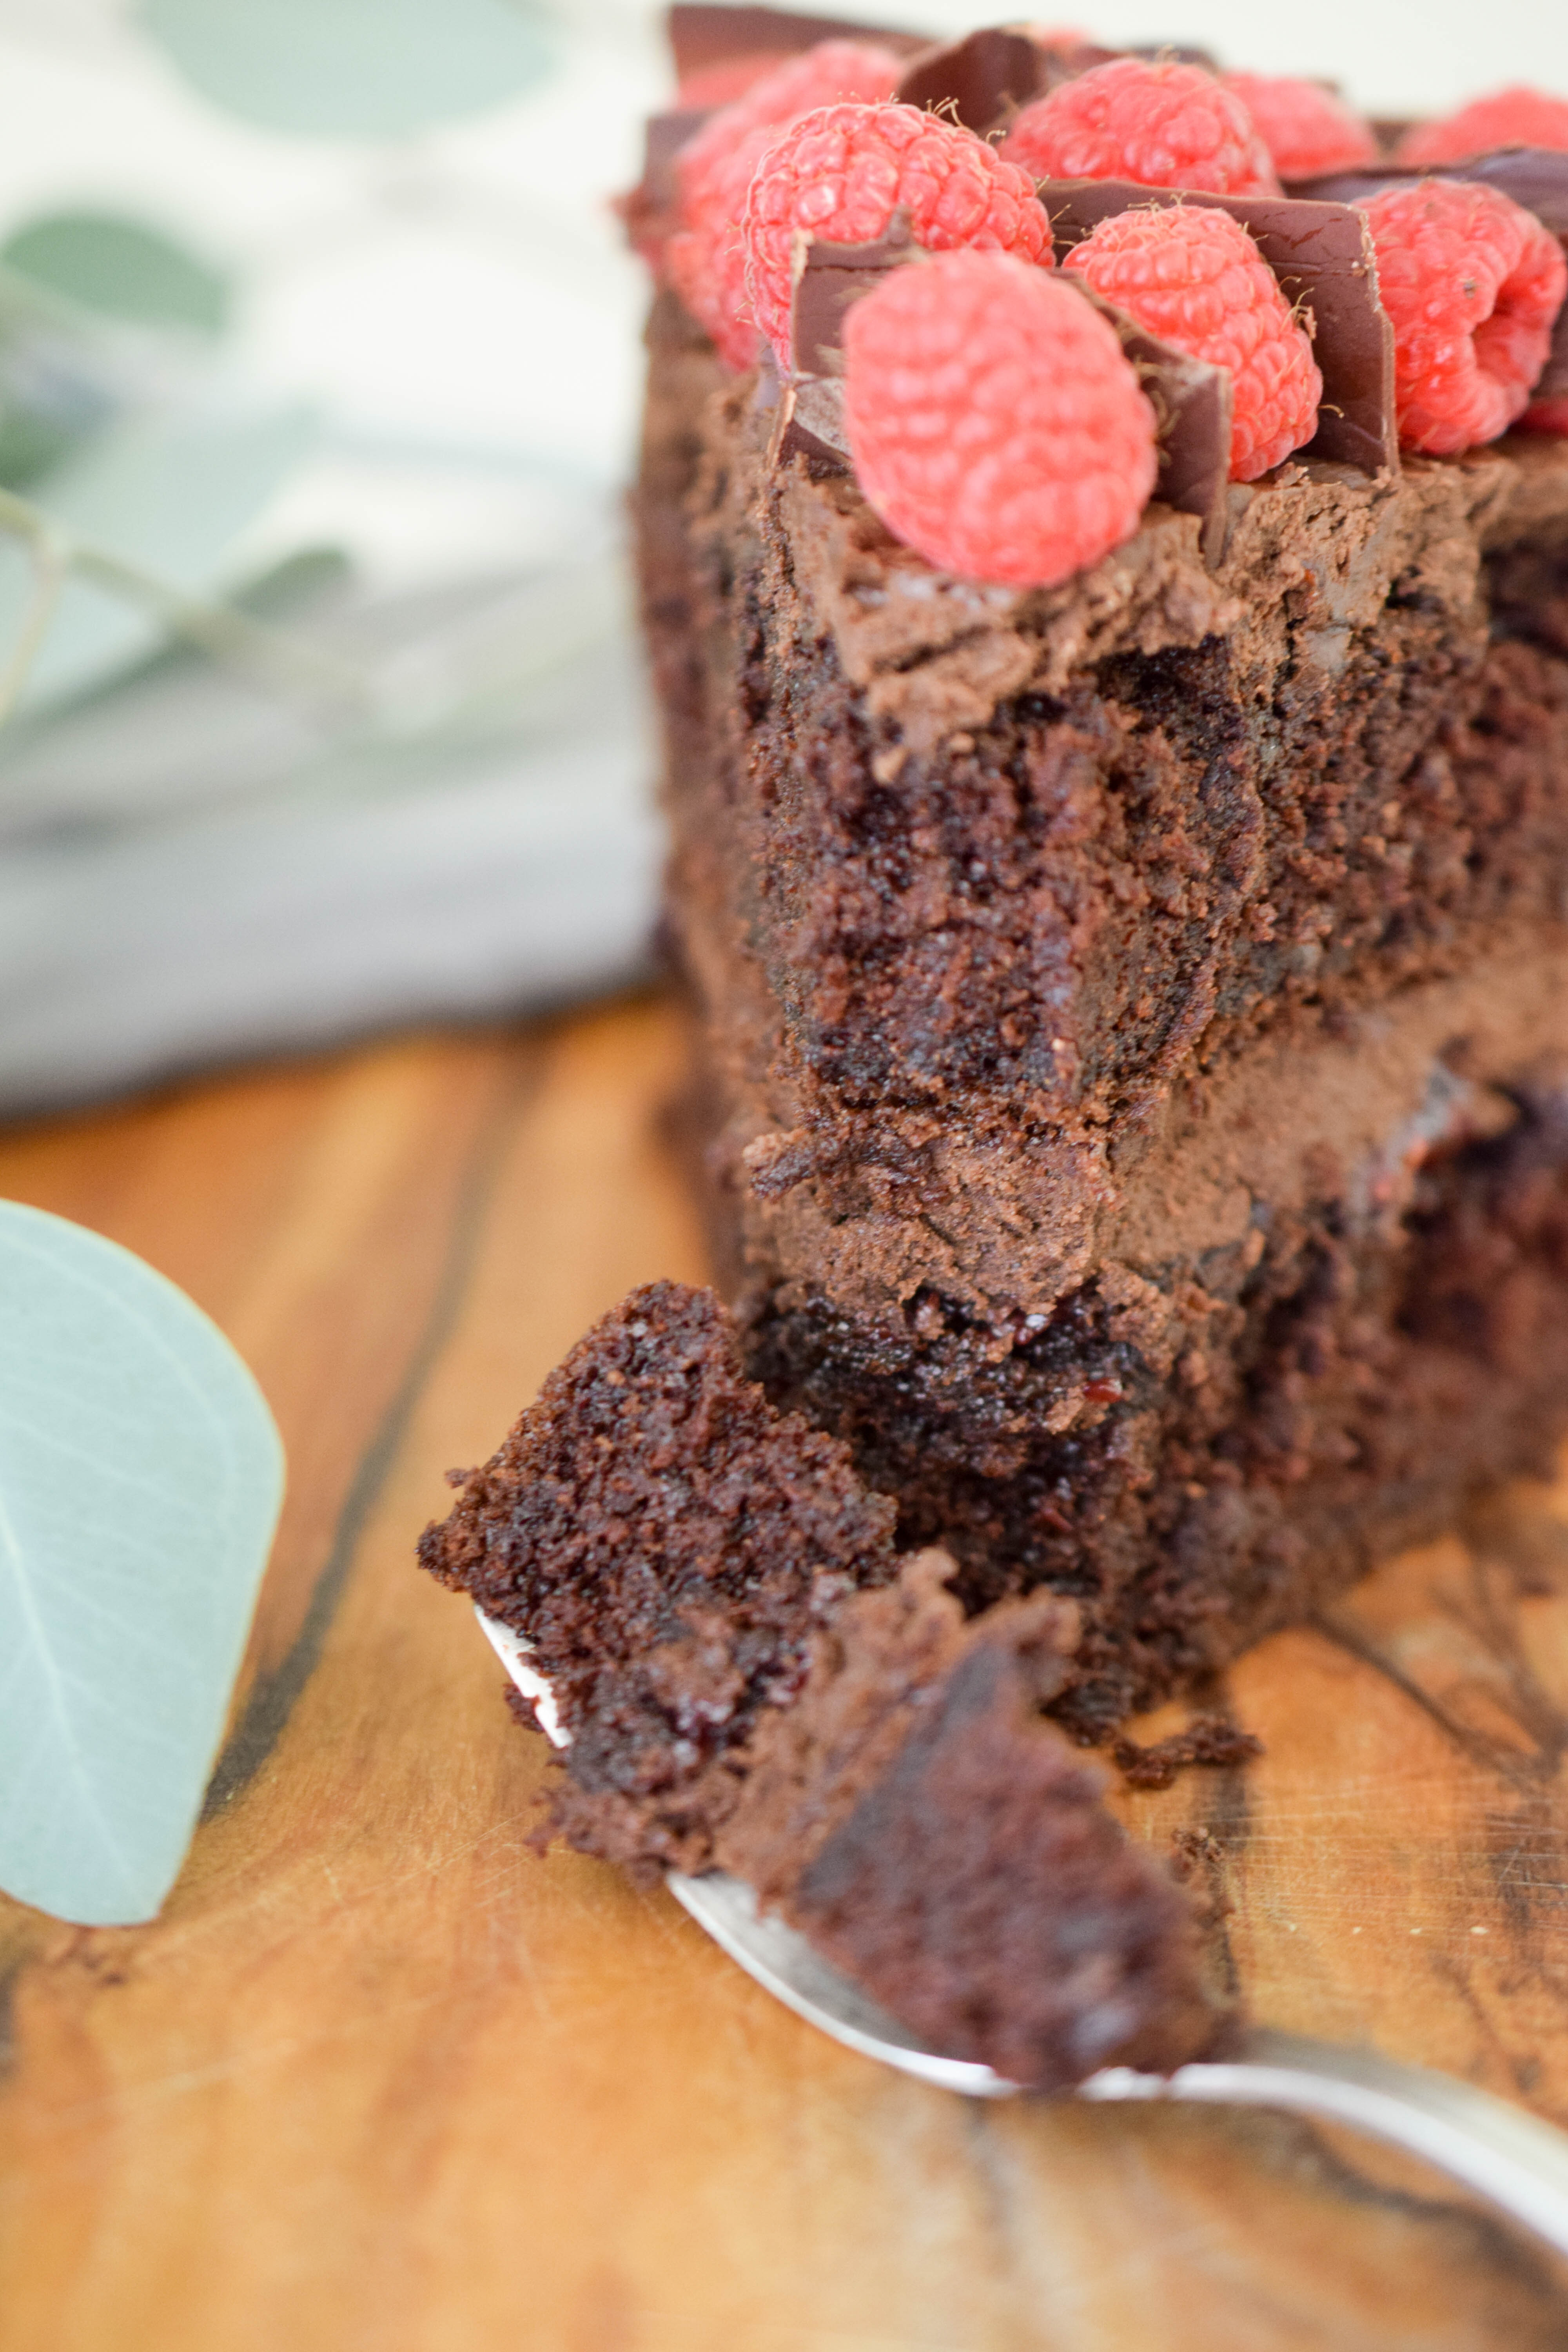
I have tried many different designs with this technique over the years, but I keep coming back to one of the first ones I came up with: a simple, rough chocolate rose with raspberries arranged in between the petals. It’s minimum effort with a maximum wow-factor.
Raspberries and chocolate are a perfect pair, but you could also use strawberries or leave out the fruit completely. The use of espresso powder and rum or whiskey is also optional, especially if you are making the cake for little ones or expecting mothers.
Whatever flavors you choose, this cake is always a show-stopper. Now before you say this looks really hard, I can’t do this, and give up, read the tutorial first. I promise you, you can!
So here we go:
The most important thing is that you have a smooth cutting board made out of marble or granite that is small enough to fit into your freezer. Got it? Well there you go, you’re halfway there. Make sure to place your marble slab in the freezer at least 2 hours before you want to start decorating, preferably over night.
Melt the chocolate in a double boiler, stirring it occasionally. You can remove the bowl from the double boiler before it is completely melted, the residual heat will take care of them. Once the chocolate is completely melted, add a little bit of vegetable oil and stir until the mixture is smooth.
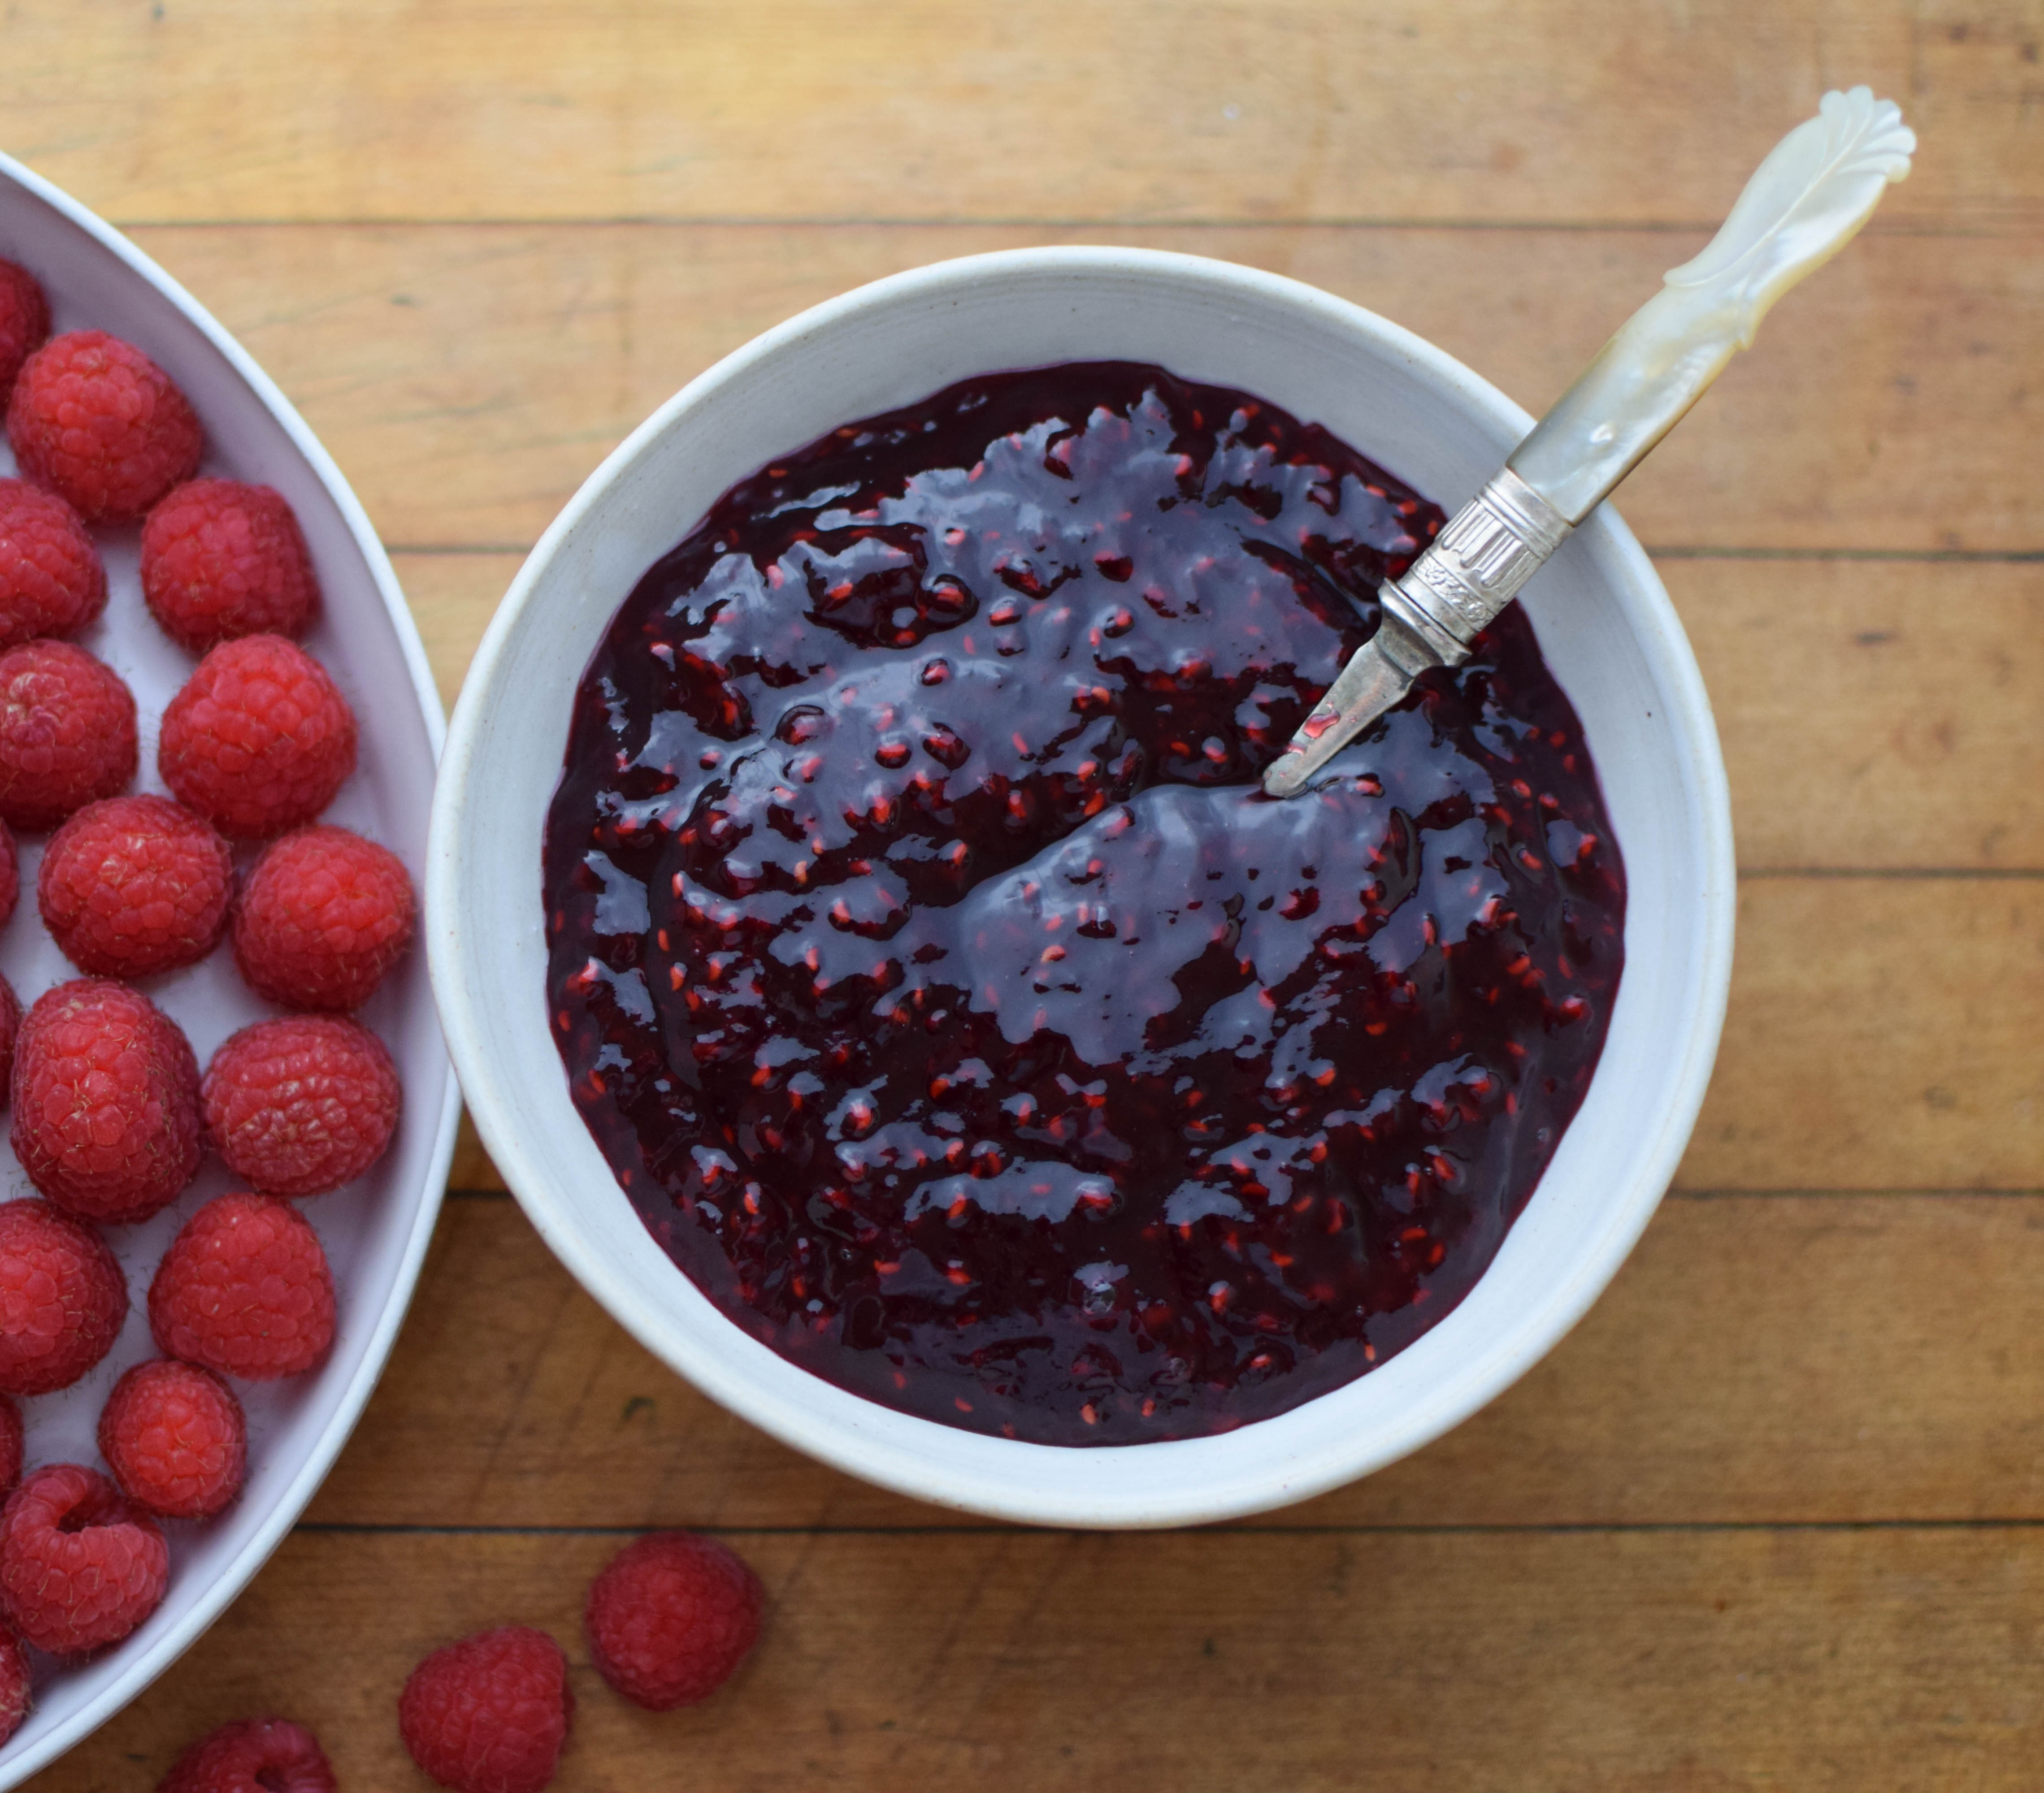
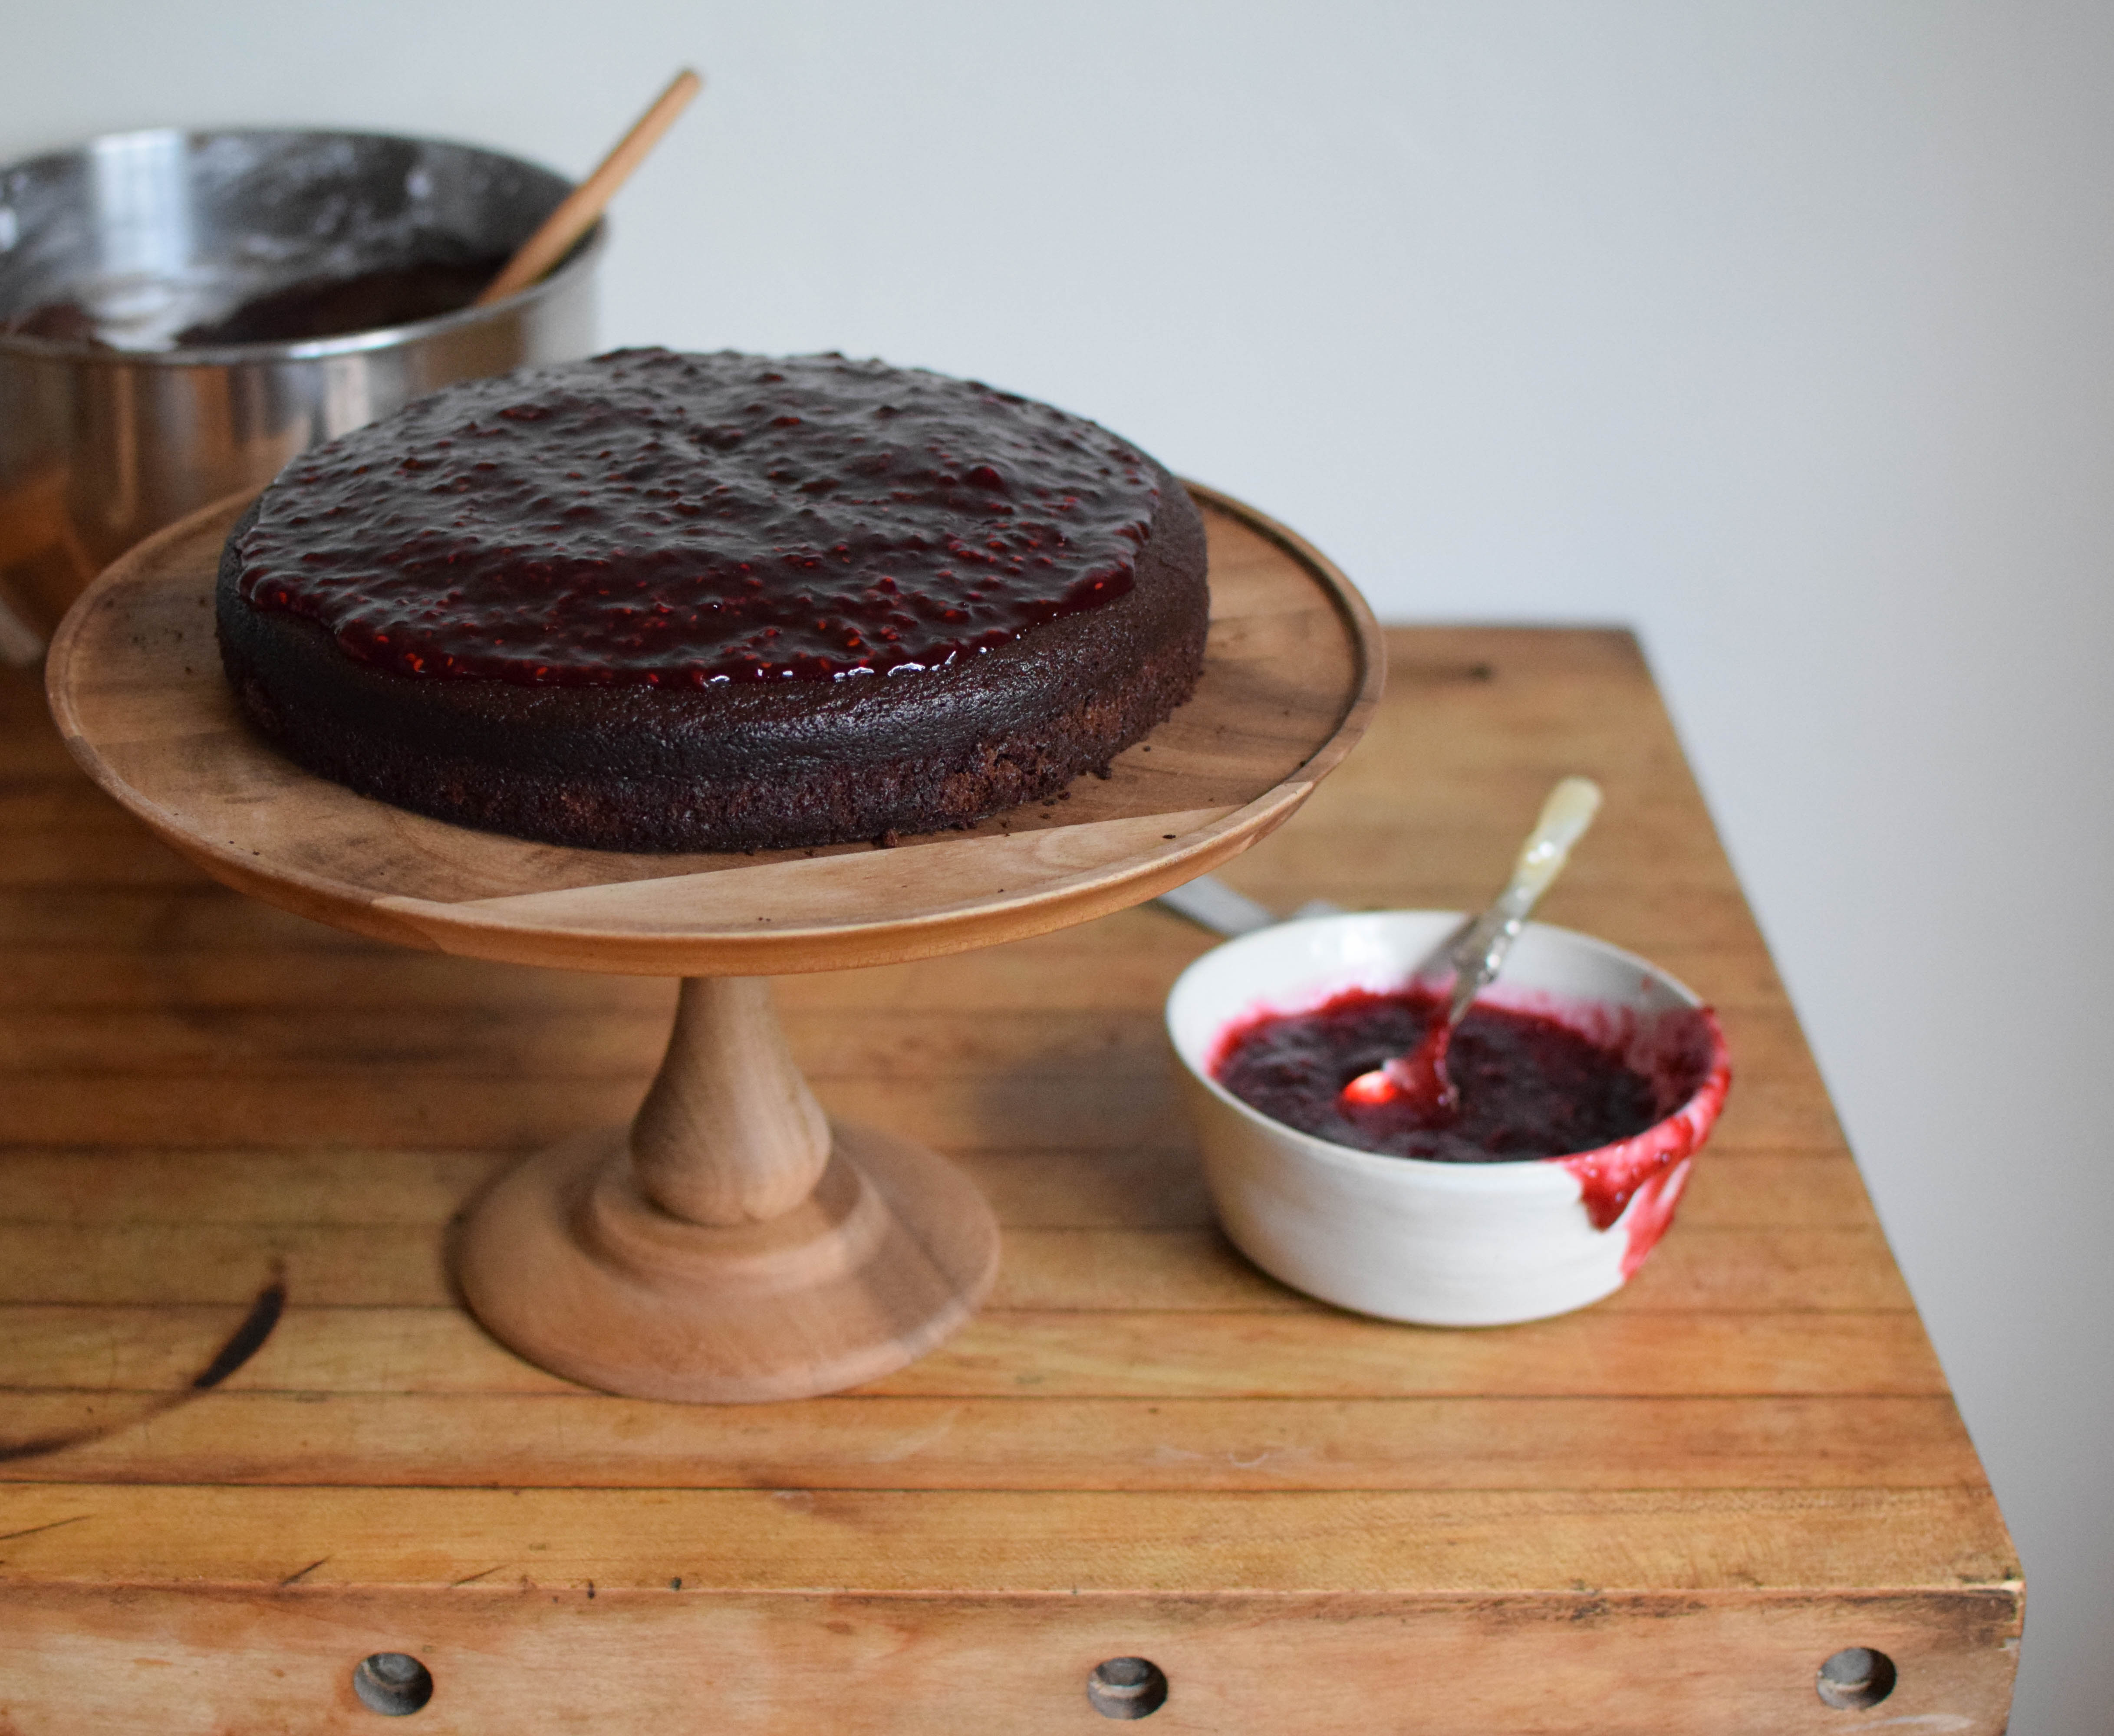
Before you start working on the chocolate decorations, you need to assemble the actual cake. Start by placing the bottom layer on the stand or platter you want to serve the cake on and spreading a thin, even layer of raspberry jam on it.
Cover with a layer of chocolate buttercream frosting:
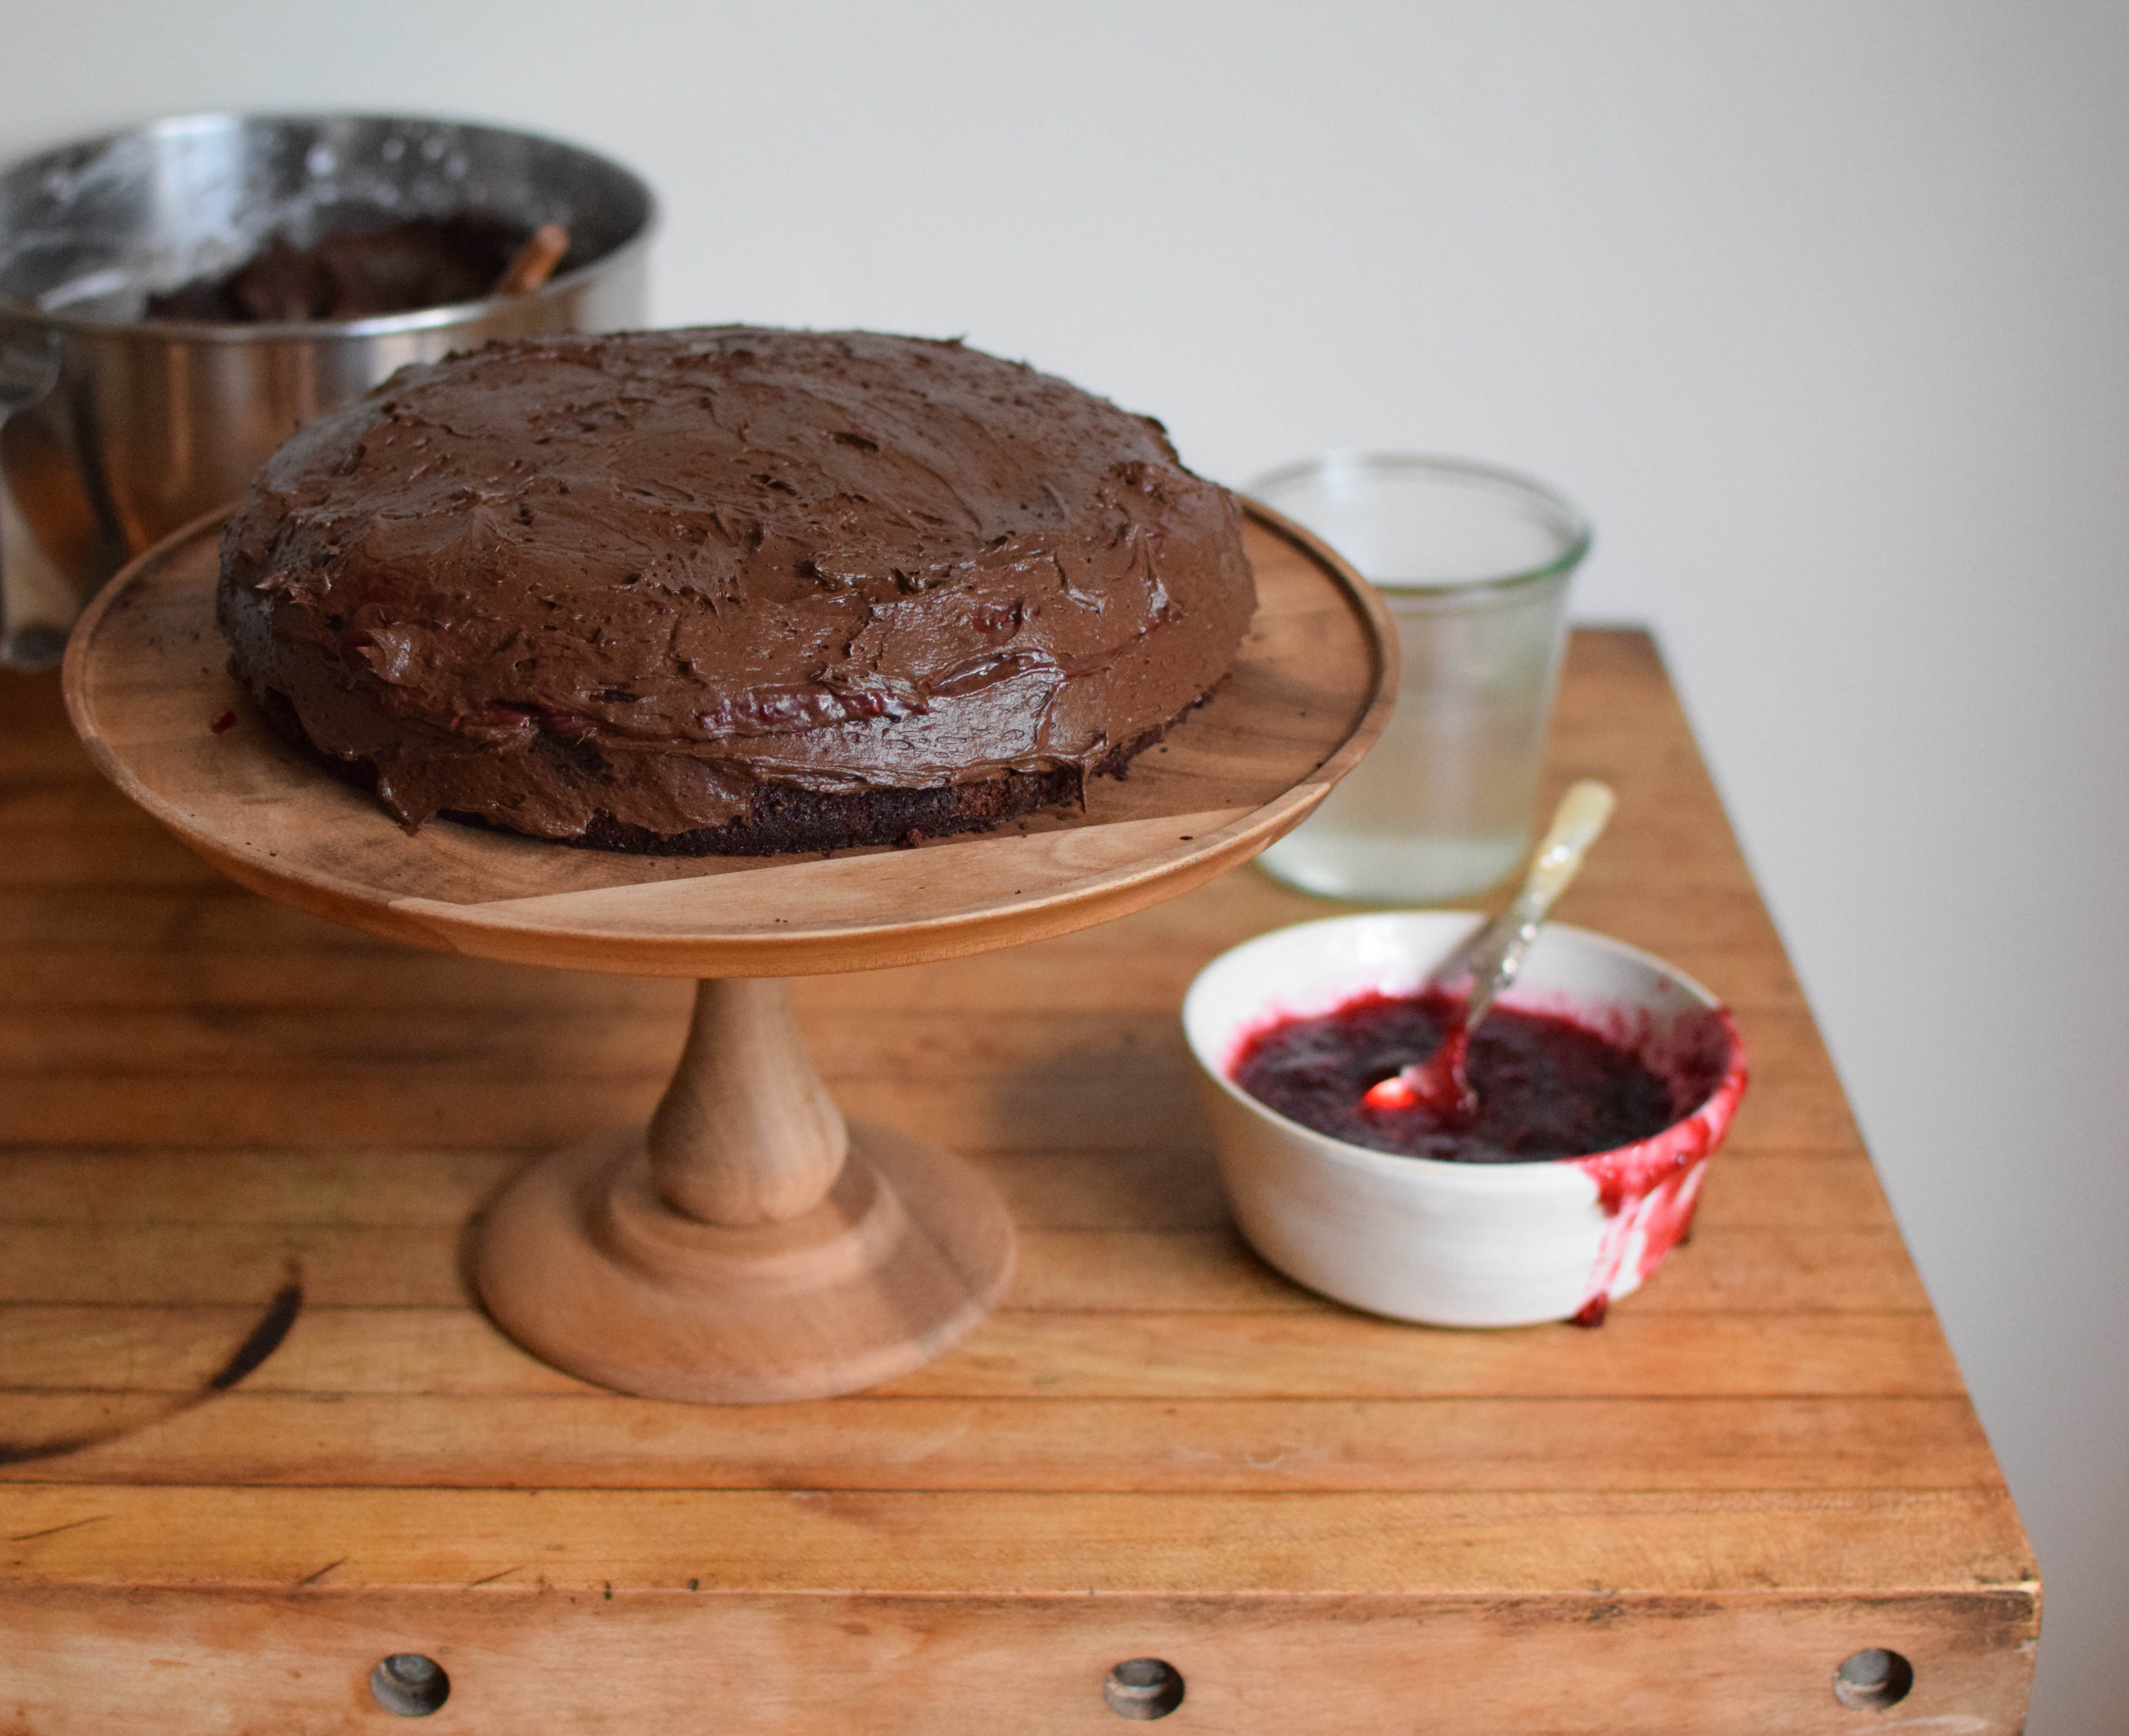
Tip: If you’re having trouble spreading the frosting, let the knife or spatula you are using warm up in hot water, but remember to dry it off before using it.
Add the top layer:
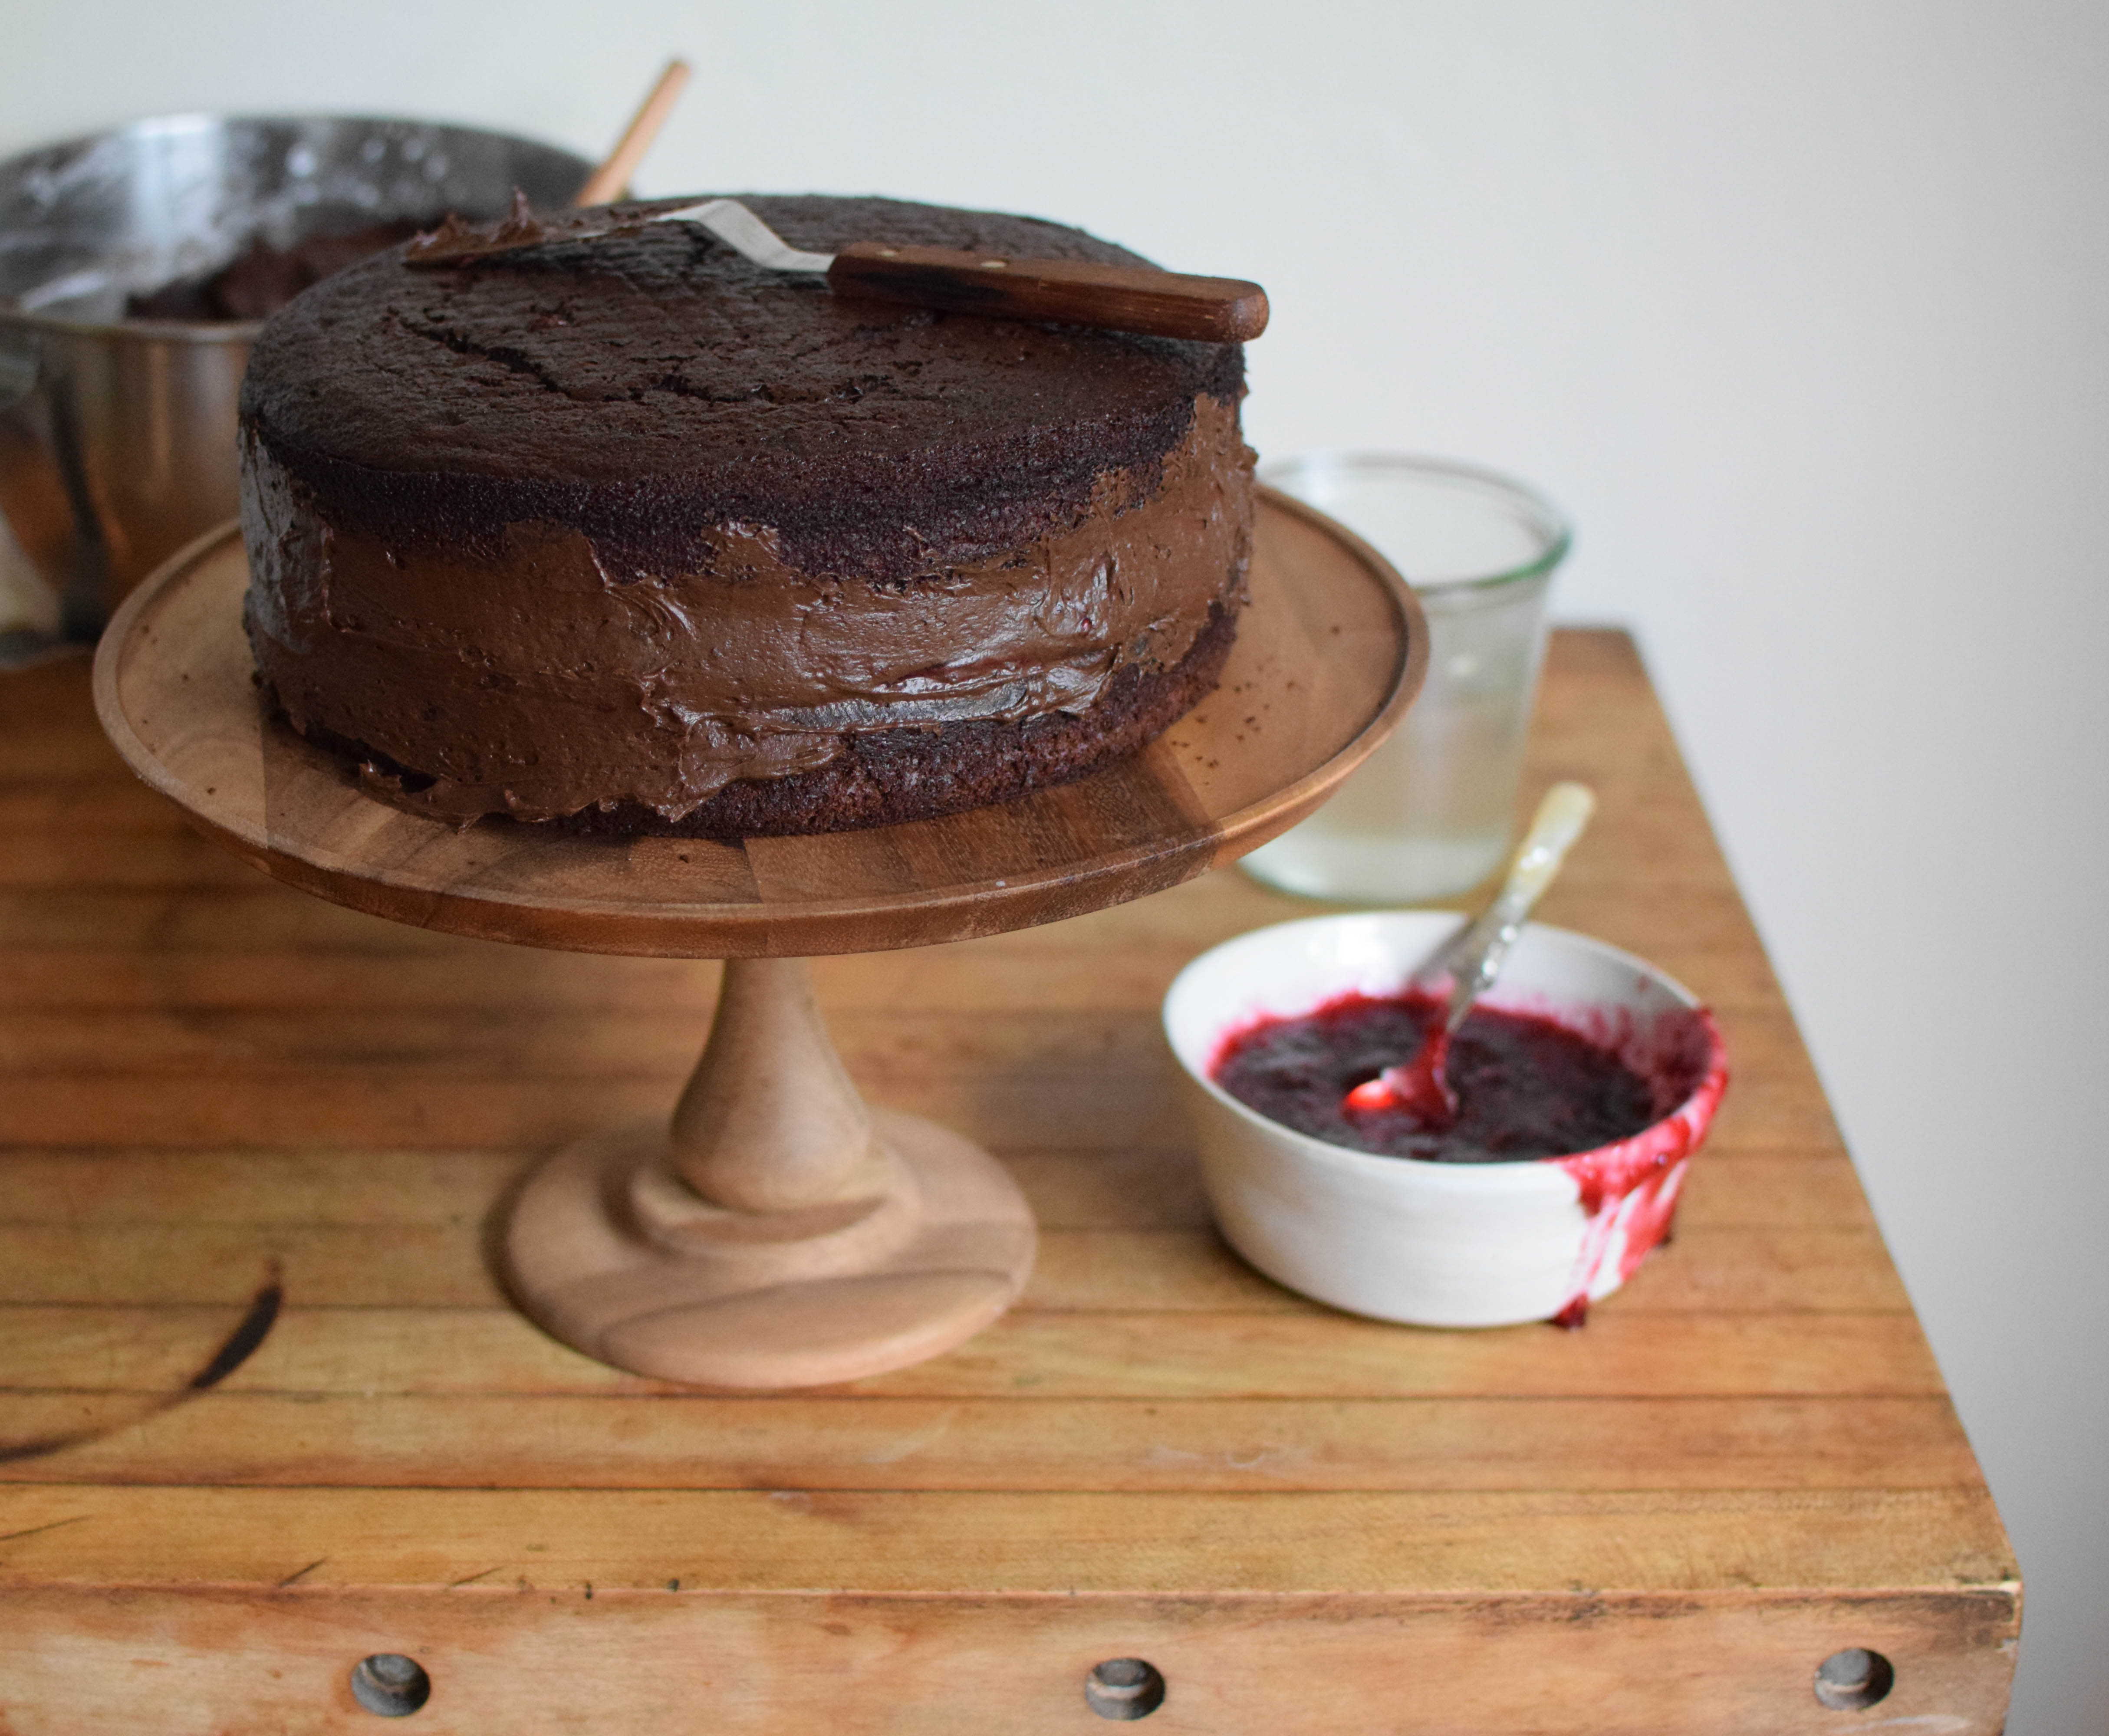
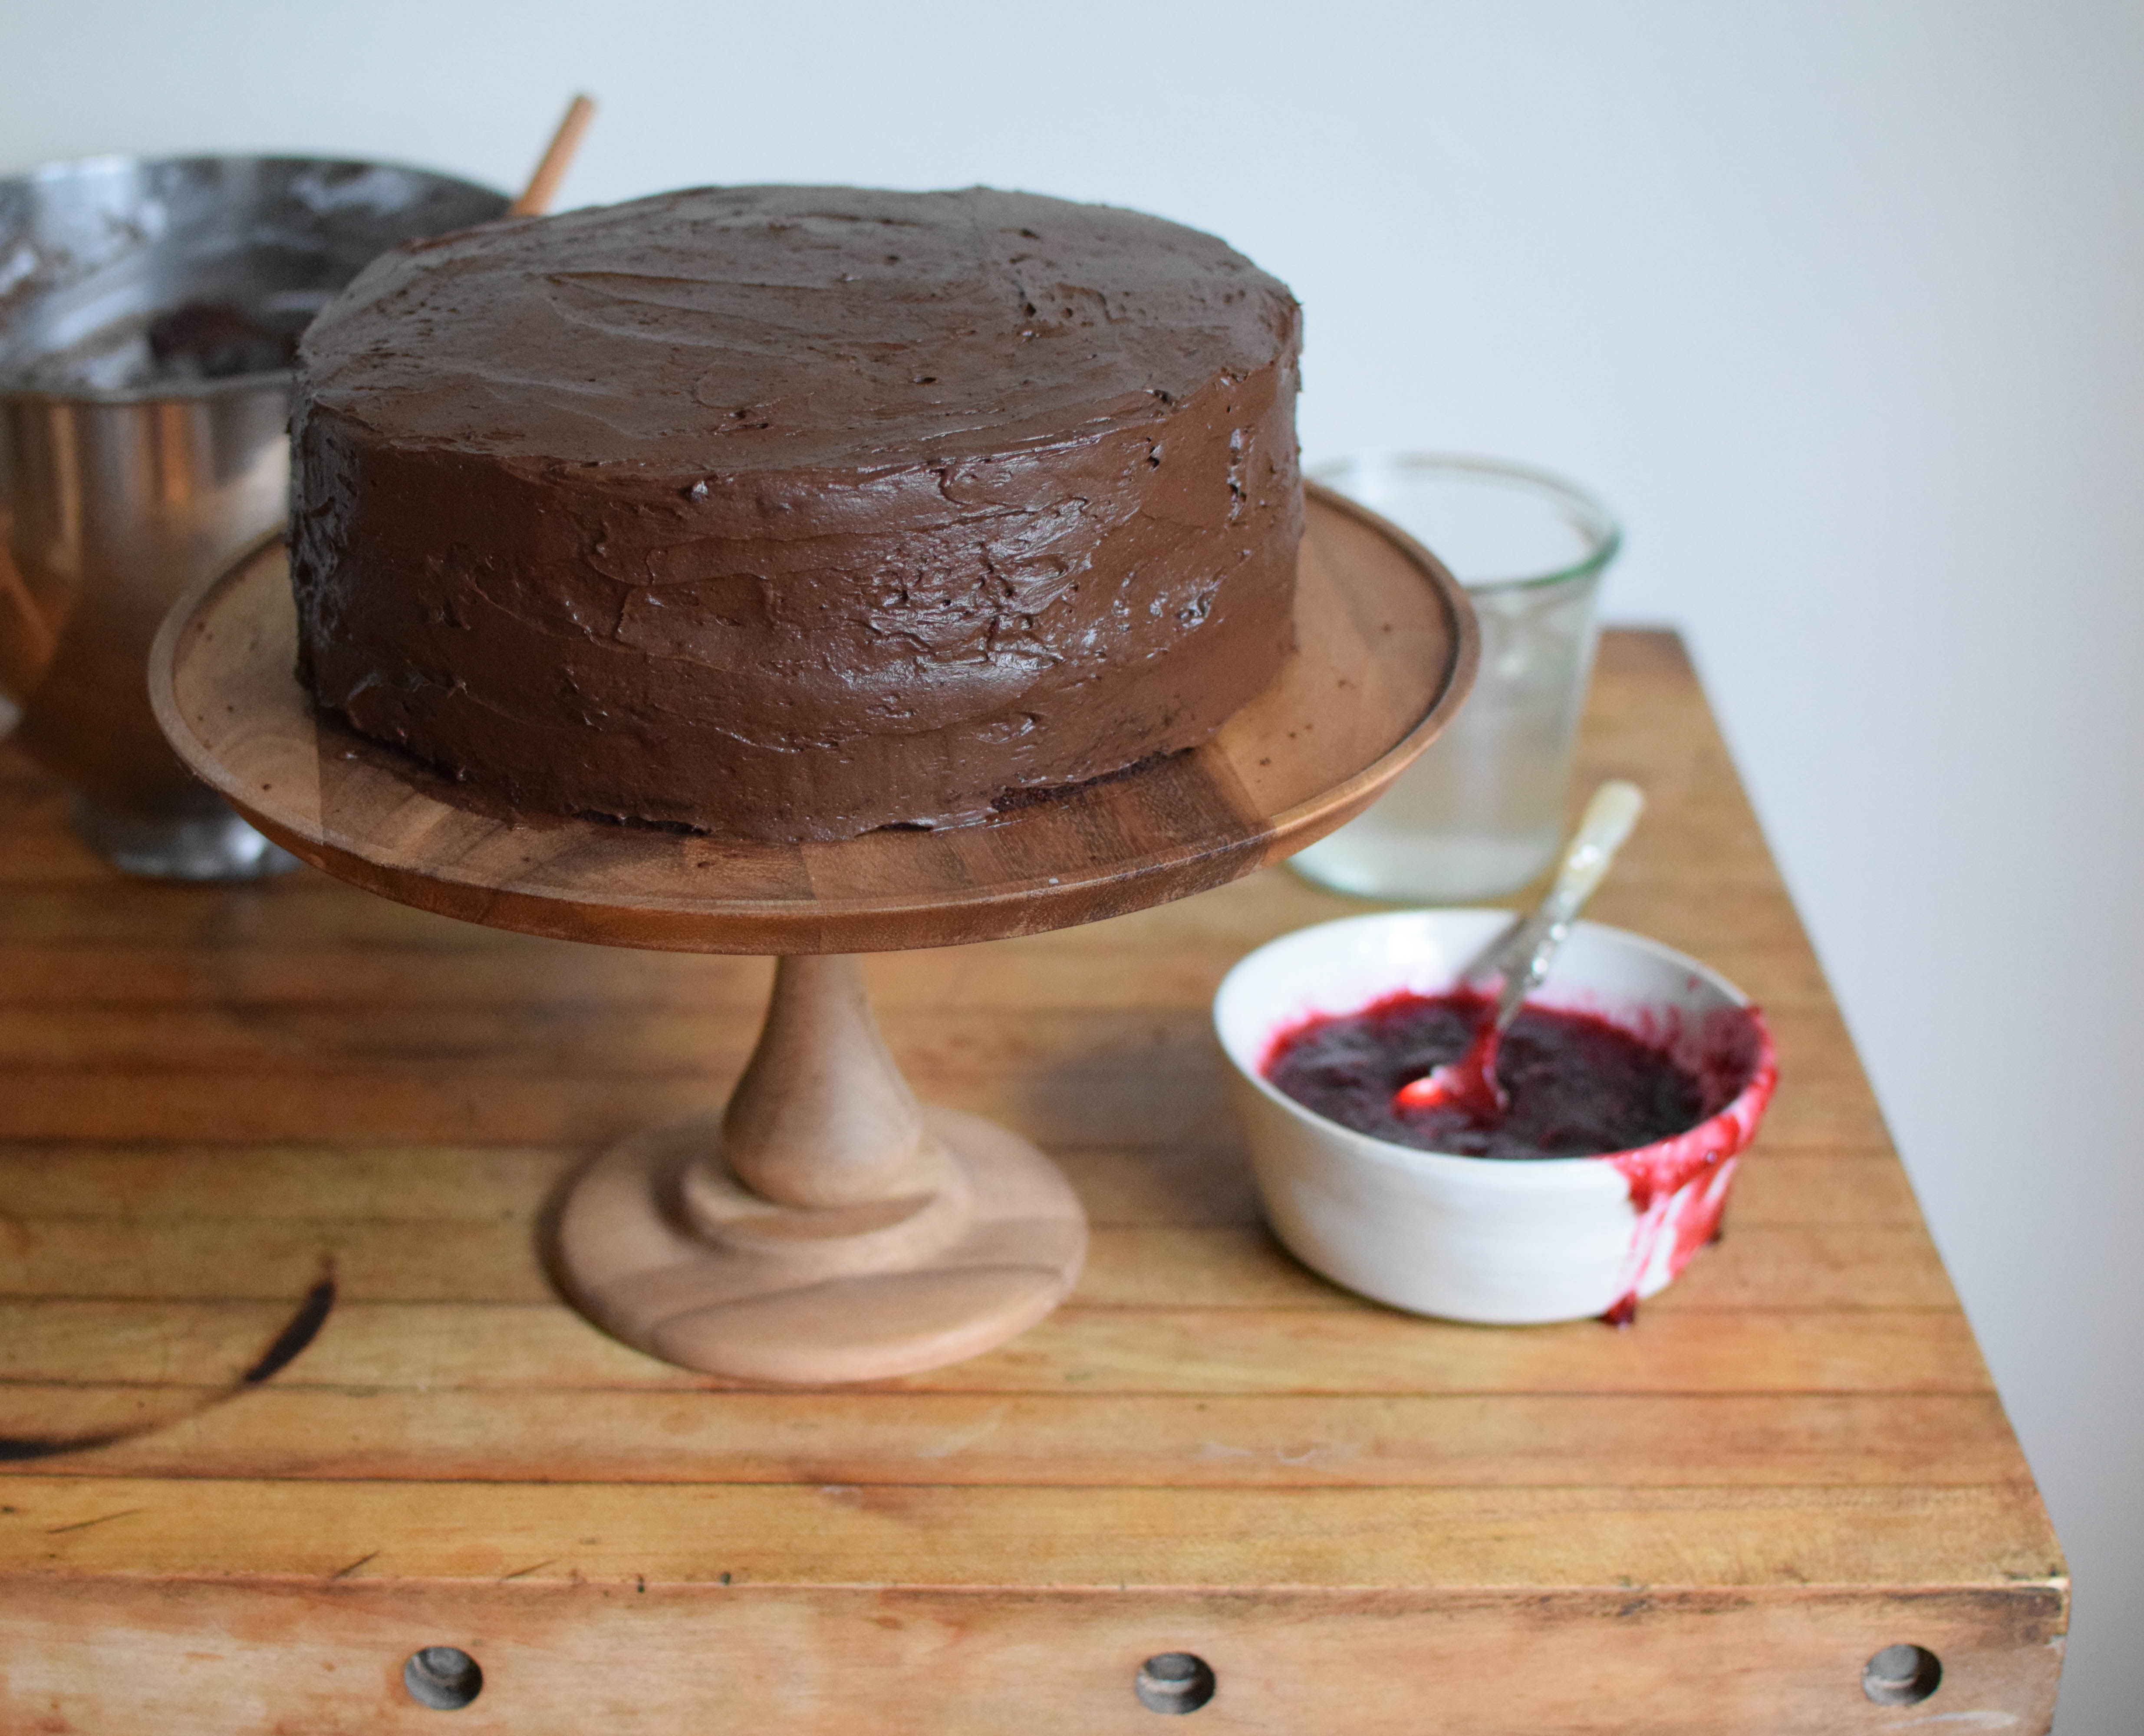
And cover the cake with the remaining frosting. If you are going to follow the chocolate rose design, you don’t have to worry too much about getting it perfectly even and smooth.
Now it’s time to grab an angled spatula (or a second flexible knife) for spreading the melted chocolate on the cold marble slab and a long flexible knife, for cutting the chocolate sheets and releasing them from the marble. Remove the marble slab from the freezer and get everything ready. Grabbing a towel is also a good idea. There will be chocolate everywhere. It’s a delicious mess, but a mess nonetheless.
If you are right-handed, start by picking up the bowl of melted chocolate with your left hand and holding the angled spatula in your right hand. Now pour some chocolate onto the marble slab and quickly spread it into a thin sheet using your spatula. Don’t worry if it starts to harden as you are spreading, it will create an interesting rough surface.
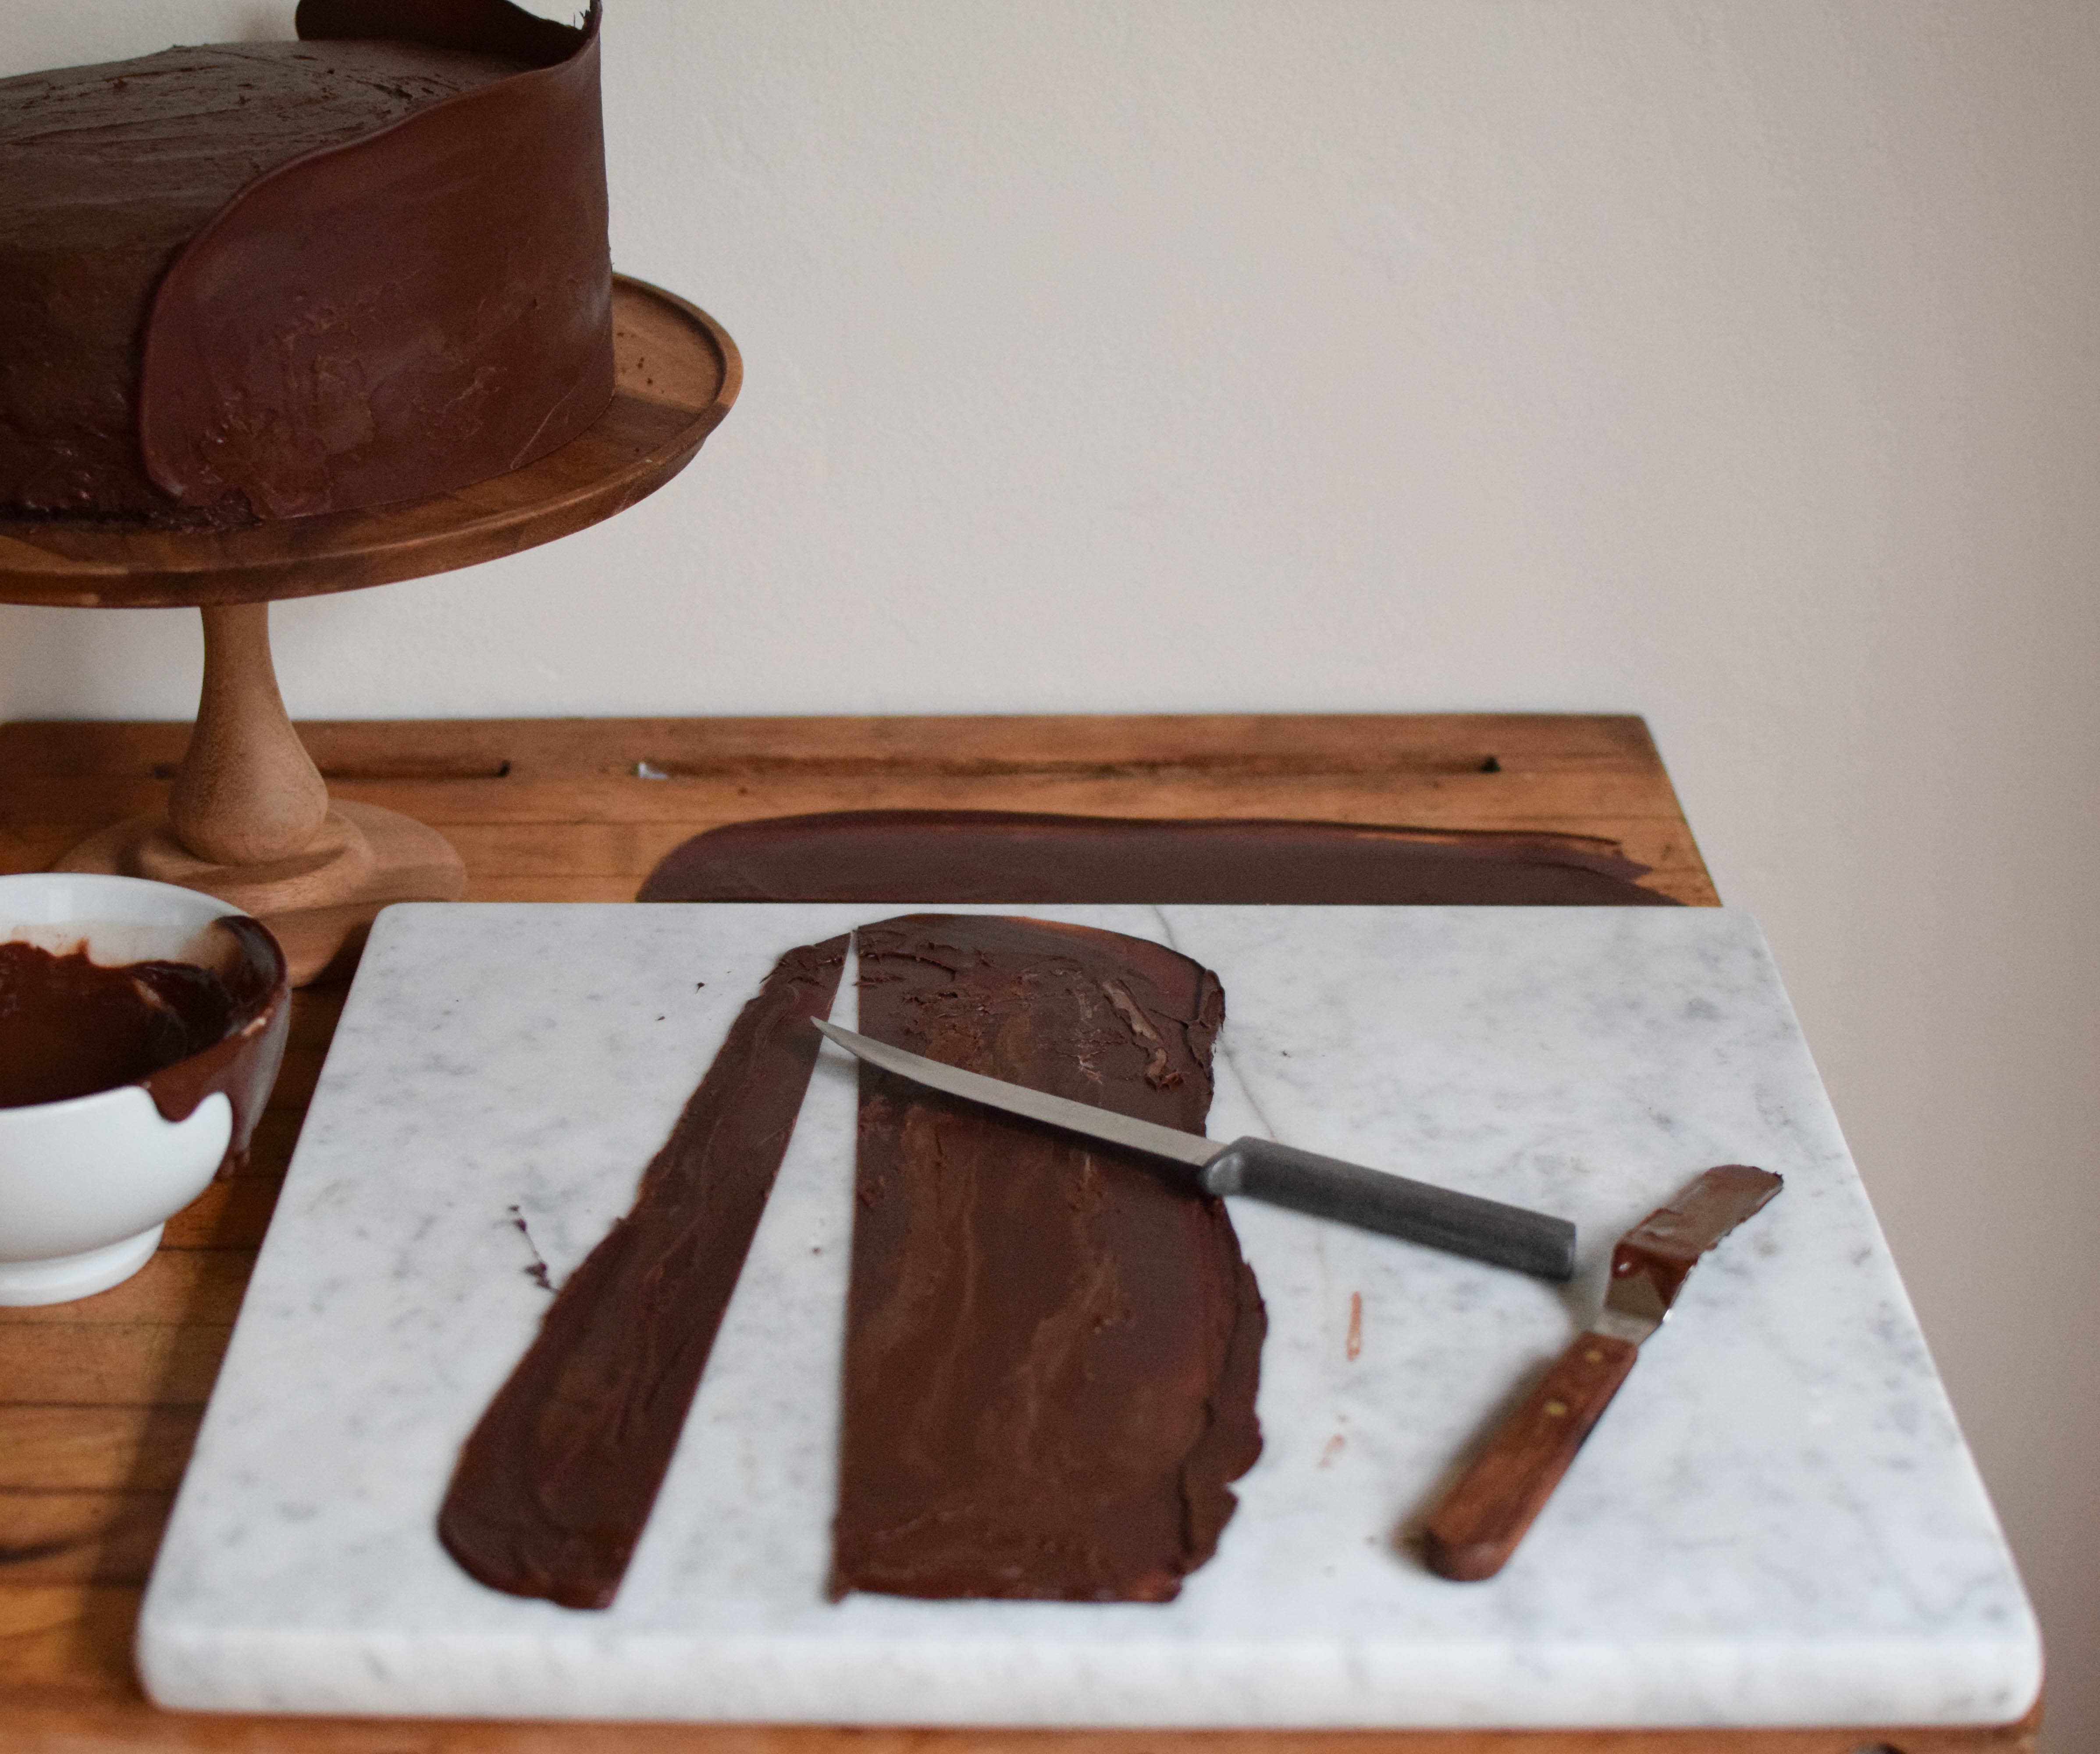
Once the chocolate has hardened, cut the sheet to size and carefully scrape it off the board using your flexible knife. It should release very easily. Now carefully pick up the chocolate sheet and wrap it around the cake. If it has already become too hard, simply let the radiant heat of your hands warm it up for a couple of seconds before bending it into shape. I usually make two to three wide chocolate sheets for the outside of the cake and use the edges that I cut off to create the rose petal design on top. You can use small dabs of melted chocolate to connect the outside pieces. If you feel like the chocolate it hardening too fast, add a little bit more vegetable oil to the melted chocolate.
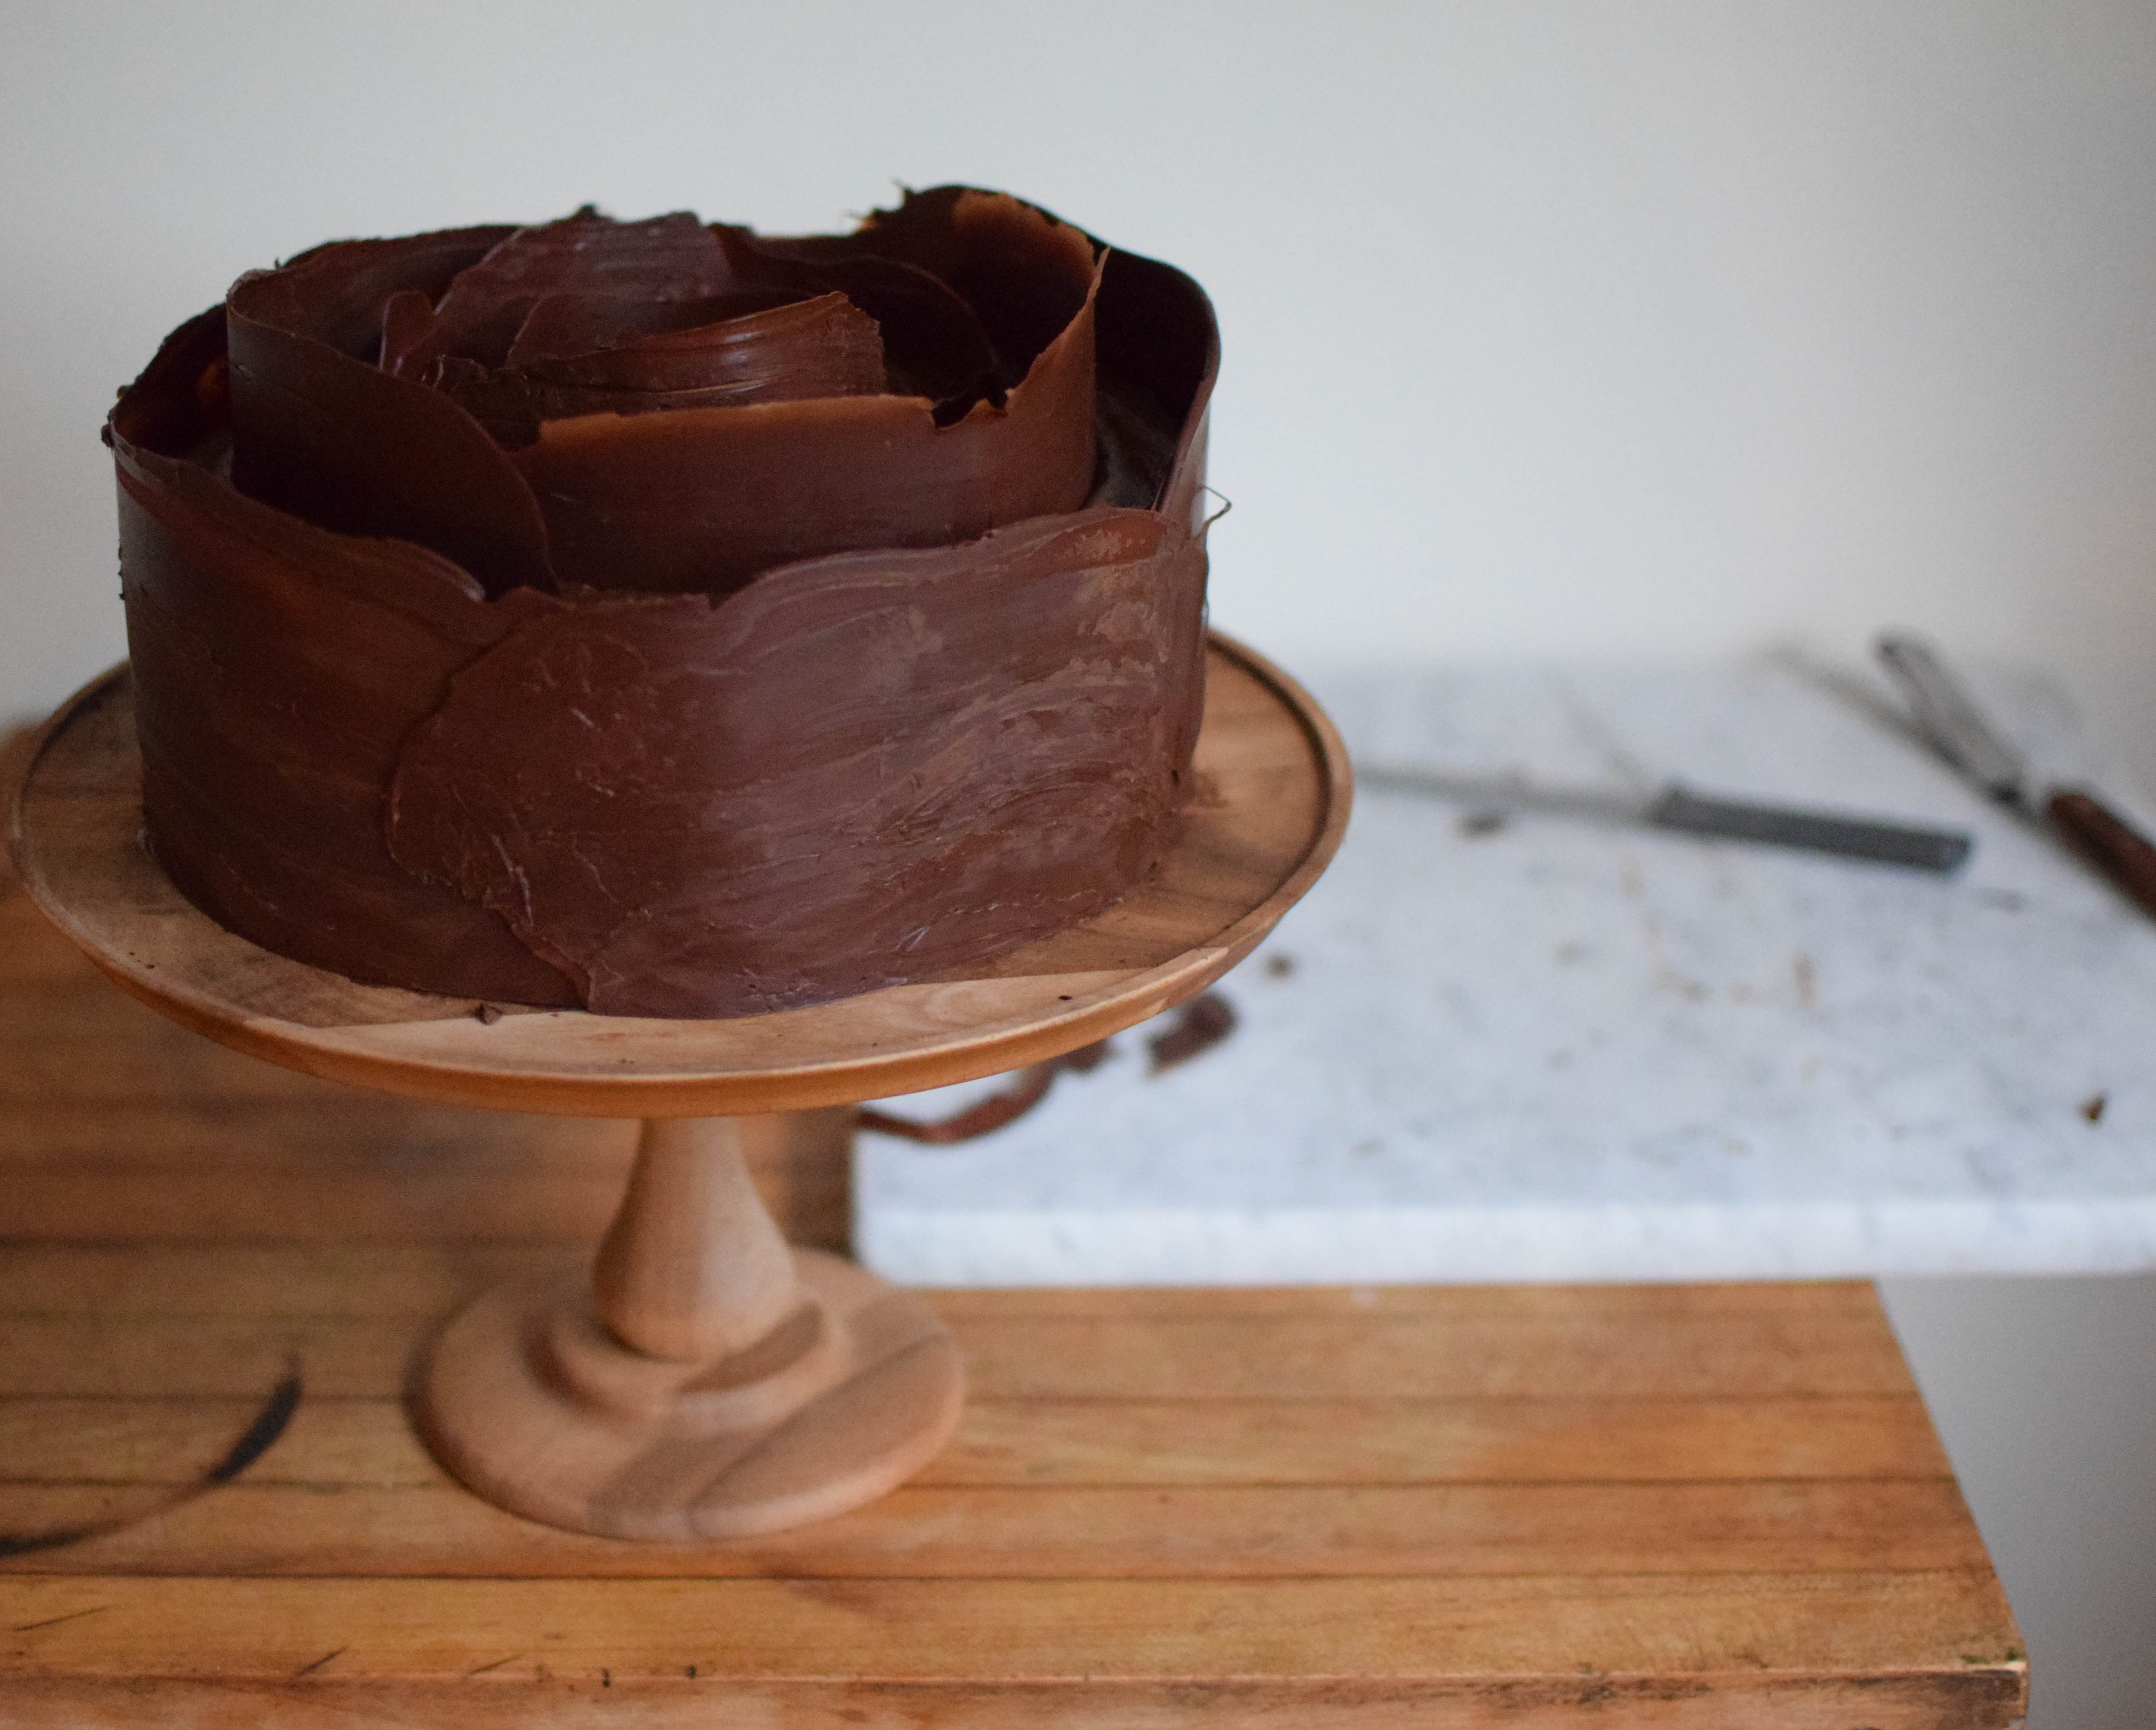
Try spreading the chocolate a little bit thinner on the edges to create a delicate frayed petal look. Quickly wiggling the spatula from side to side as you are spreading the chocolate will ensure that the edges come out a bit uneven, just like a real rose. Once you are happy with your chocolate decorations, it’s time to fill the gaps with fresh raspberries.
It’s beautiful, it’s delicious, and it will be our little secret how quick and easy it is to make.
Enjoy!
And let me know how it goes!
Cake recipe adapted from Add a Pinch.
Chocolate Raspberry Cake
Special equipment (for decoration only)
- smooth marble/granite cutting board
(placed in freezer at least 2 hours before assembling the cake) - long flexible knife
Ingredients
For cake layers
- 9 ounces (2 cups) all-purpose flour
- 14 ounces (2 cups) sugar
- 3.5 ounces (3/4 cup) unsweetened cocoa powder
- 2 teaspoons baking powder
- 1 1/2 teaspoons baking soda
- 1 teaspoon salt
- 1 teaspoon espresso powder (optional)
- 1 cup milk (1/4 cup can optionally be replaced by rum or whiskey)
- 1/2 cup vegetable oil
- 2 eggs
- 2 teaspoons vanilla extract
- 1 cup boiling water
To assemble cake
- 5 ounces raspberry jam
- chocolate buttercream frosting
- 8 ounces bittersweet or semisweet chocolate
- 1 tablespoon vegetable oil
- fresh raspberries
- Preheat oven to 350°F. Prepare two 9 inch round cake pans by lining the bottoms with parchment paper and buttering the sides.
- In the bowl of a stand mixer, combine flour, sugar, cocoa powder, baking powder, baking soda, salt, and espresso powder. Mix until well combined.
- Add milk, oil, eggs, and vanilla extract. Mix on medium speed until well combined. Add boiling water and beat on high for 1 minute to add air to the batter (it will be very liquid).
- Divide batter equally between two cake pans. Bake at 350°F until a skewer comes out clean, about 30 minutes.
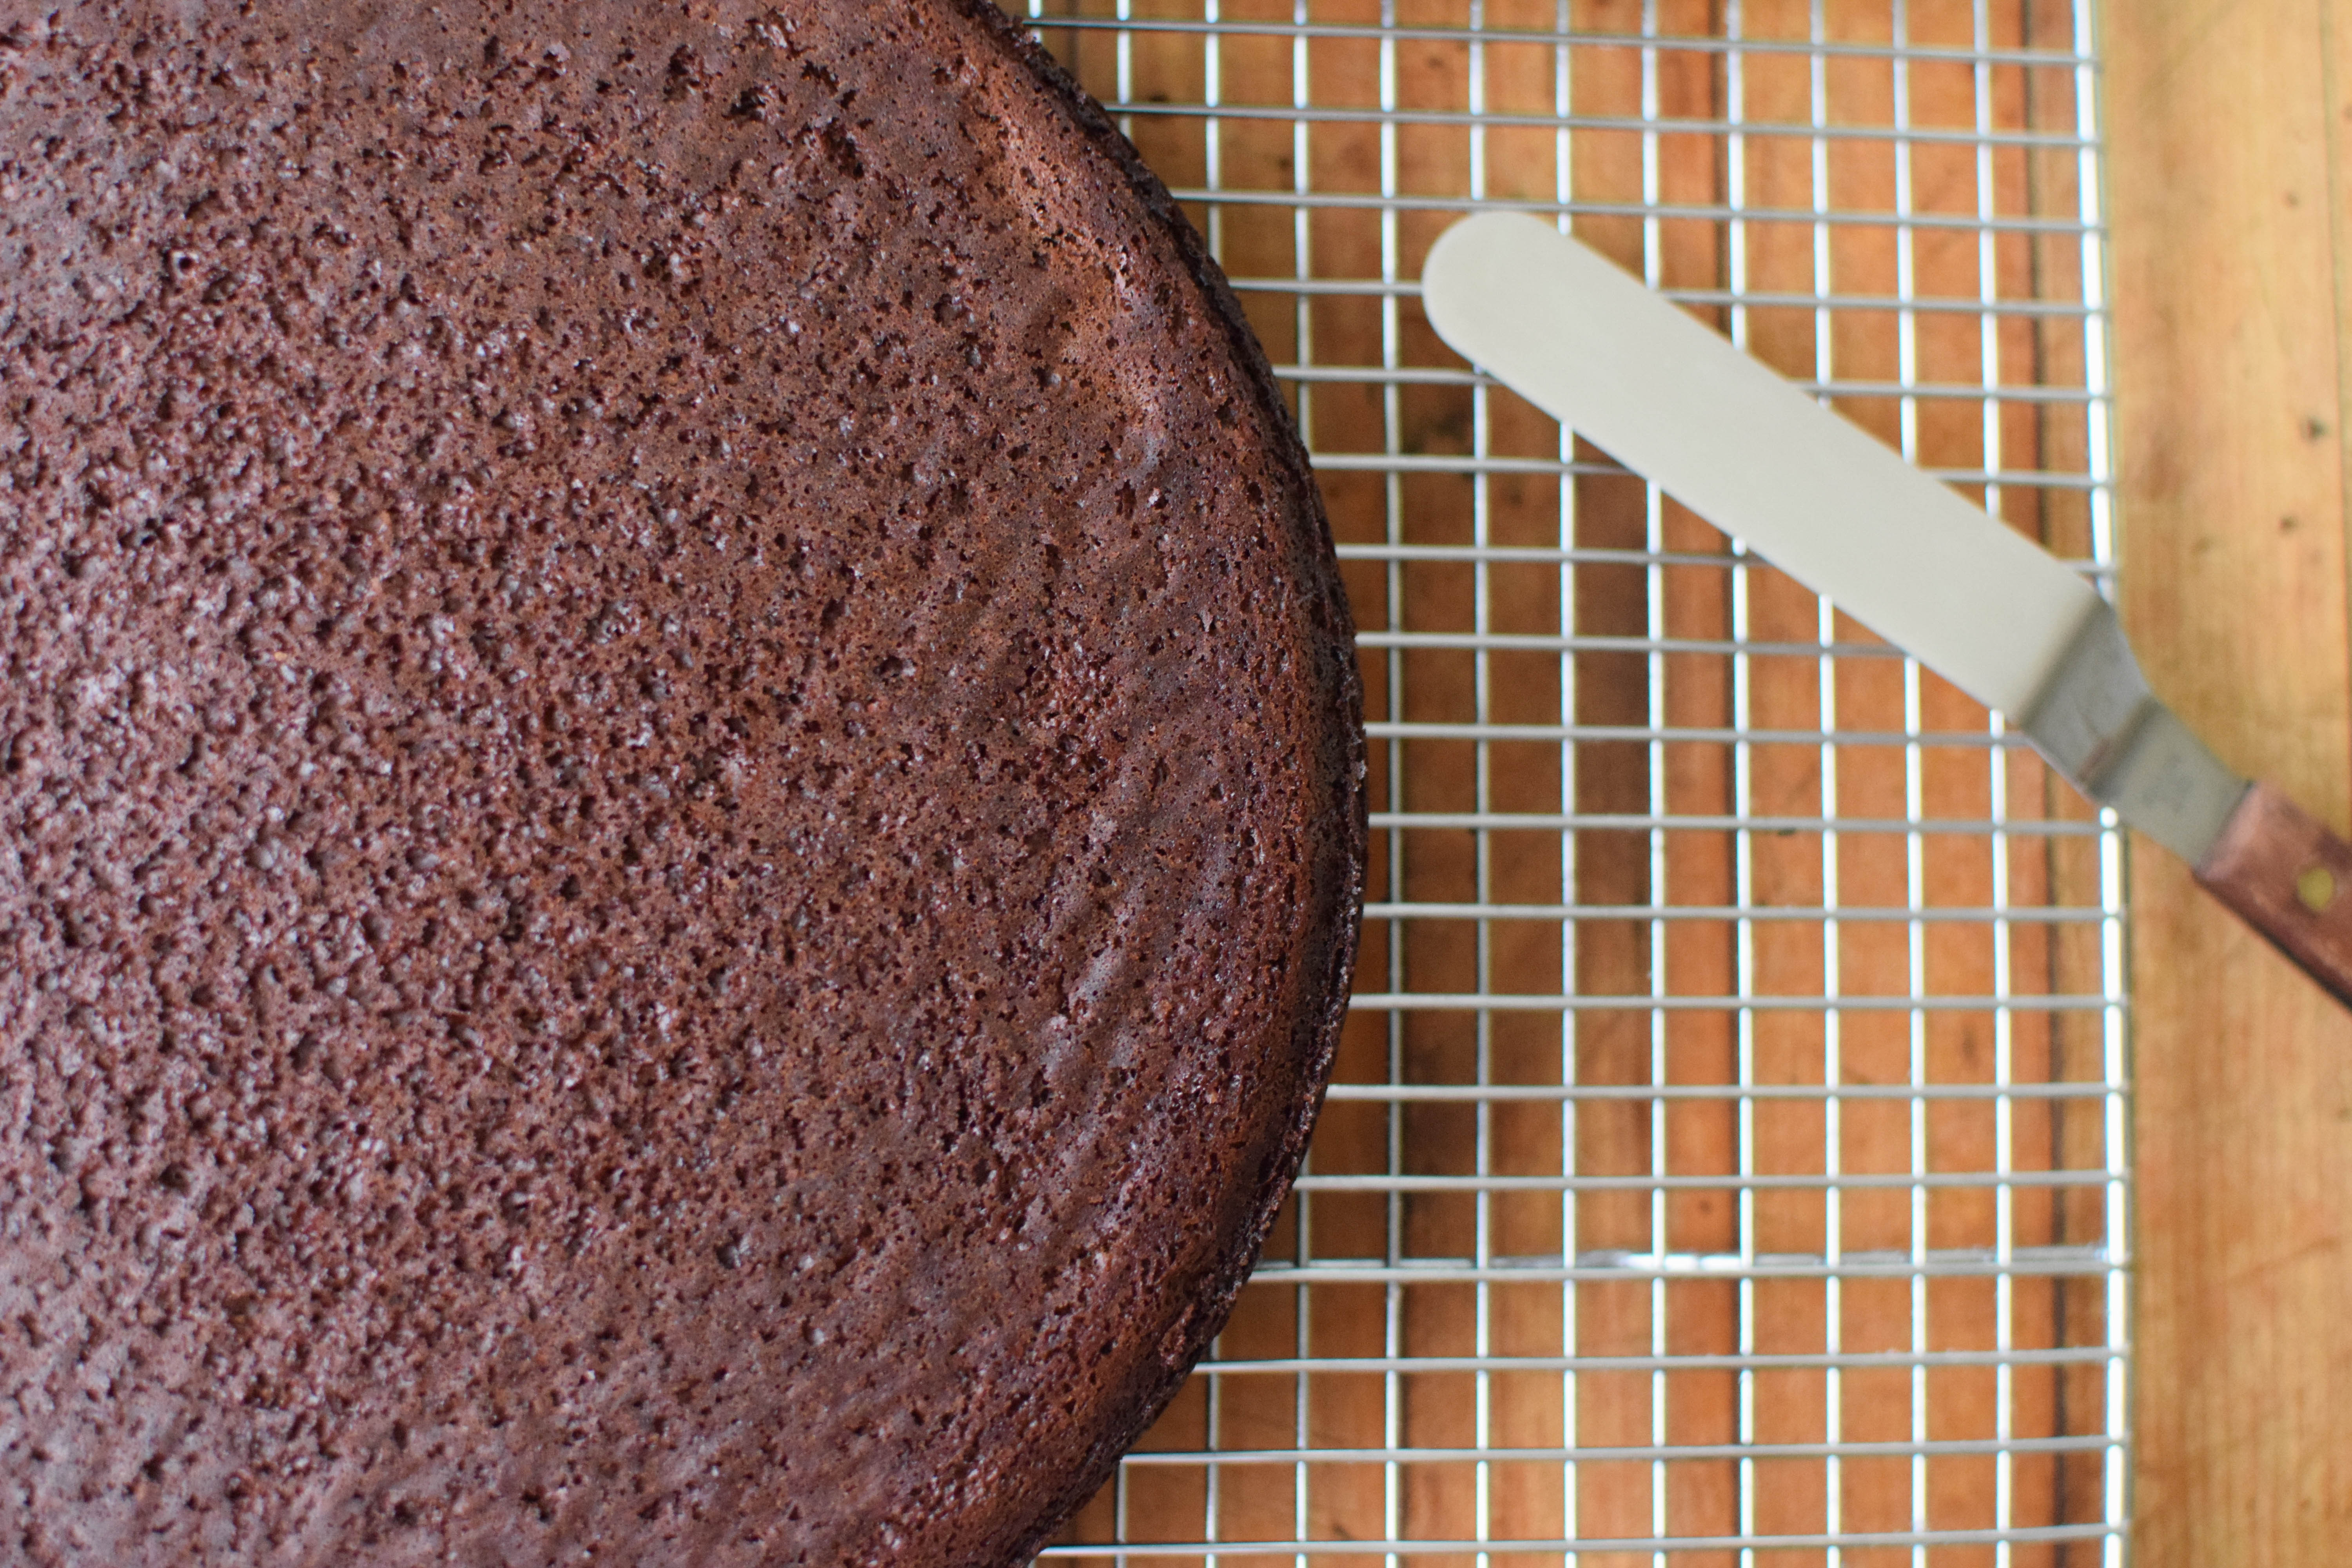
- Let layers cool in the pans for at least 10 minutes. Remove from pans and place them upside down on a cooling rack. Let cool completely.
- In the meantime, prepare the chocolate buttercream frosting.
- To assemble the cake: place bottom layer on the platter or stand you want to serve the cake on. Top with a thin, even layer of raspberry jam. Cover with a thin layer of chocolate frosting. Add second cake layer. Cover sides and top evenly with the remaining frosting. Decorate with chocolate and raspberries as desired.
- Store cake in the fridge, if it won’t be eaten the same day. Allow it to warm to room temperature before serving.
Enjoy!


This cake tastes awesome. I love chocolate coma.
LikeLiked by 1 person
This is stunning! I love how you decorated the top!
LikeLike
Thanks! It sure is a show-stopper (and no-one would ever guess how easy it is…)
LikeLike
This cake is beyond beautiful! GREAT JOB! I feel a bit skeptical that I could make this work, as things often don’t go as planned for me, but I would love to try it!
LikeLike
Thanks! Definitely give it a try. The only thing to keep in mind is that you should work very quickly to make sure the chocolate doesn’t get too hard. It might take a couple of tries before you feel super comfortable with it, but then it’s a piece of cake. And let me know how it came out.
LikeLiked by 1 person
I will! Too bad my father in law doesn’t like chocolate cake.. This would be the perfect Father’s Day gift! Lol
LikeLike